


What’s a wicking bed?
Wicking beds are raised garden beds with an inbuilt water reservoir at the base. They can be almost any size from small, table top efforts to bigger ones a couple of metres long. We have nine wicking beds at Ligaya Garden.
They are one of our key water efficiency features and need topping up around once a week in Summer and far less in Winter.
I think that one of the reasons wicking beds work so well is that they provide a safe, constant home for soil bacteria. My idea is that because the water is added from the bottom, the bacteria in the soil have time to take out all the nasties that the water is treated with such as chlorine which can kill off soil life.
By the time the water has worked its way up to the plant’s roots, its been decontaminated and has picked up all kinds of goodies for the plants to eat.
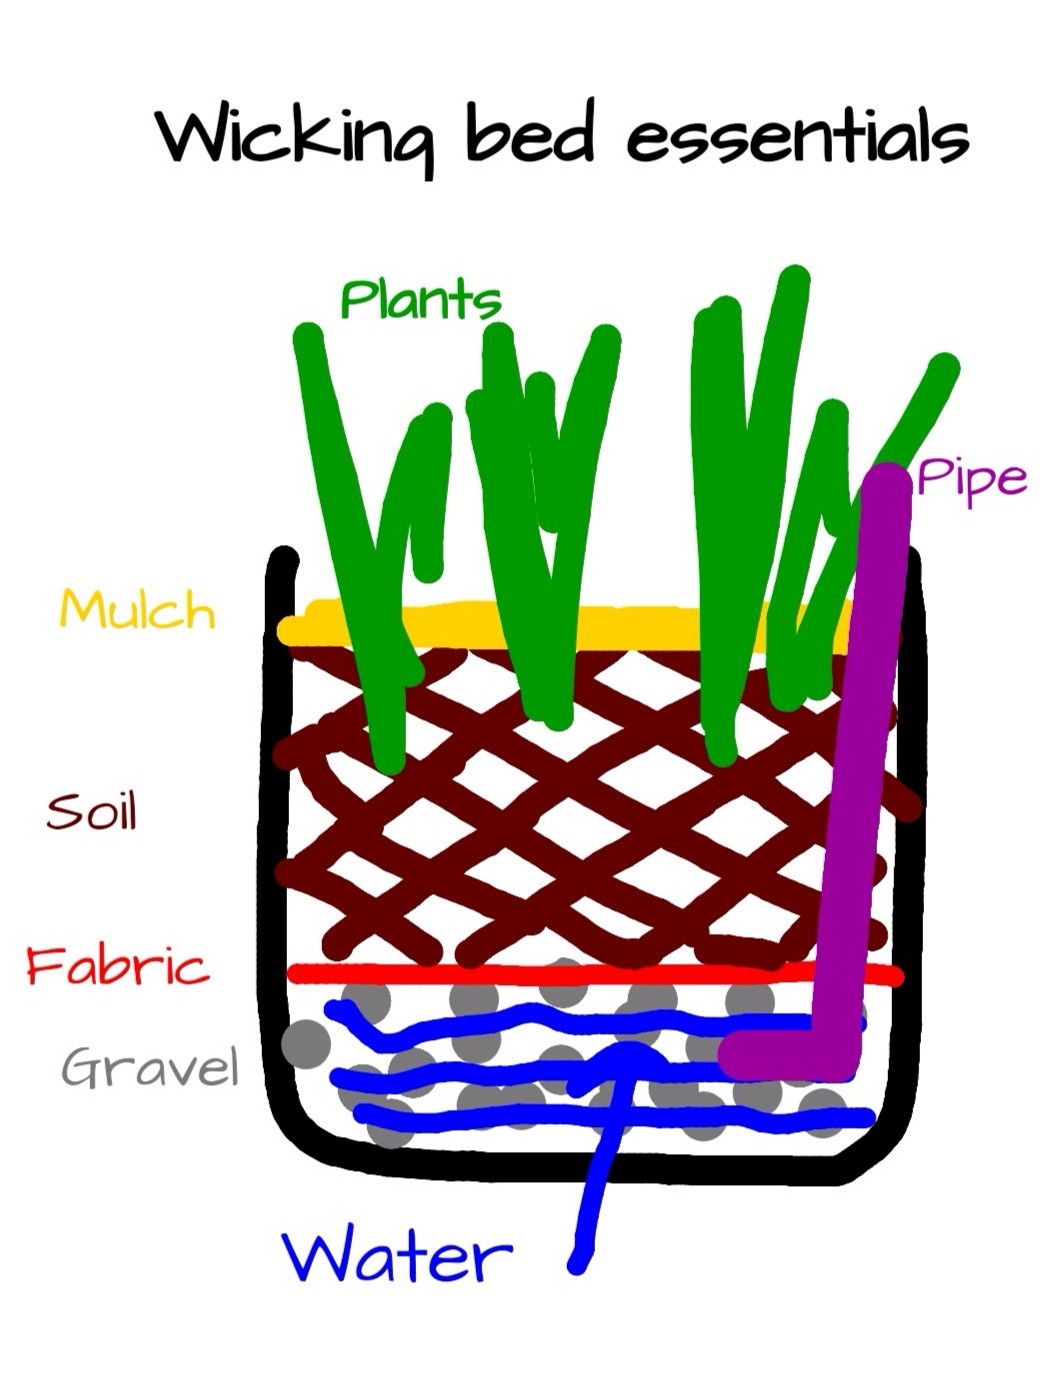
How does a wicking bed work?
Water is added to a reservoir in the bottom of the bed and wicks upwards into the soil through the sponge like affect of organic material and through pore spaces through capillary action.
Once established, as the surface dries, more water is drawn up to replace it. Plants send their roots downwards to the continually moist soil below the surface and draw moisture up through transpiration.
What’s involved in building one?
Preparing the base
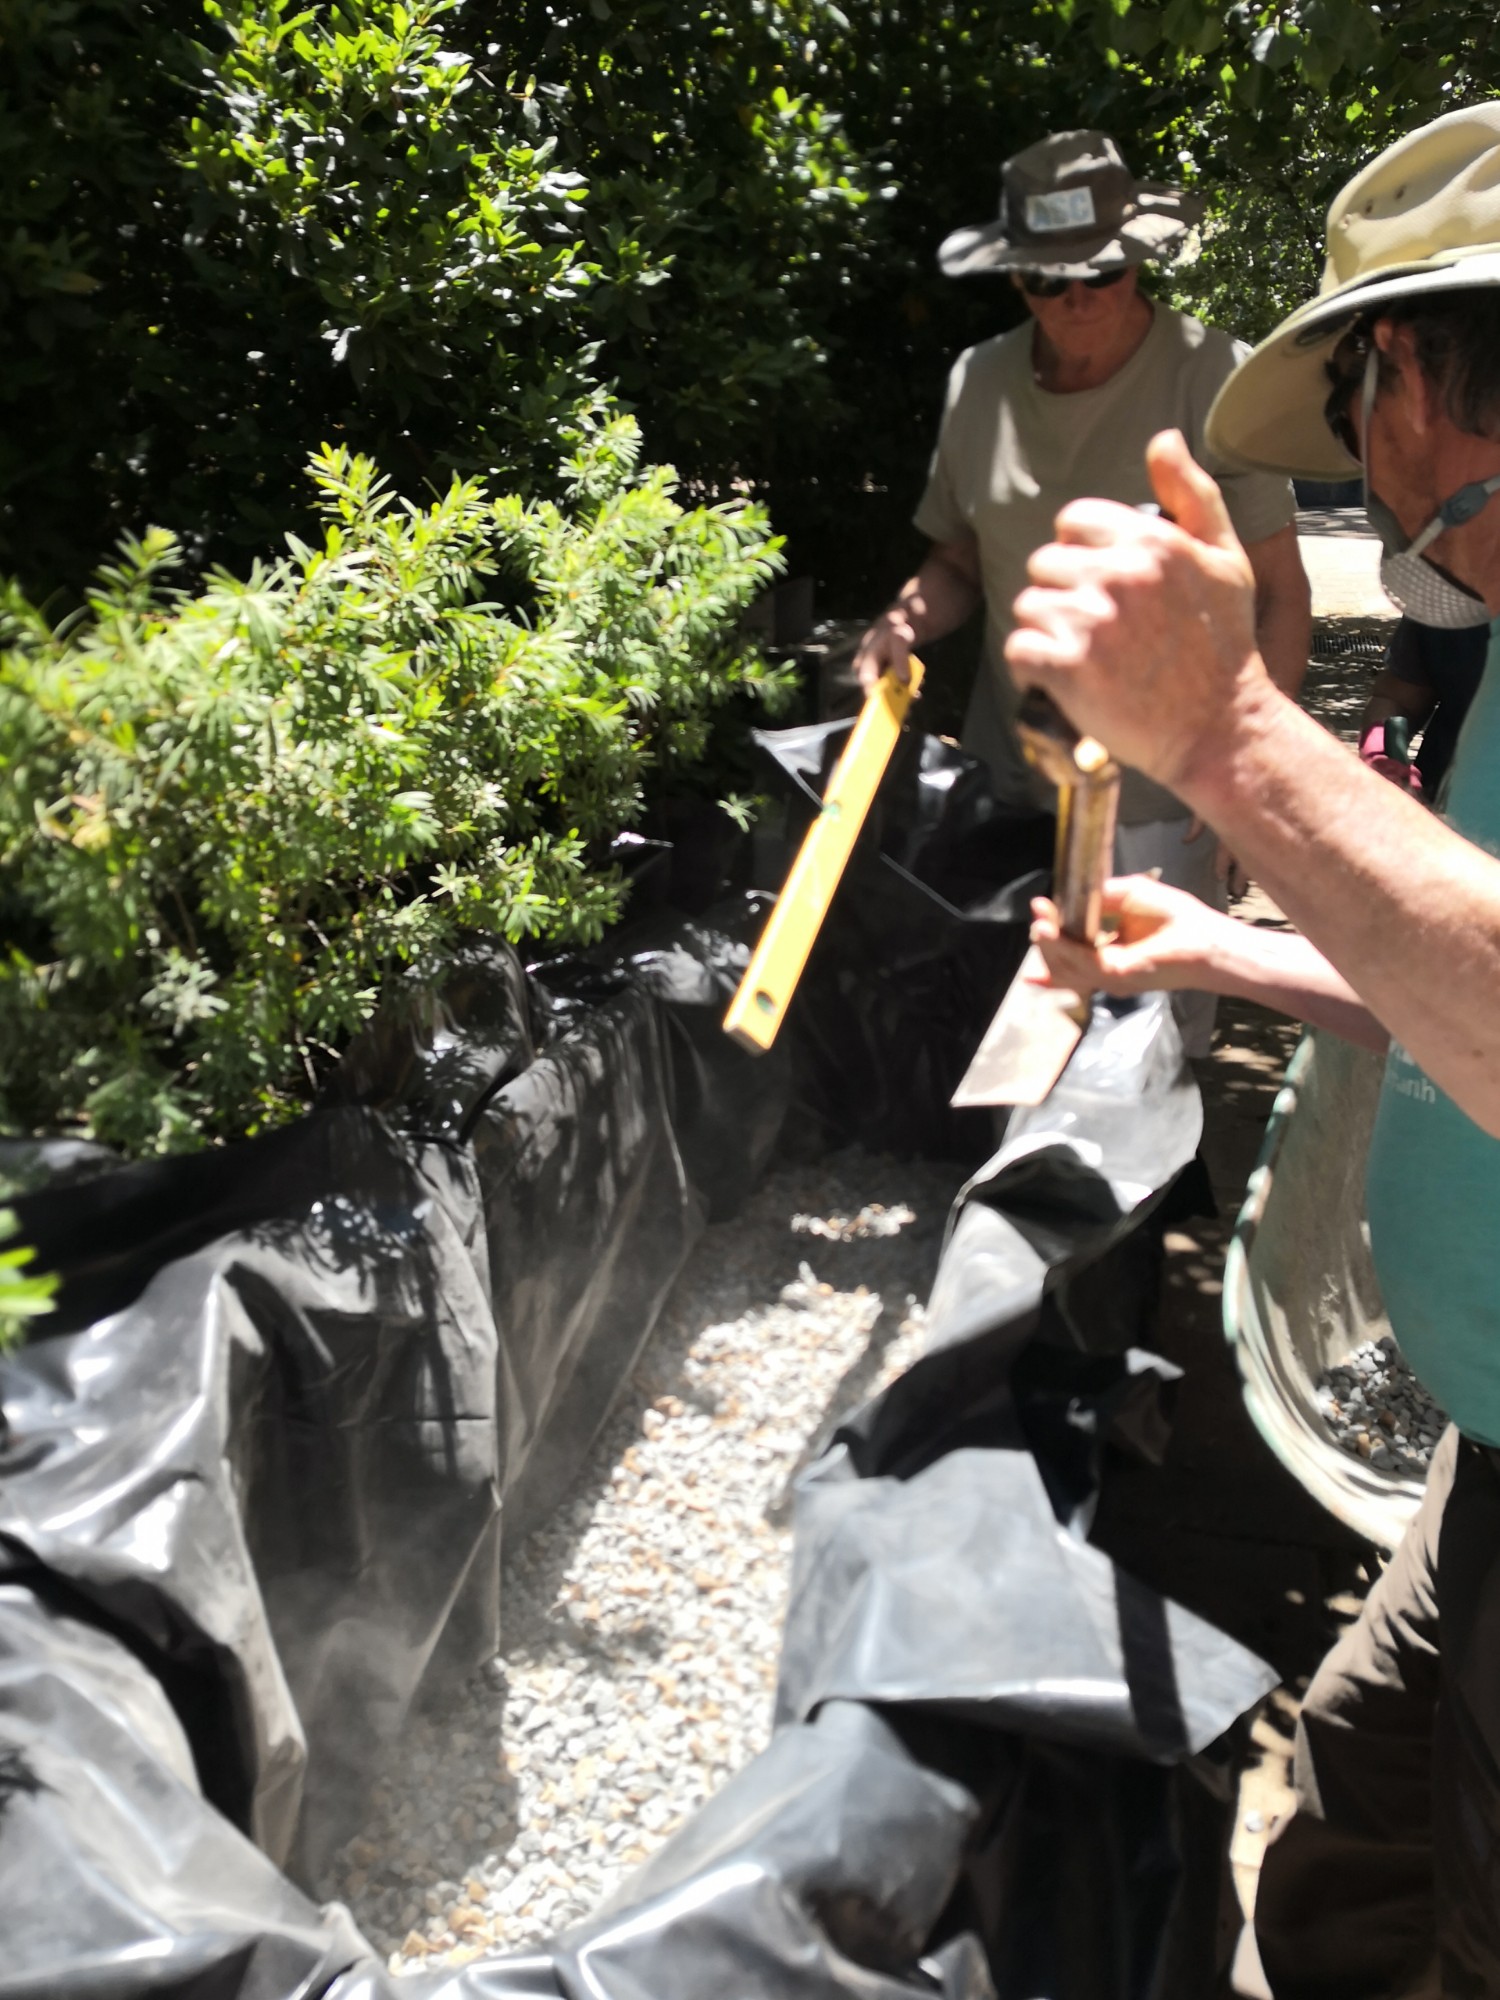
When building a wicking bed, you start from the bottom and work upwards so the first step is to make sure your ground is level and firm. Ground that is too far out of level or very uneven can cause the water in the wicking bed to pool unevenly and weaken the wicking bed.
Stop the weeds, protect the plastic
You will need a liner of some sort to protect the plastic liner from sharp rocks and tree roots (trees love finding their way into wicking beds). This can be anything such as pond liner, plastic, weed mat or old carpet or a combination of any of those.
The liner
A wicking bed needs some kind of container or liner to hold the water and moisture. If you are using small containers, a liner is not necessary but if you are using a steel garden bed or open bottomed container, you will need a waterproof liner. Pond liner is best but 20 micrometer builder’s plastic is the most commonly used and is far cheaper.
The liner needs to reach up the sides of the container at least to a couple of inches above the water line (the top of the gravel). It’s best to take it up as far as the top of the soil to protect the container, especially if it’s steel.
The water reservoir
The water reservoir on larger beds is usually clean gravel. Gravel has many spaces in between the pieces that can hold water. It also provides a strong base for the soil that goes above it. We’ve saved on gravel by adding 2 litre soft drink bottles with extra holes in them and off cuts of PVC pipe.
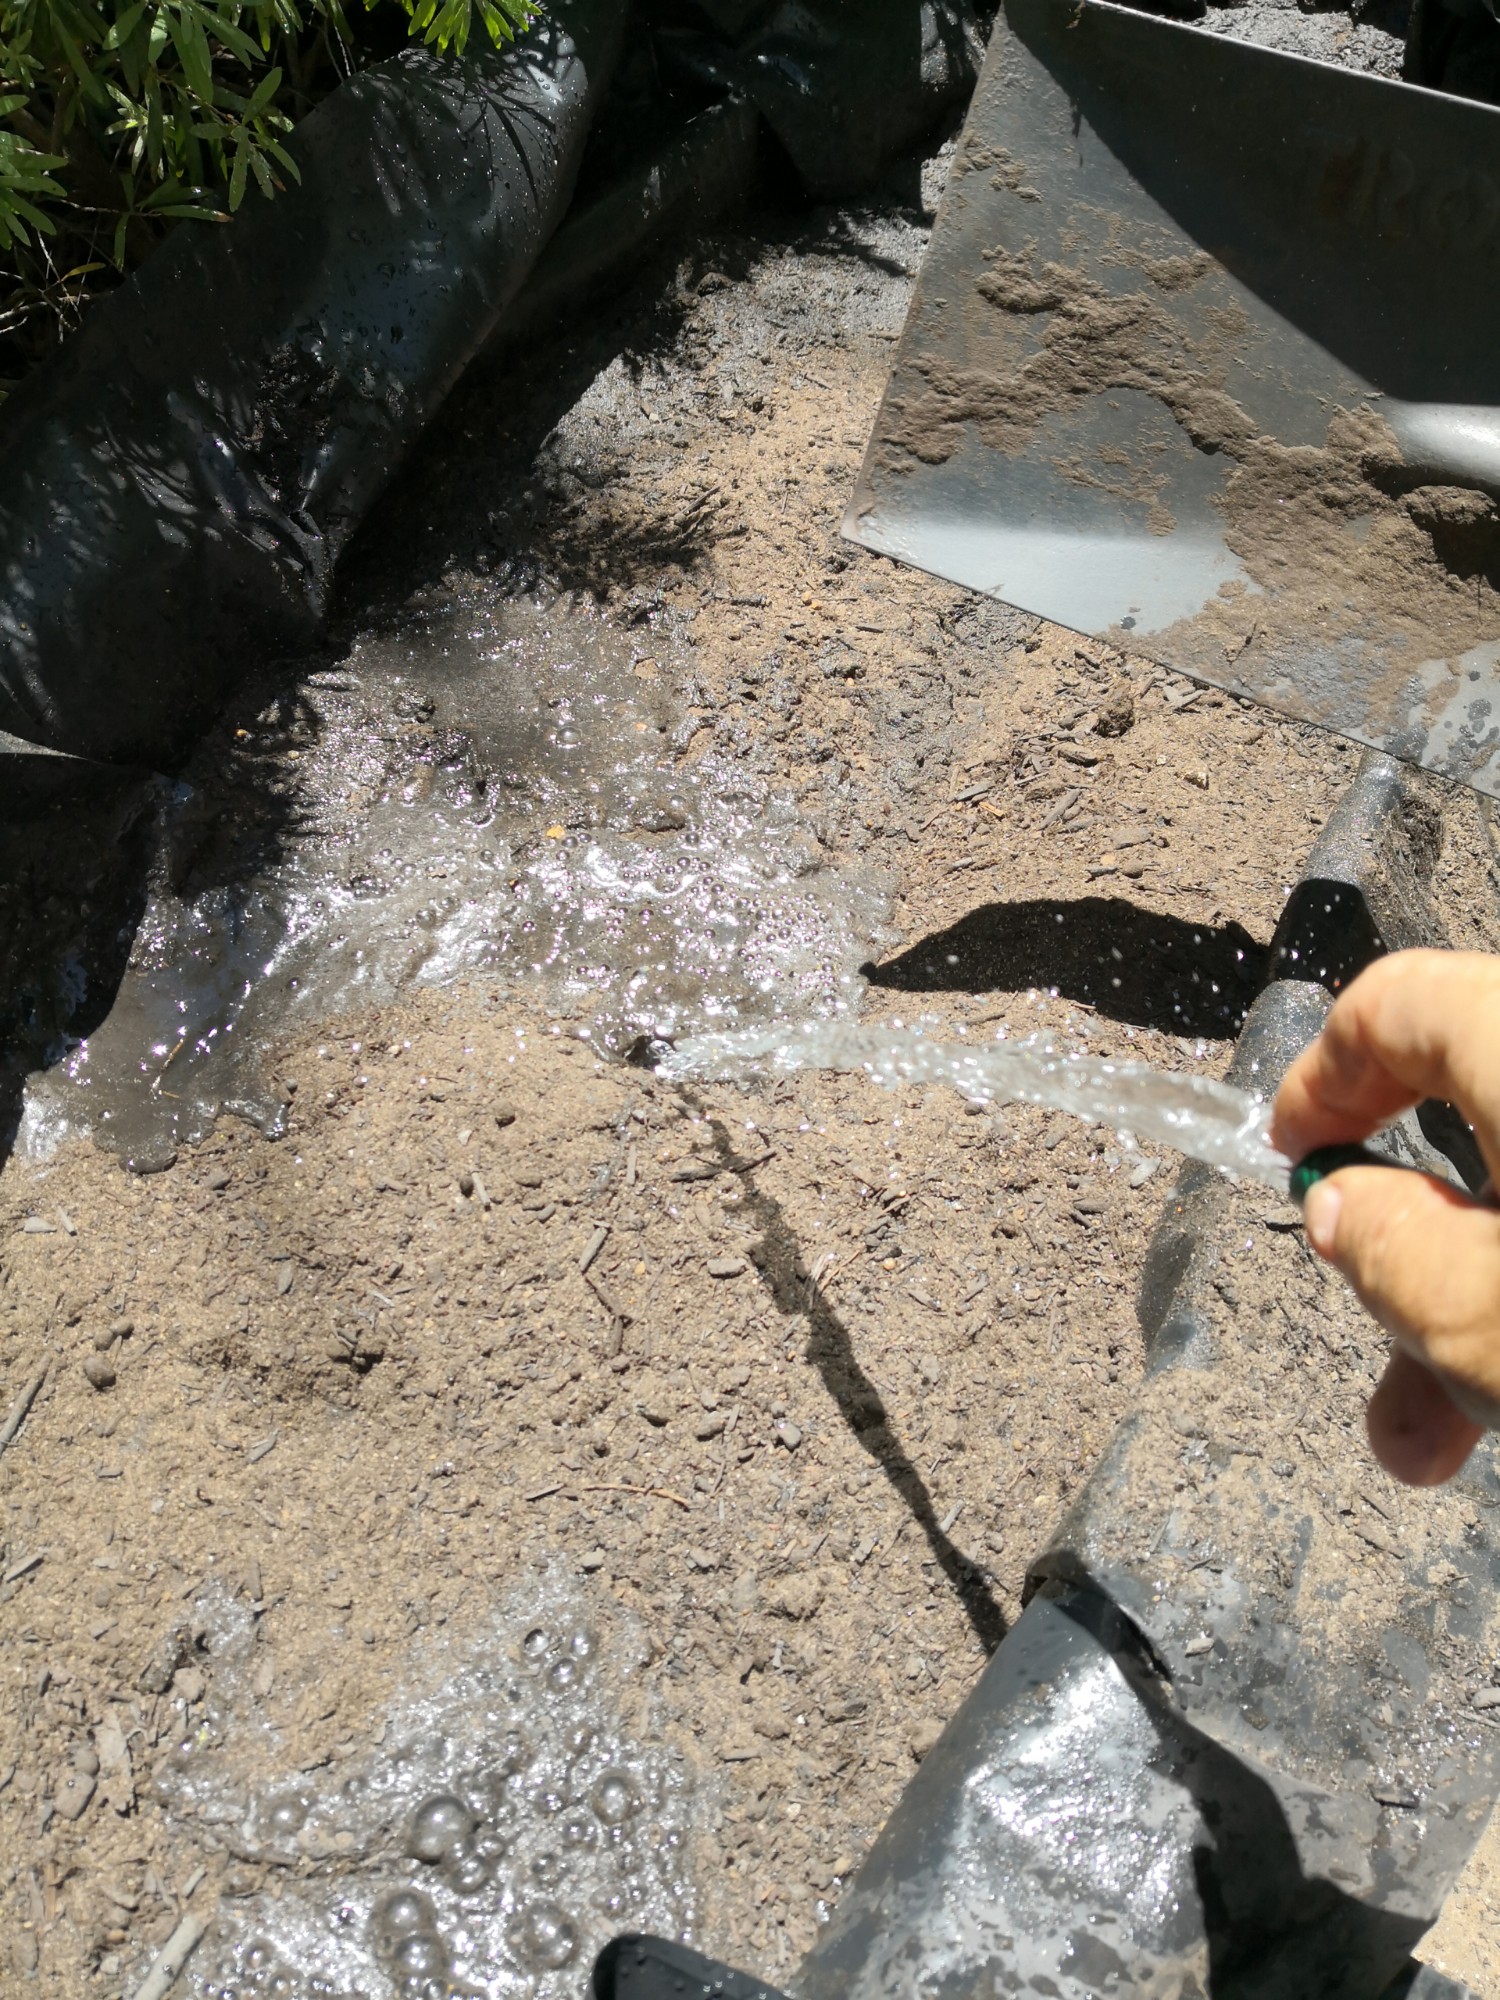
14 mm gravel is about the best size to use. We use 20 mm, which is probably the most commonly used. We use it because our driveway and paths are made from it so its easy to get a little extra if we’re short or reuse old wicking bed gravel to top them up. It also makes it easy to wash the gravel as we don’t need to put a liner down.
Wash your gravel well. Washing off all the sand and dust means that the pore spaces amongst the gravel don’t silt up as quickly and you’ll need to do less maintenance.
You can also use large containers such as cut down 20 litre drums on bigger beds and Styrofoam vegetable boxes on others but if you do, you will need to pay attention to the next bit.
Note: Too deep a reservoir doesn’t help the wicking, so keep yours between 15 and 30 cm deep
Fill pipe
A pipe leads down from the surface and into the gravel. This is where you add your water to top the bed up. 50 mm – 90 mm PVC is best.
I like to add a 90 degree angle at the bottom of the fill pipe and add a metre or so of pipe across and slightly into the gravel. This pipe has holes or slits cut into it and helps distribute the water into the reservoir more quickly and evenly. Wrap shade cloth or other fabric around it to prevent it getting clogged up. You can seal the end if you want but I don’t usually bother,
Filter material
You will need a filter material to stop the soil from working its way down into the gravel and filling up the pore spaces. This material must also allow the water to pass upwards through it. Geotextile is the best fabric to use but most folks use shade cloth. I’ve even seen old sheets used. The key is that it has to allow water to wick through it while being fine enough to stop soil from going the other way.
Save your back and energy when you’re making a bigger wicking bed and make a party out of it or hold a workshop
Overflow pipe
In between the gravel and the filter material and through the liner and side of the container goes an overflow pipe. This is essential if you don’t want your wicking bet to fill completely with water and become a muddy swimming pool. The idea is to place it down into the gravel so that any water above this will flow out and below the filter fabric so that the soil won’t was away with any overfilling.
Seal the liner around the overflow pipe very well with silicon. This is probably the most common area of failure in the integrity of the bed.
Soil
Next in progression from the bottom comes the soil. Small beds can use potting mix but on larger beds, it tends to fail to wick the water upwards.

The soil is the most nerve wracking component. Too coarse and you won’t get any capillary action. Too fine and it will become waterlogged. Too much organic material and you won’t get wicking. Too much clay and you can get a barrier to water flow forming.
If that all sounds a bit intimidating, don’t worry. Most good soil mixes from your local landscape suppliers will work quite well. Most good garden soil will work too. It’s just the extremes that we need worry about.
Note: For best wicking action, the soil should be between 30 and 60 cm deep with 45 cm being perfect in most cases.
Water it in
Wet your soil well as you add it to the bed. I like to make it pretty wet so that water is absorbed well throughout all of it, It will settle a little overnight, so keep a little soil spare to top it up with.
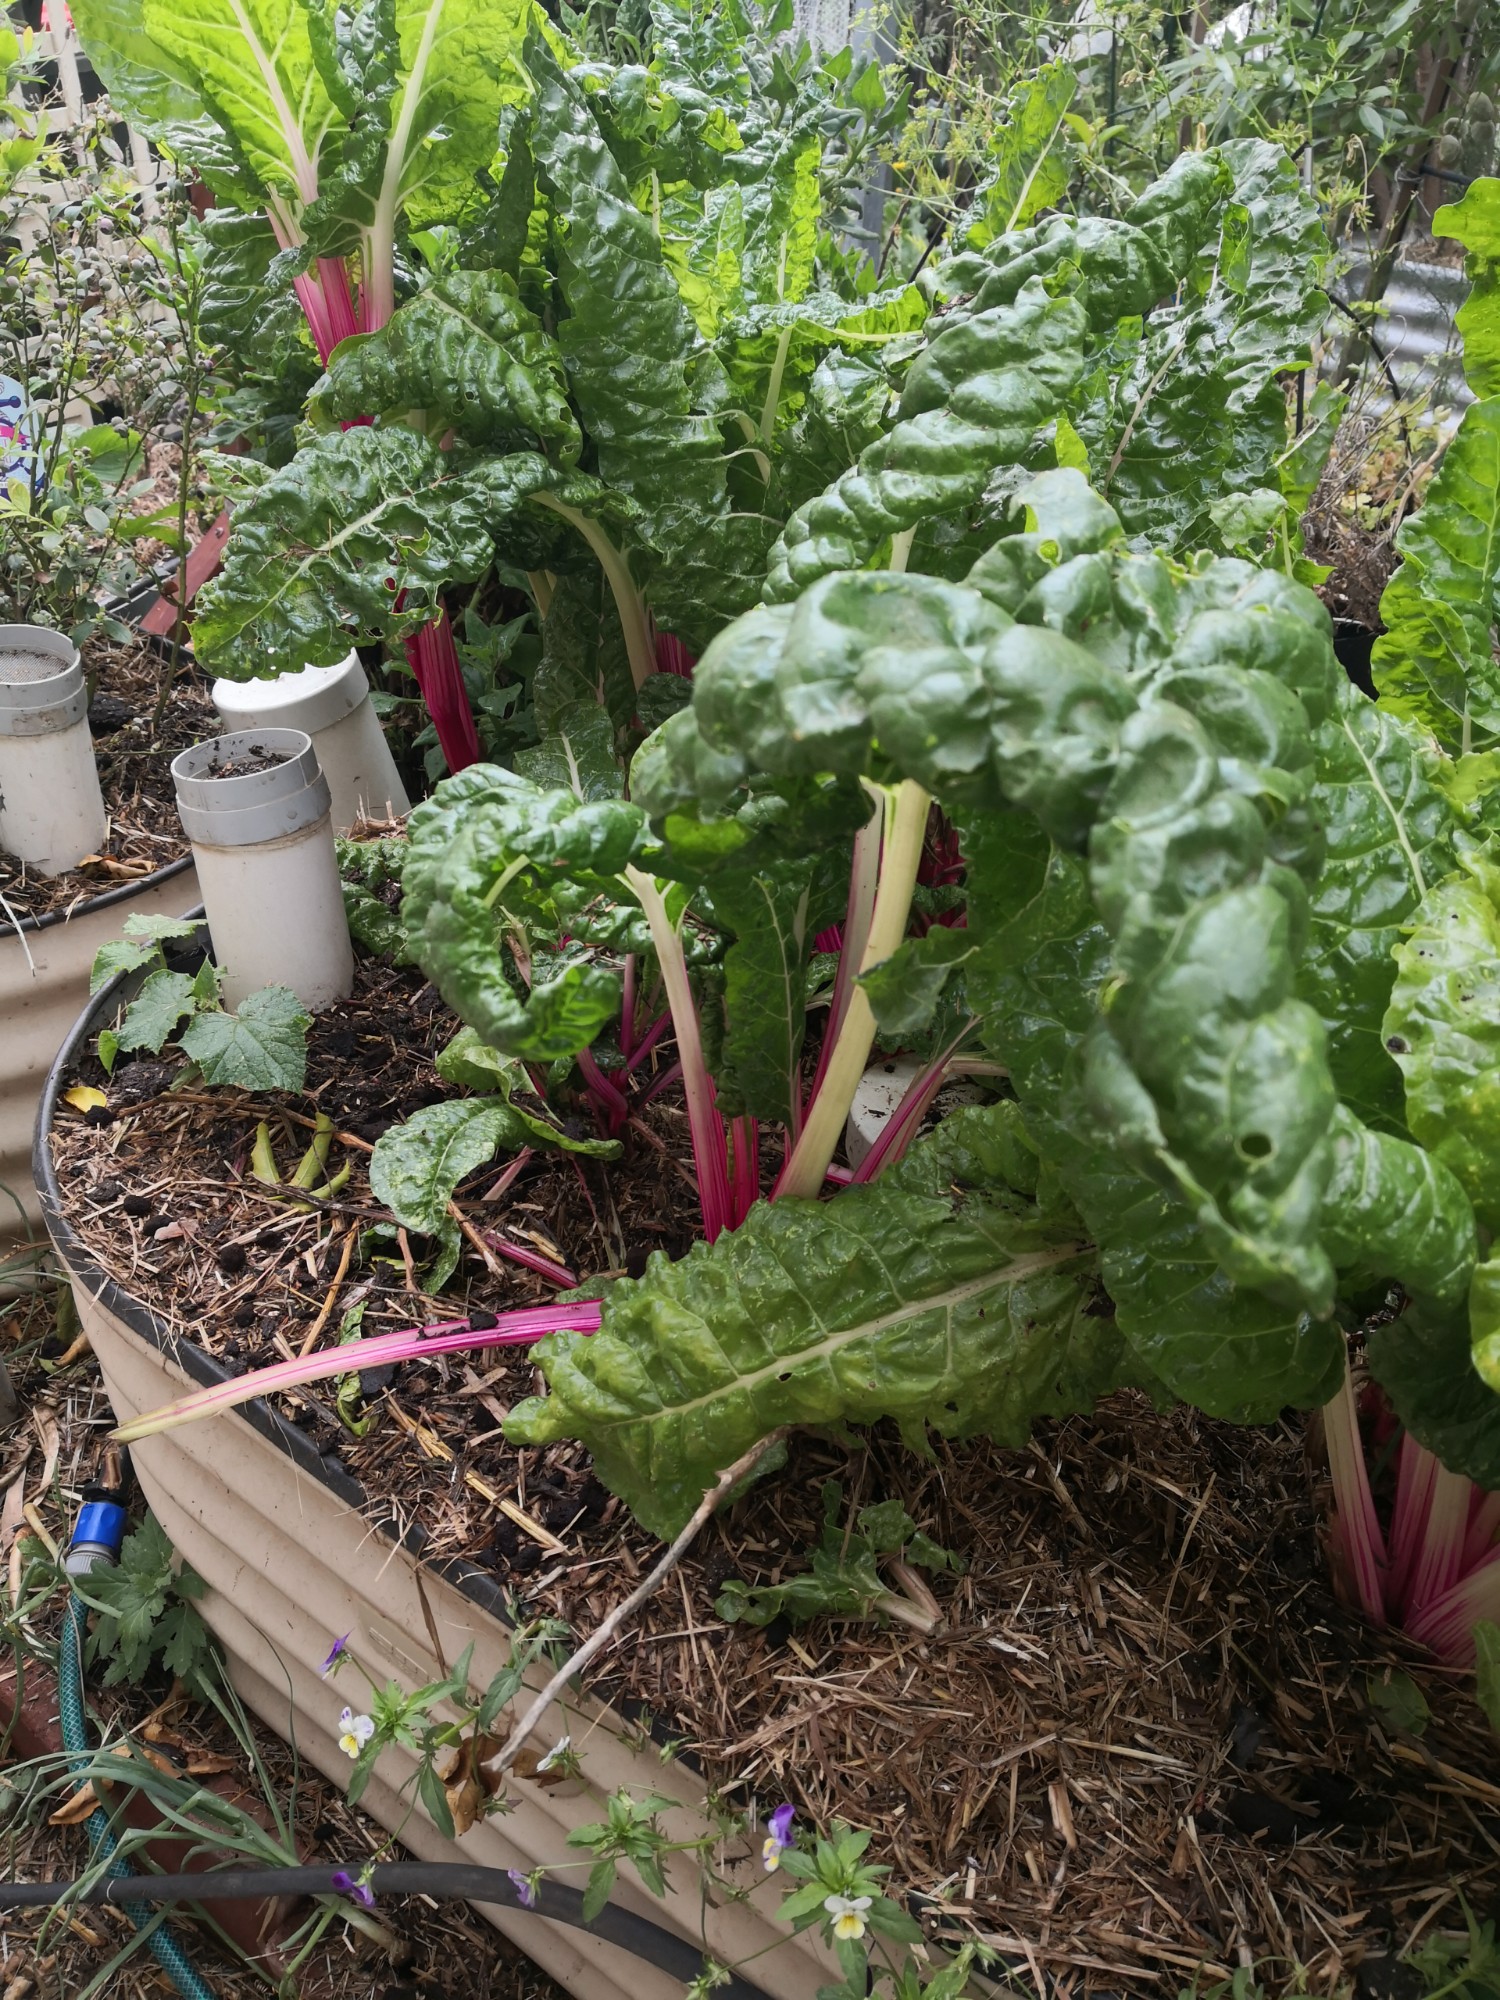
Mulch
Once the soil is in, a good mulch layer is all that’s needed and then the plants. You may need to surface water for a little while, especially in hot weather or if you are using young seedlings but after a bit, they’ll find their own water quite well. As with open garden beds, mulch can help to reduce evaporation from a wicking bed and save water.
Fill up the reservoir
Once established, fill the reservoir, as needed, through the pipe. When water flows from the overflow, you will know that the reservoir is full. You will learn from experience roughly how much to add in each season. I can tell when mine are about to overflow by the sound from the fill pipe.
Let it rest, then plant
Once your wicking bed has been built, it’s best to let it sit for a couple of days for it all to settle and for the moisture in the soil to distribute itself evenly. Then you can plant to your heart’s content.
You will need to water the plants directly until their roots are established.
Tips
- Save your back and energy when you’re making a bigger wicking bed and make a party out of it or hold a workshop.
- Fertilize your wicking bed as you would any garden bed.
- If you don’t mulch, don’t panic if the top 1 cm or so of the soil dries out in the hot weather. The plant roots are much deeper than this and will find their moisture. You may find that overnight, the moisture returns to the soil once the heat is off of it.
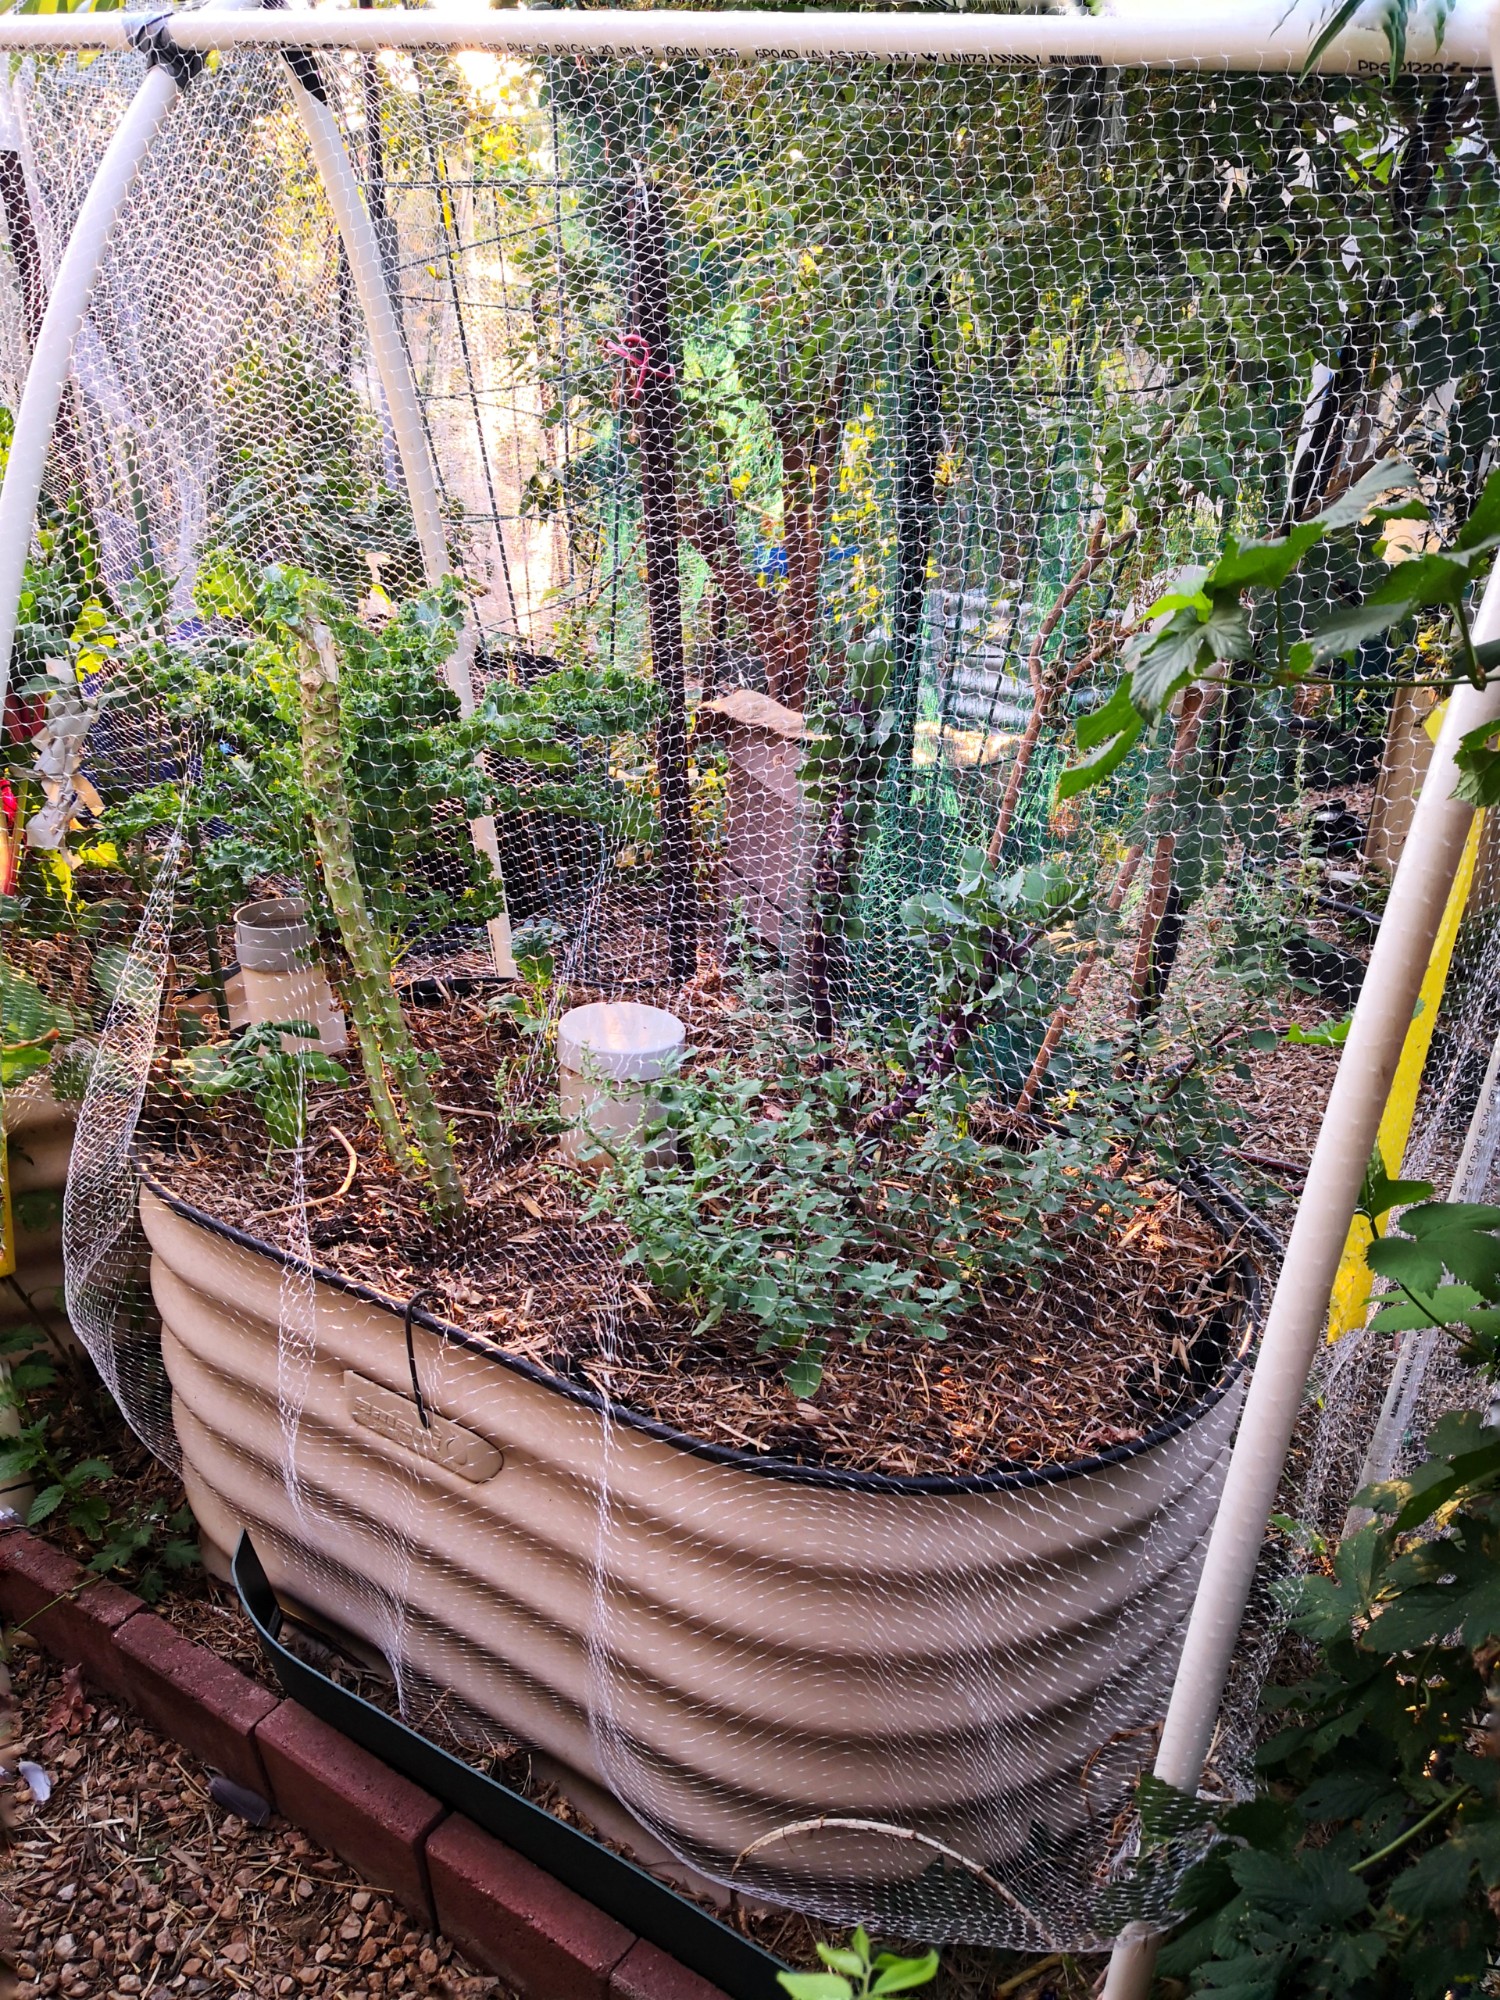
- The gap at he top of the bed, in between the plastic and the side of the bed is a haven for slugs and snails, as is the pipe. You put a cap on the pipe to help.
- Point your overflow towards another area that needs water, that way if you forget to turn off the tap, the water isn’t wasted
- Net the beds to the results of all your hard work to yourself!
- In Summer, heat can really build up in fully exposed metal beds. If yours are open to the full Sun, consider wrapping some shade cloth around them. In Winter, of course, the extra warmth from the Sun will help plant growth.
- You may have to top water from time to time just to freshen up the plants.
- Add a worm tower to keep your wicking bed healthier.
With the right soil and a bit of luck, a wicking bed will last many years without failing. Ours are five years old now and still powering on.
- Just a note: the pictures of folks actually working are from a workshop at the Gawler Environment Centre that I facilitated on Dec 14th 2019. The GEC hold great workshops on many topics throughout the year.
