


Download this instructional page as a FREE PDF
Comfrey and Nettle compost teas are renowned for their high levels of nutrients and their ability to give any plant a boost. The traditional way of making compost teas from these plants usually involves placing a goodly portion of the leaves and stems into a bucket of water, covering, then leaving the mix for up to a couple of months. The downside of making these teas is the smell. They can really stink!
Step in the ‘odourless compost tea press’. The design’s not completely my own. I can’t remember where I saw it first but I’ll step you through how I made one from spare parts I had in the shed.
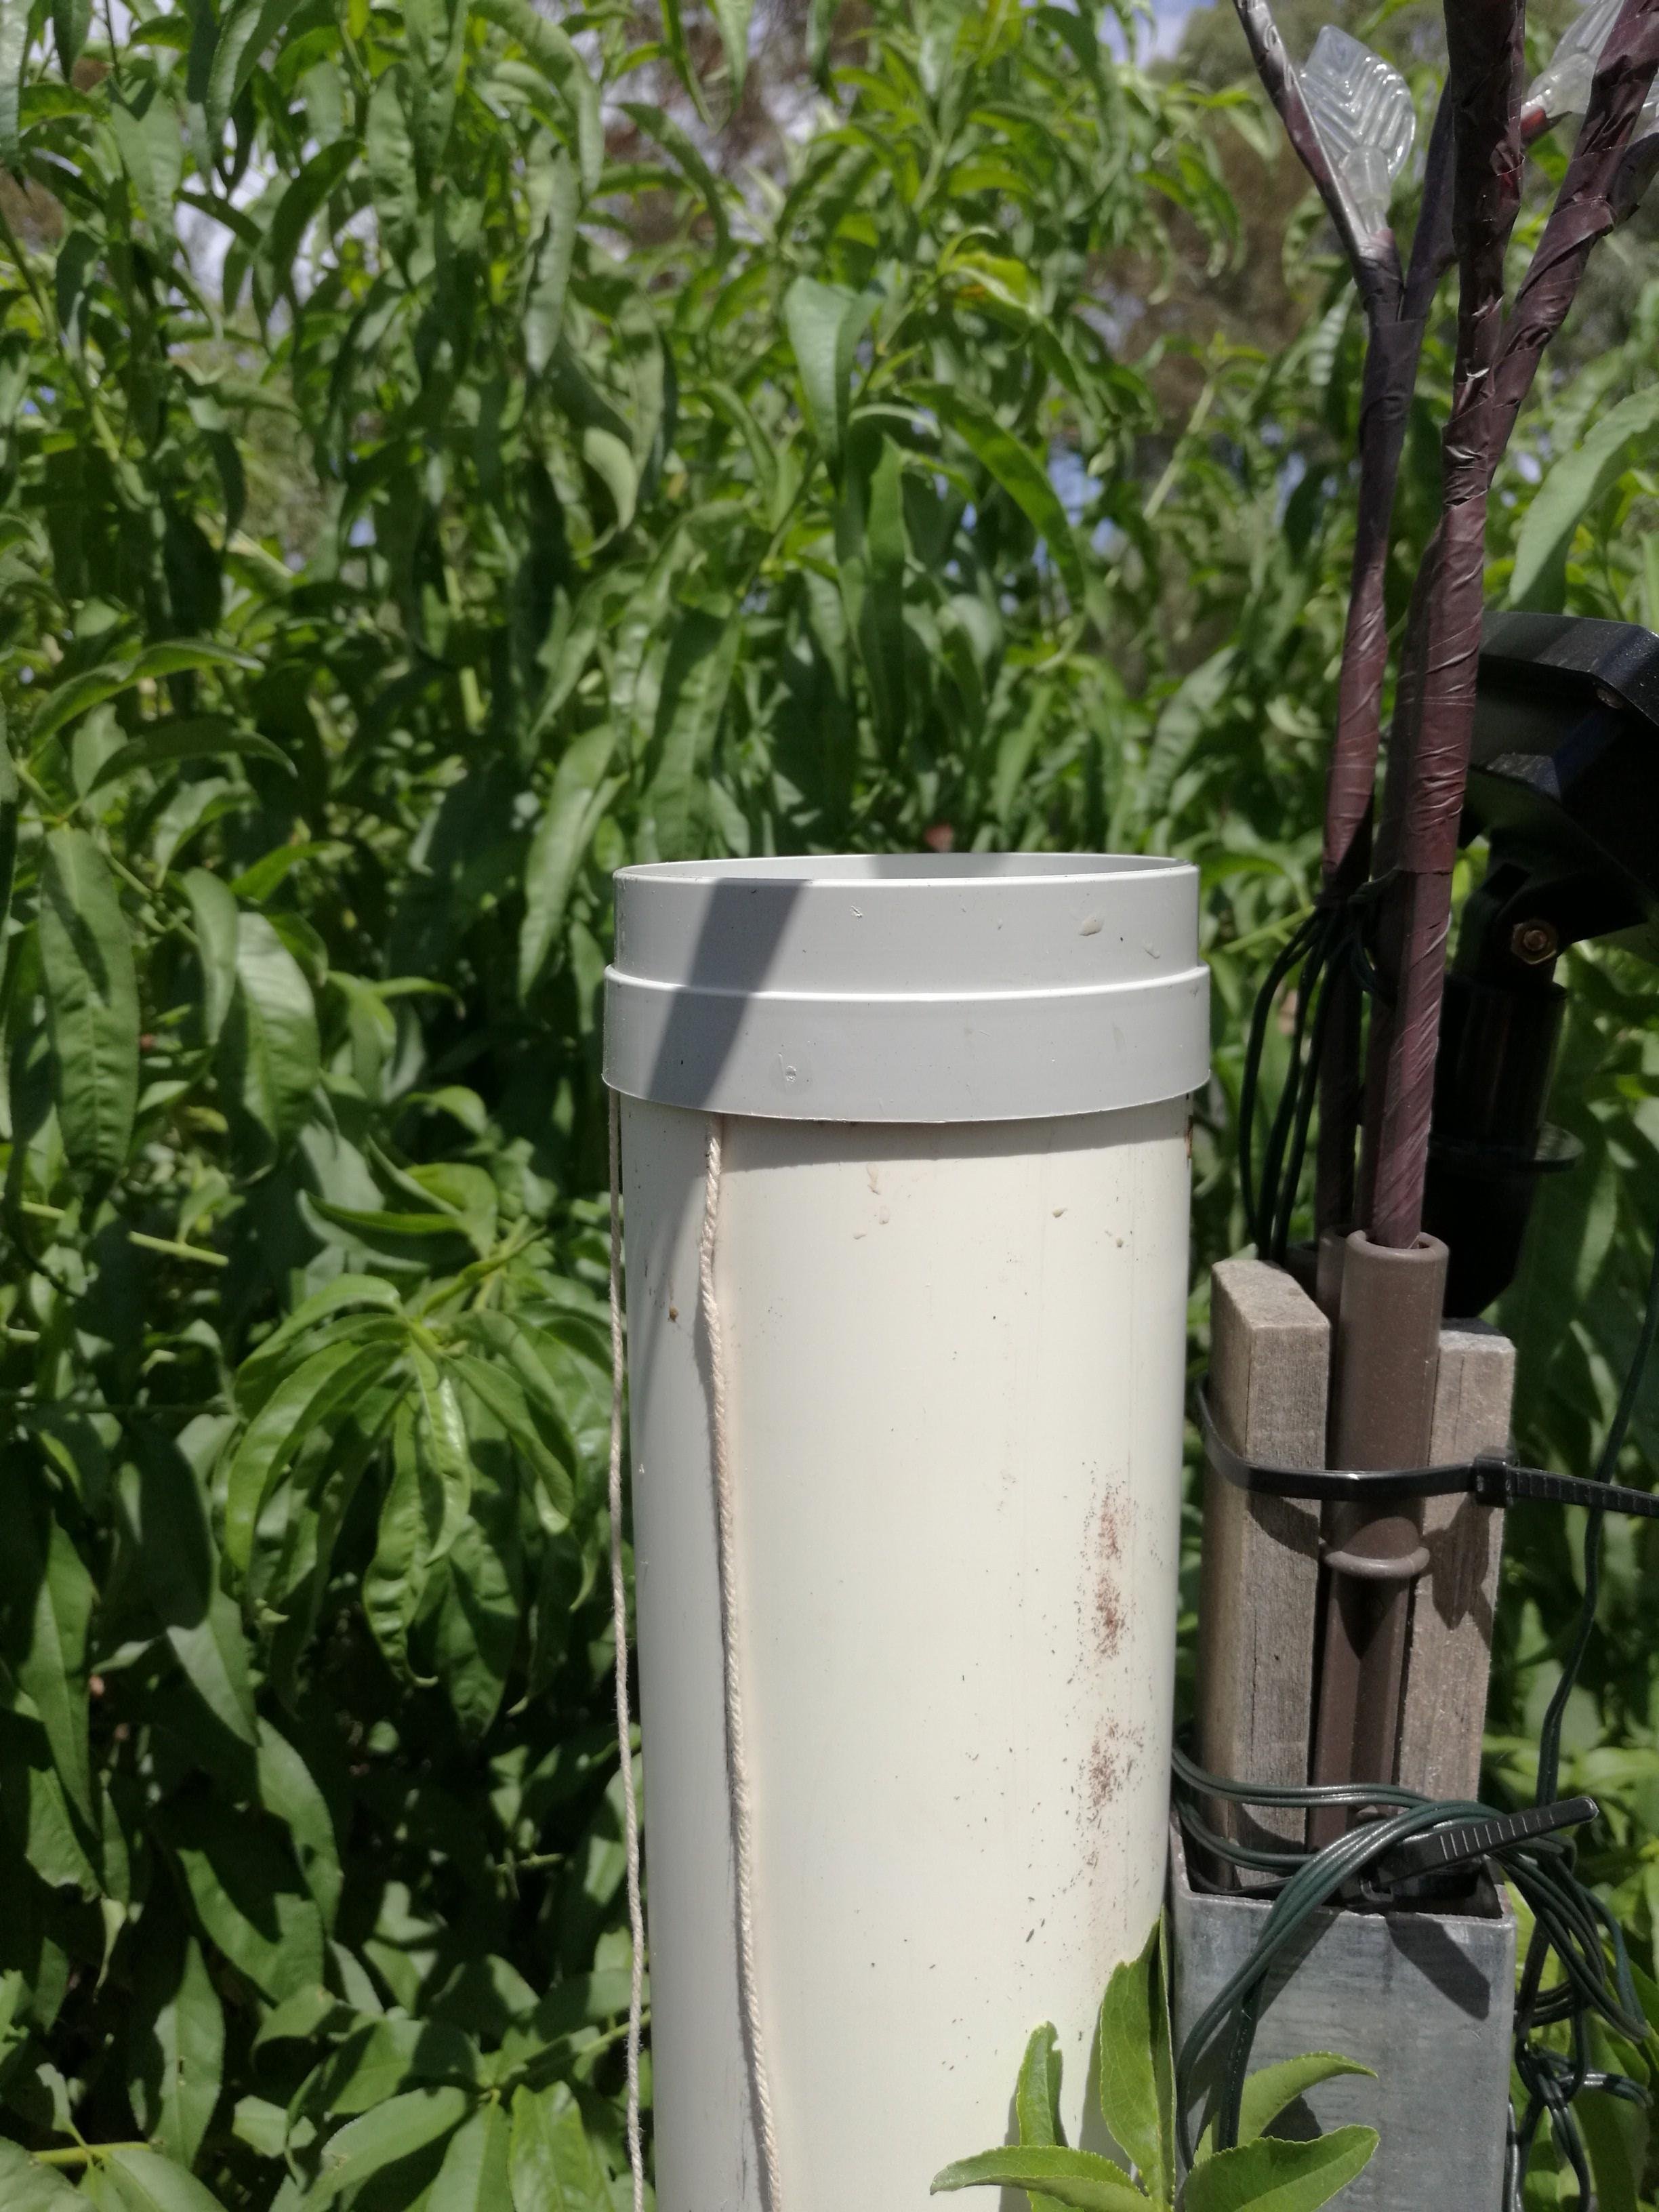
I’m using 90 mm PVC pipe and fittings for this ‘how to’ because that’s what I have the most of laying around but you can use bigger if you have them. I wouldn’t go smaller than 90mm because you just wont fit enough plant material into a manageable length of pipe. My other press uses 150 mm PVC pipe.
The difference between, for example, Nettle tea made this way and the tea made using the traditional ‘put it in a bucket of water and ferment it for a couple of months is marked. This system makes a clear, dark brown liquid with almost no smell. The other way makes a cloudy green liquid that stinks the placed up.

The parts list
- slip threaded end
- threaded cap (use the type shown, with the internal ridge, it seals better under pressure)
- slip on cap
- rubber ‘top hat’ grommet
- a metre or so of 90 mm PVC
- a little 19 mm black polypipe
- a metre or so of waterproof string or fishing line
- a nail or something similarly shaped about 2 cm long.
- silicon
- some kind of material to make a filter inside the pipe
- optional: 20 mm threaded joiner
- optional: 20 mm PVC pipe
- optional: large nut to lock the 20 mm threaded joiner
The tools
- drill
- 5 mm drill bit
- 22 mm or 25 mm spade bit
- silicon gun
- fine file
Step by step
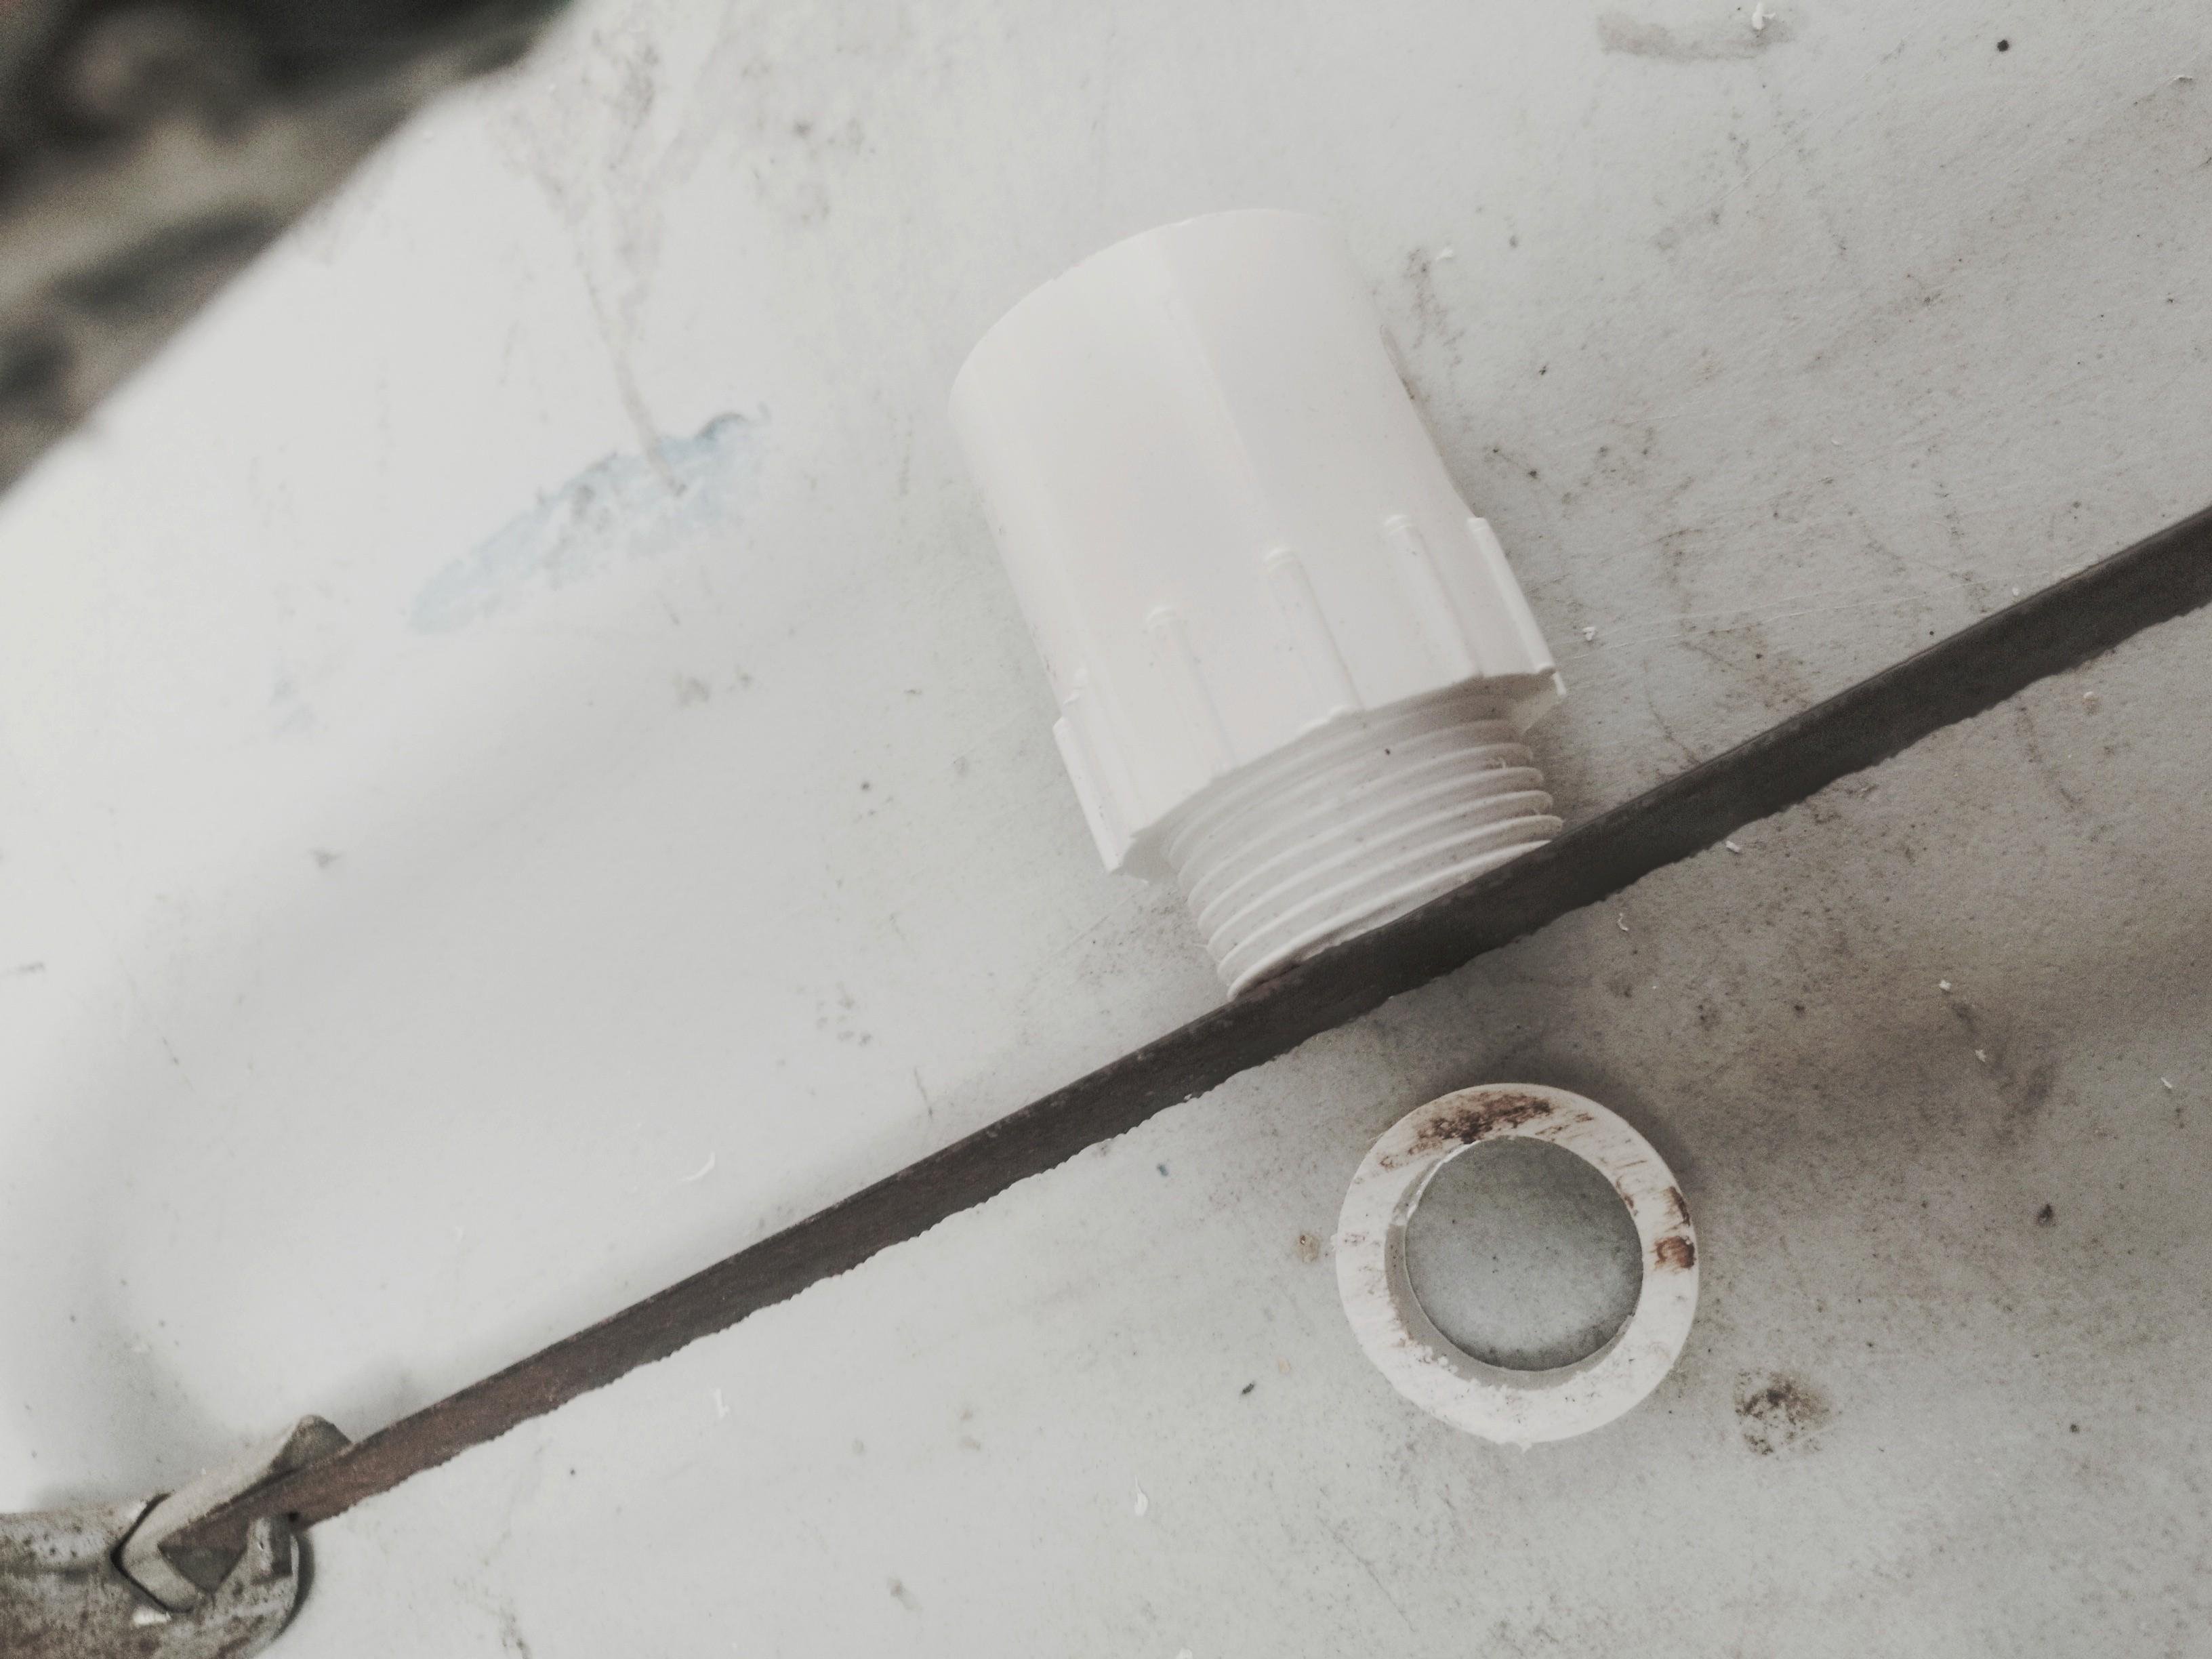
We need a cap to form the bottom and a way attaching an outlet.
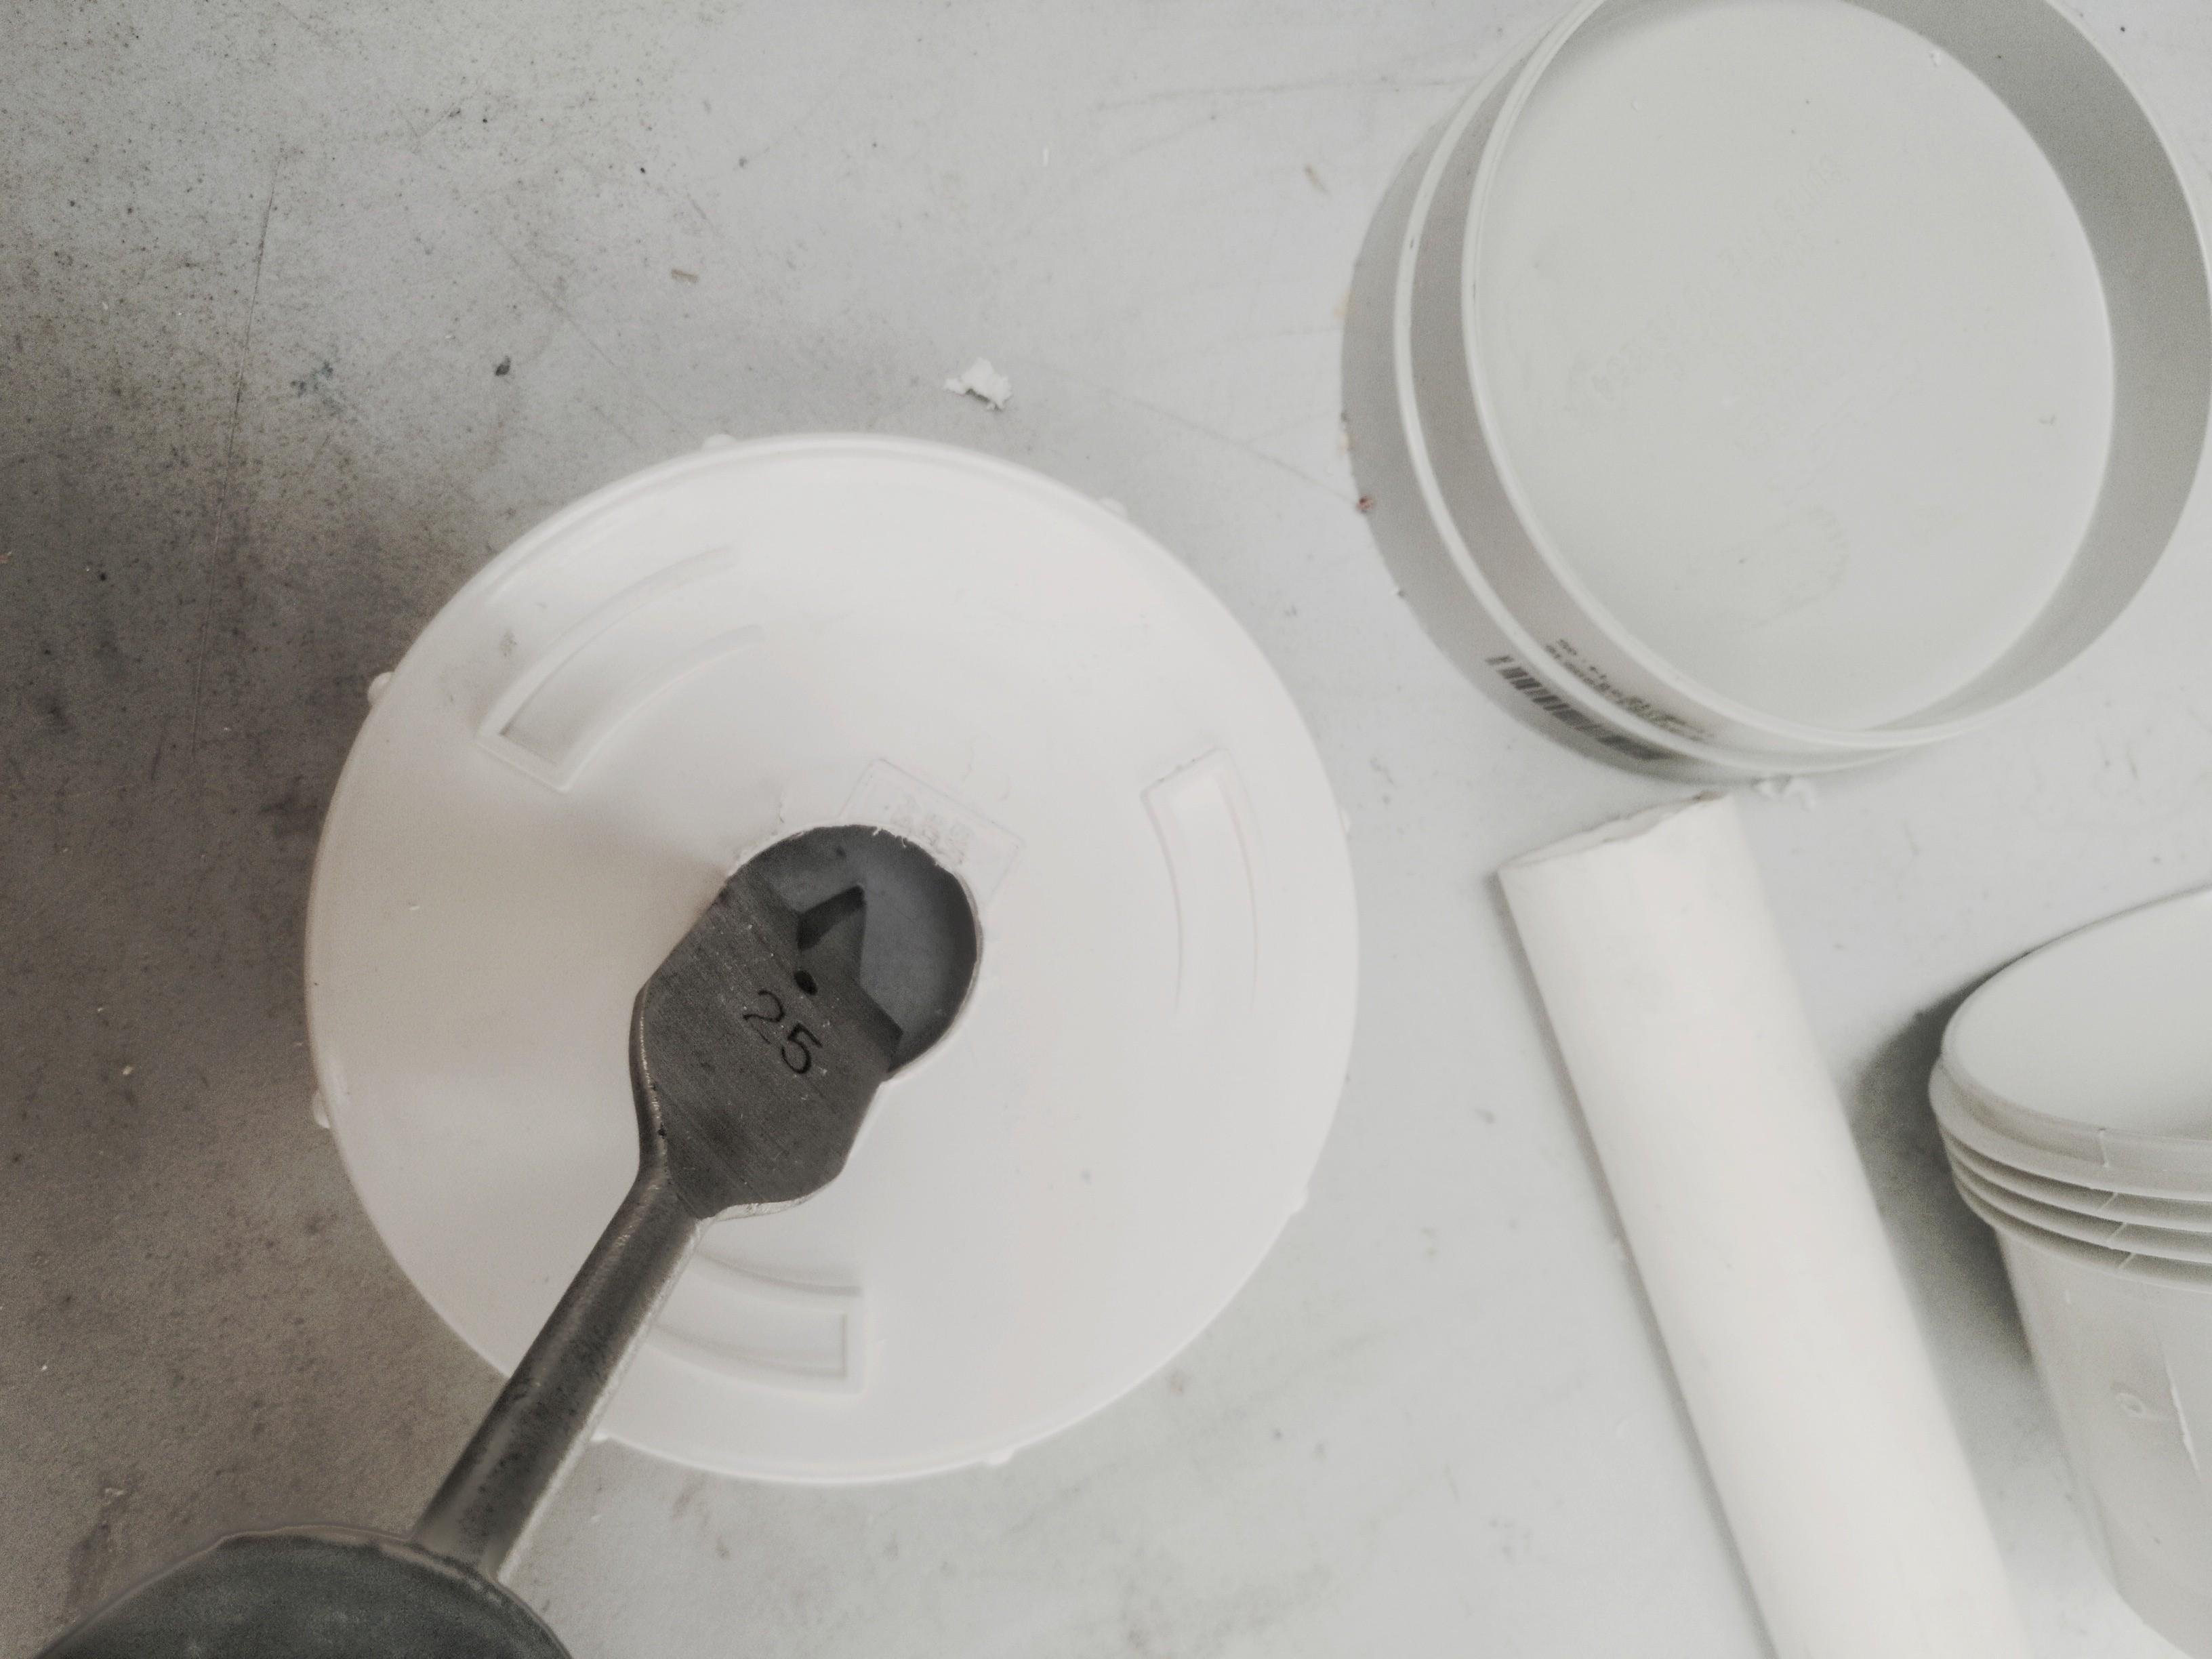
Start by drilling a 22 mm hole in the threaded cap wide enough to slip the 19 mm top hat end through or a 25 mm hole if you’re using the threaded connector (see later for this option).

19mm top hat grommet.

Slide the grommet into the 22 mm hole in the threaded end cap. You can leave just a hole in the bottom and collect the liquid in an open bucket but I like things a bit tidy.
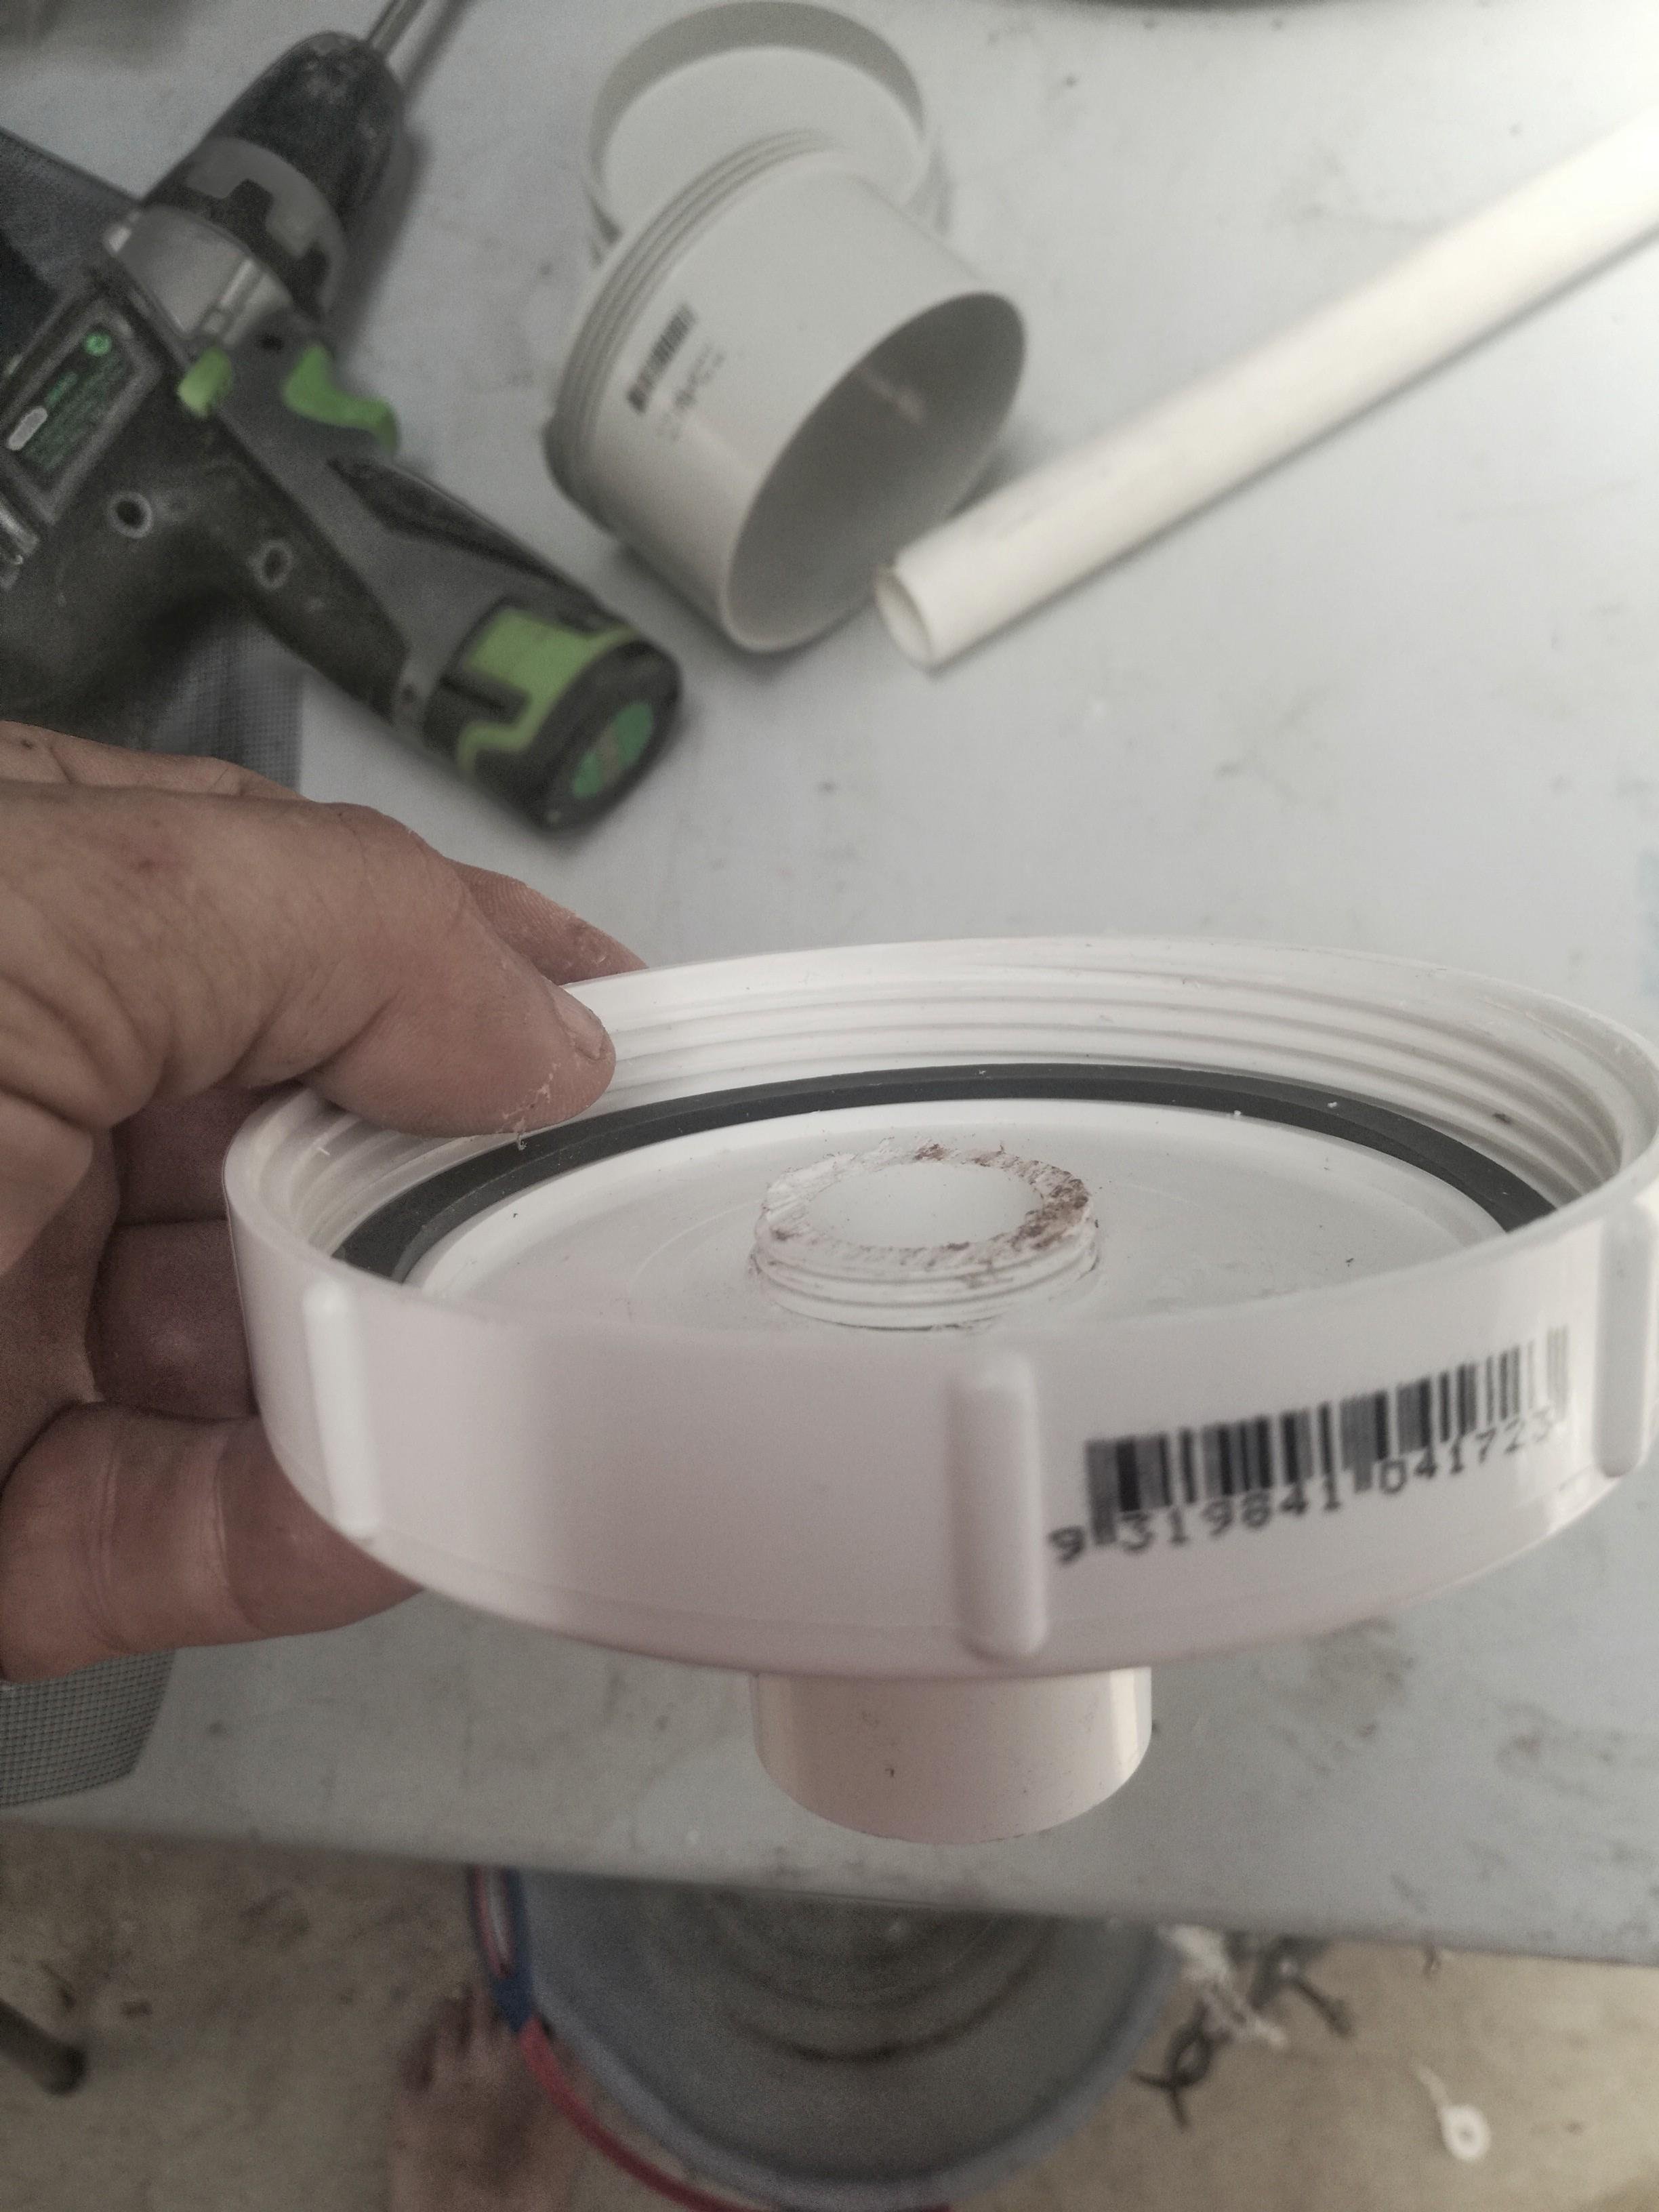
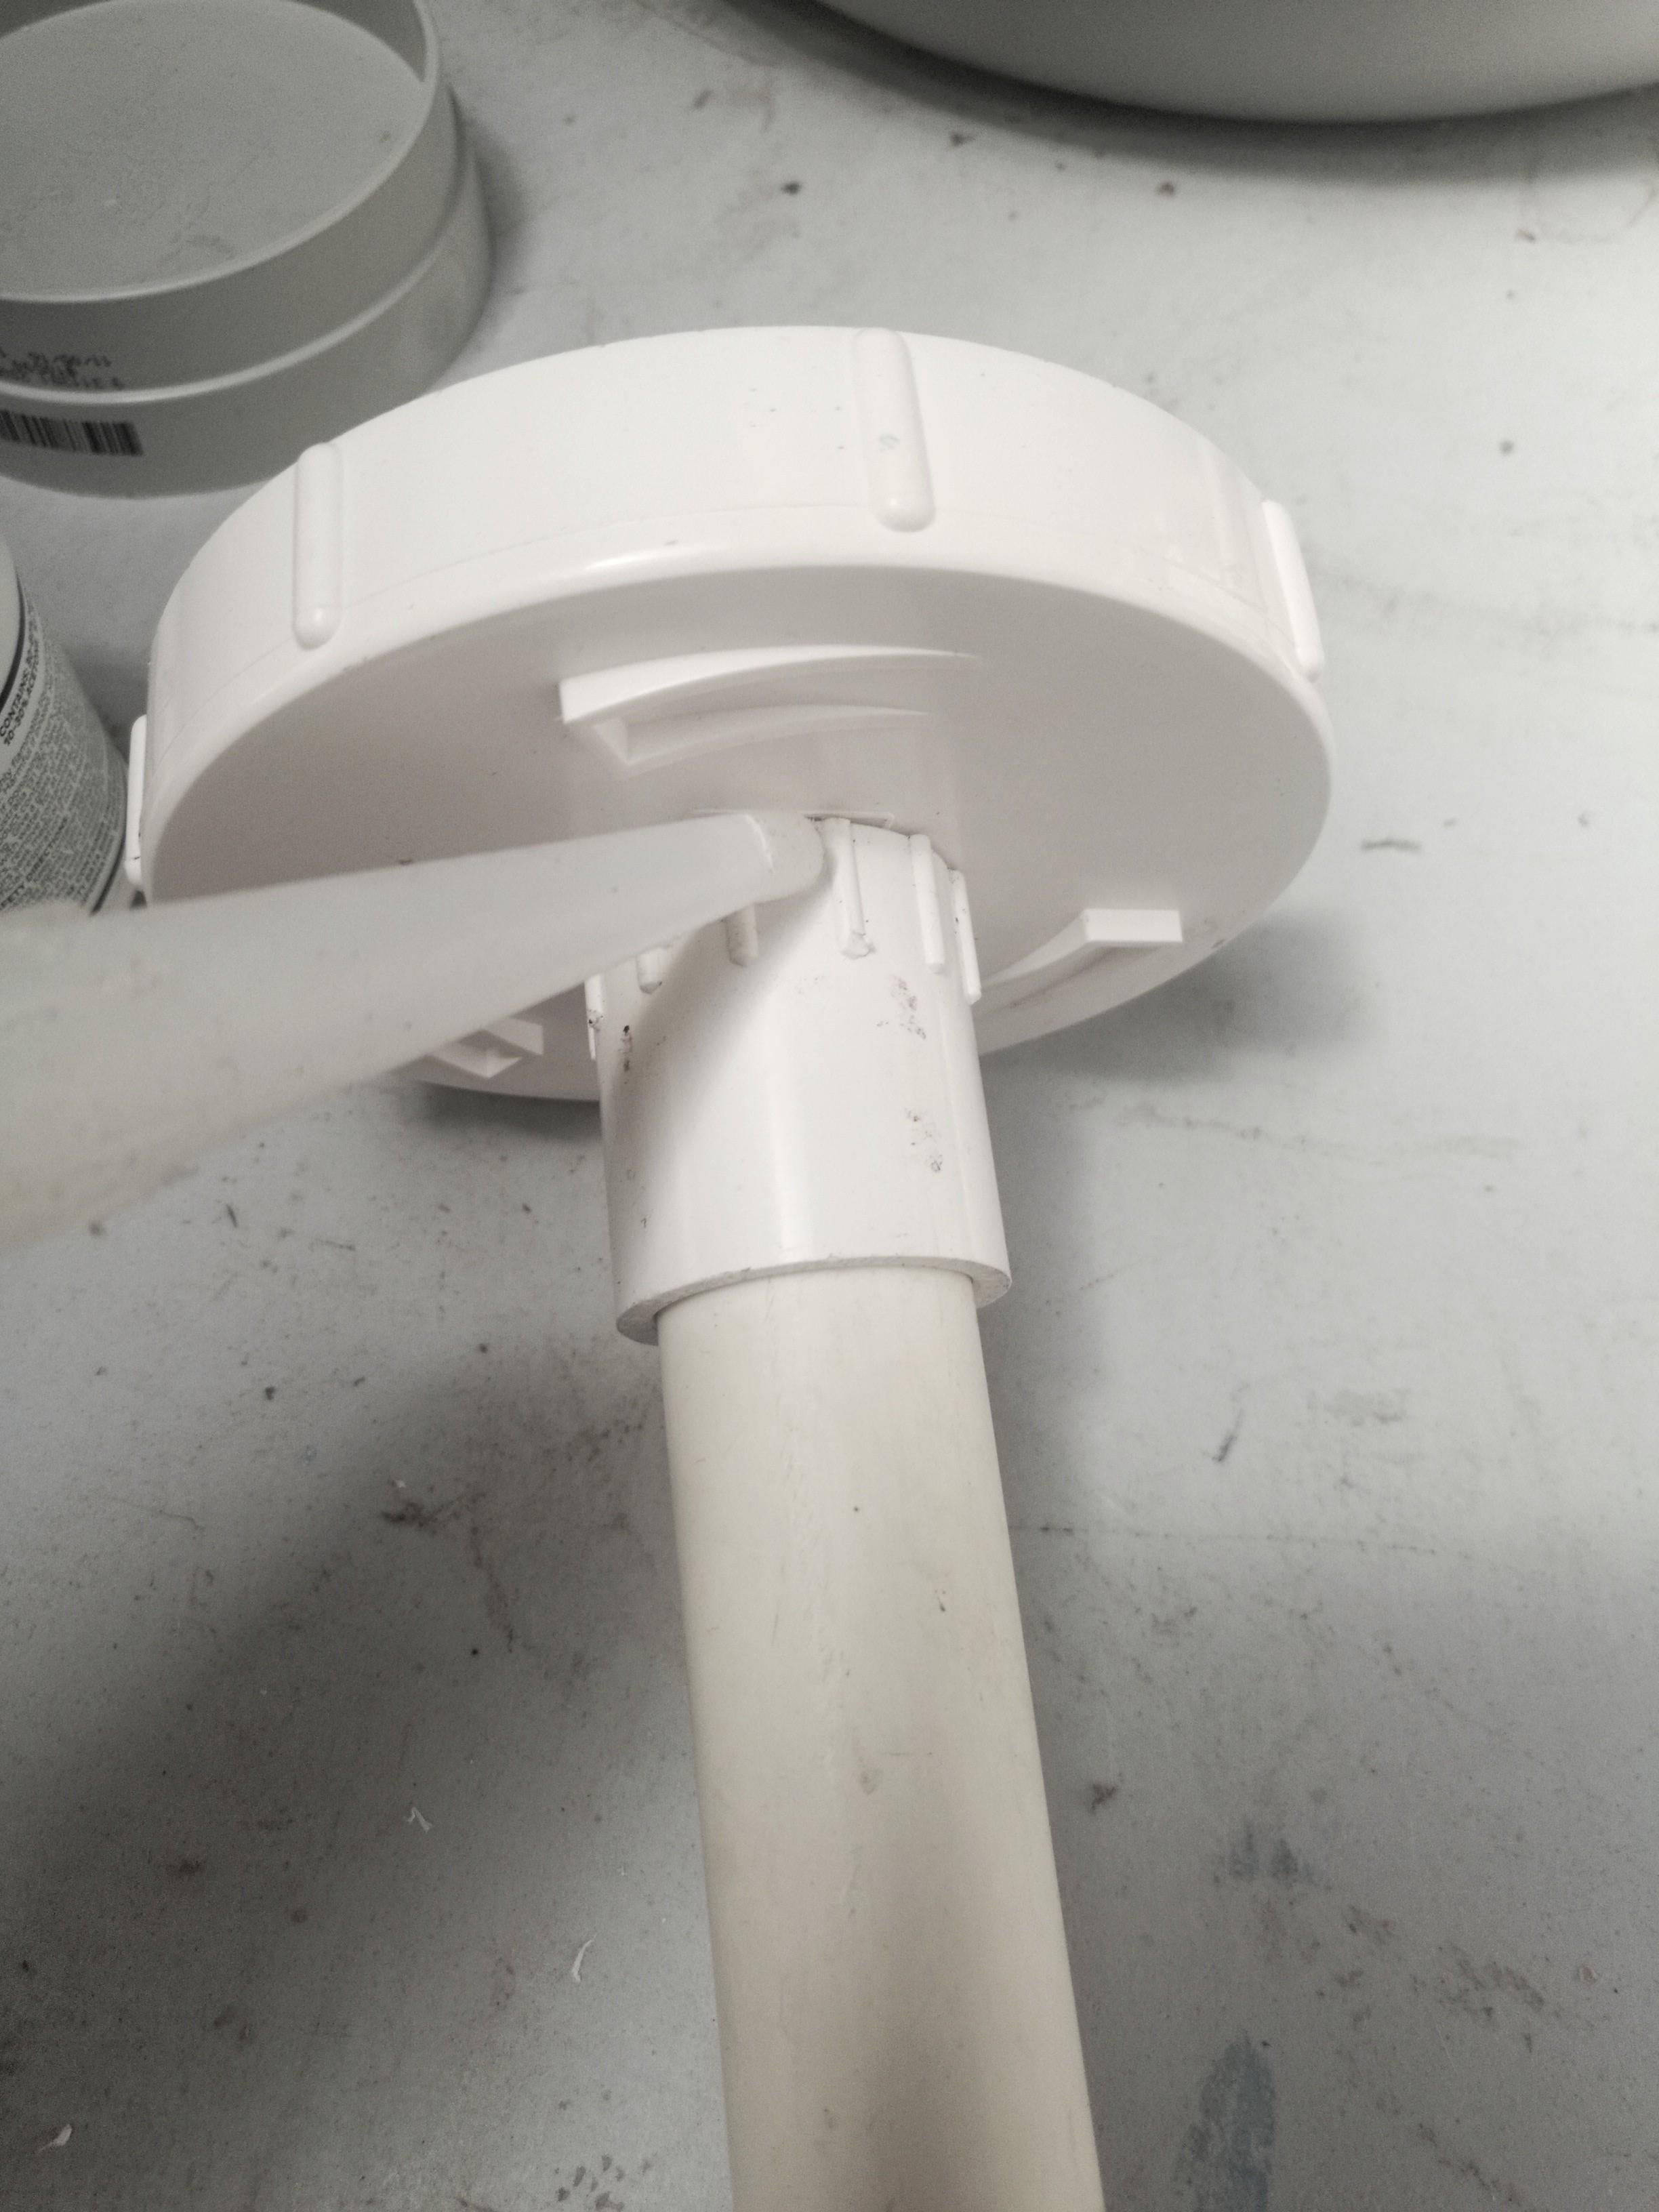
Slide the 90mm threaded end onto the 90mm pipe and glue. Then slip the 20mm pipe into the connector on the end cap. Thread the end cap onto the pipe end.
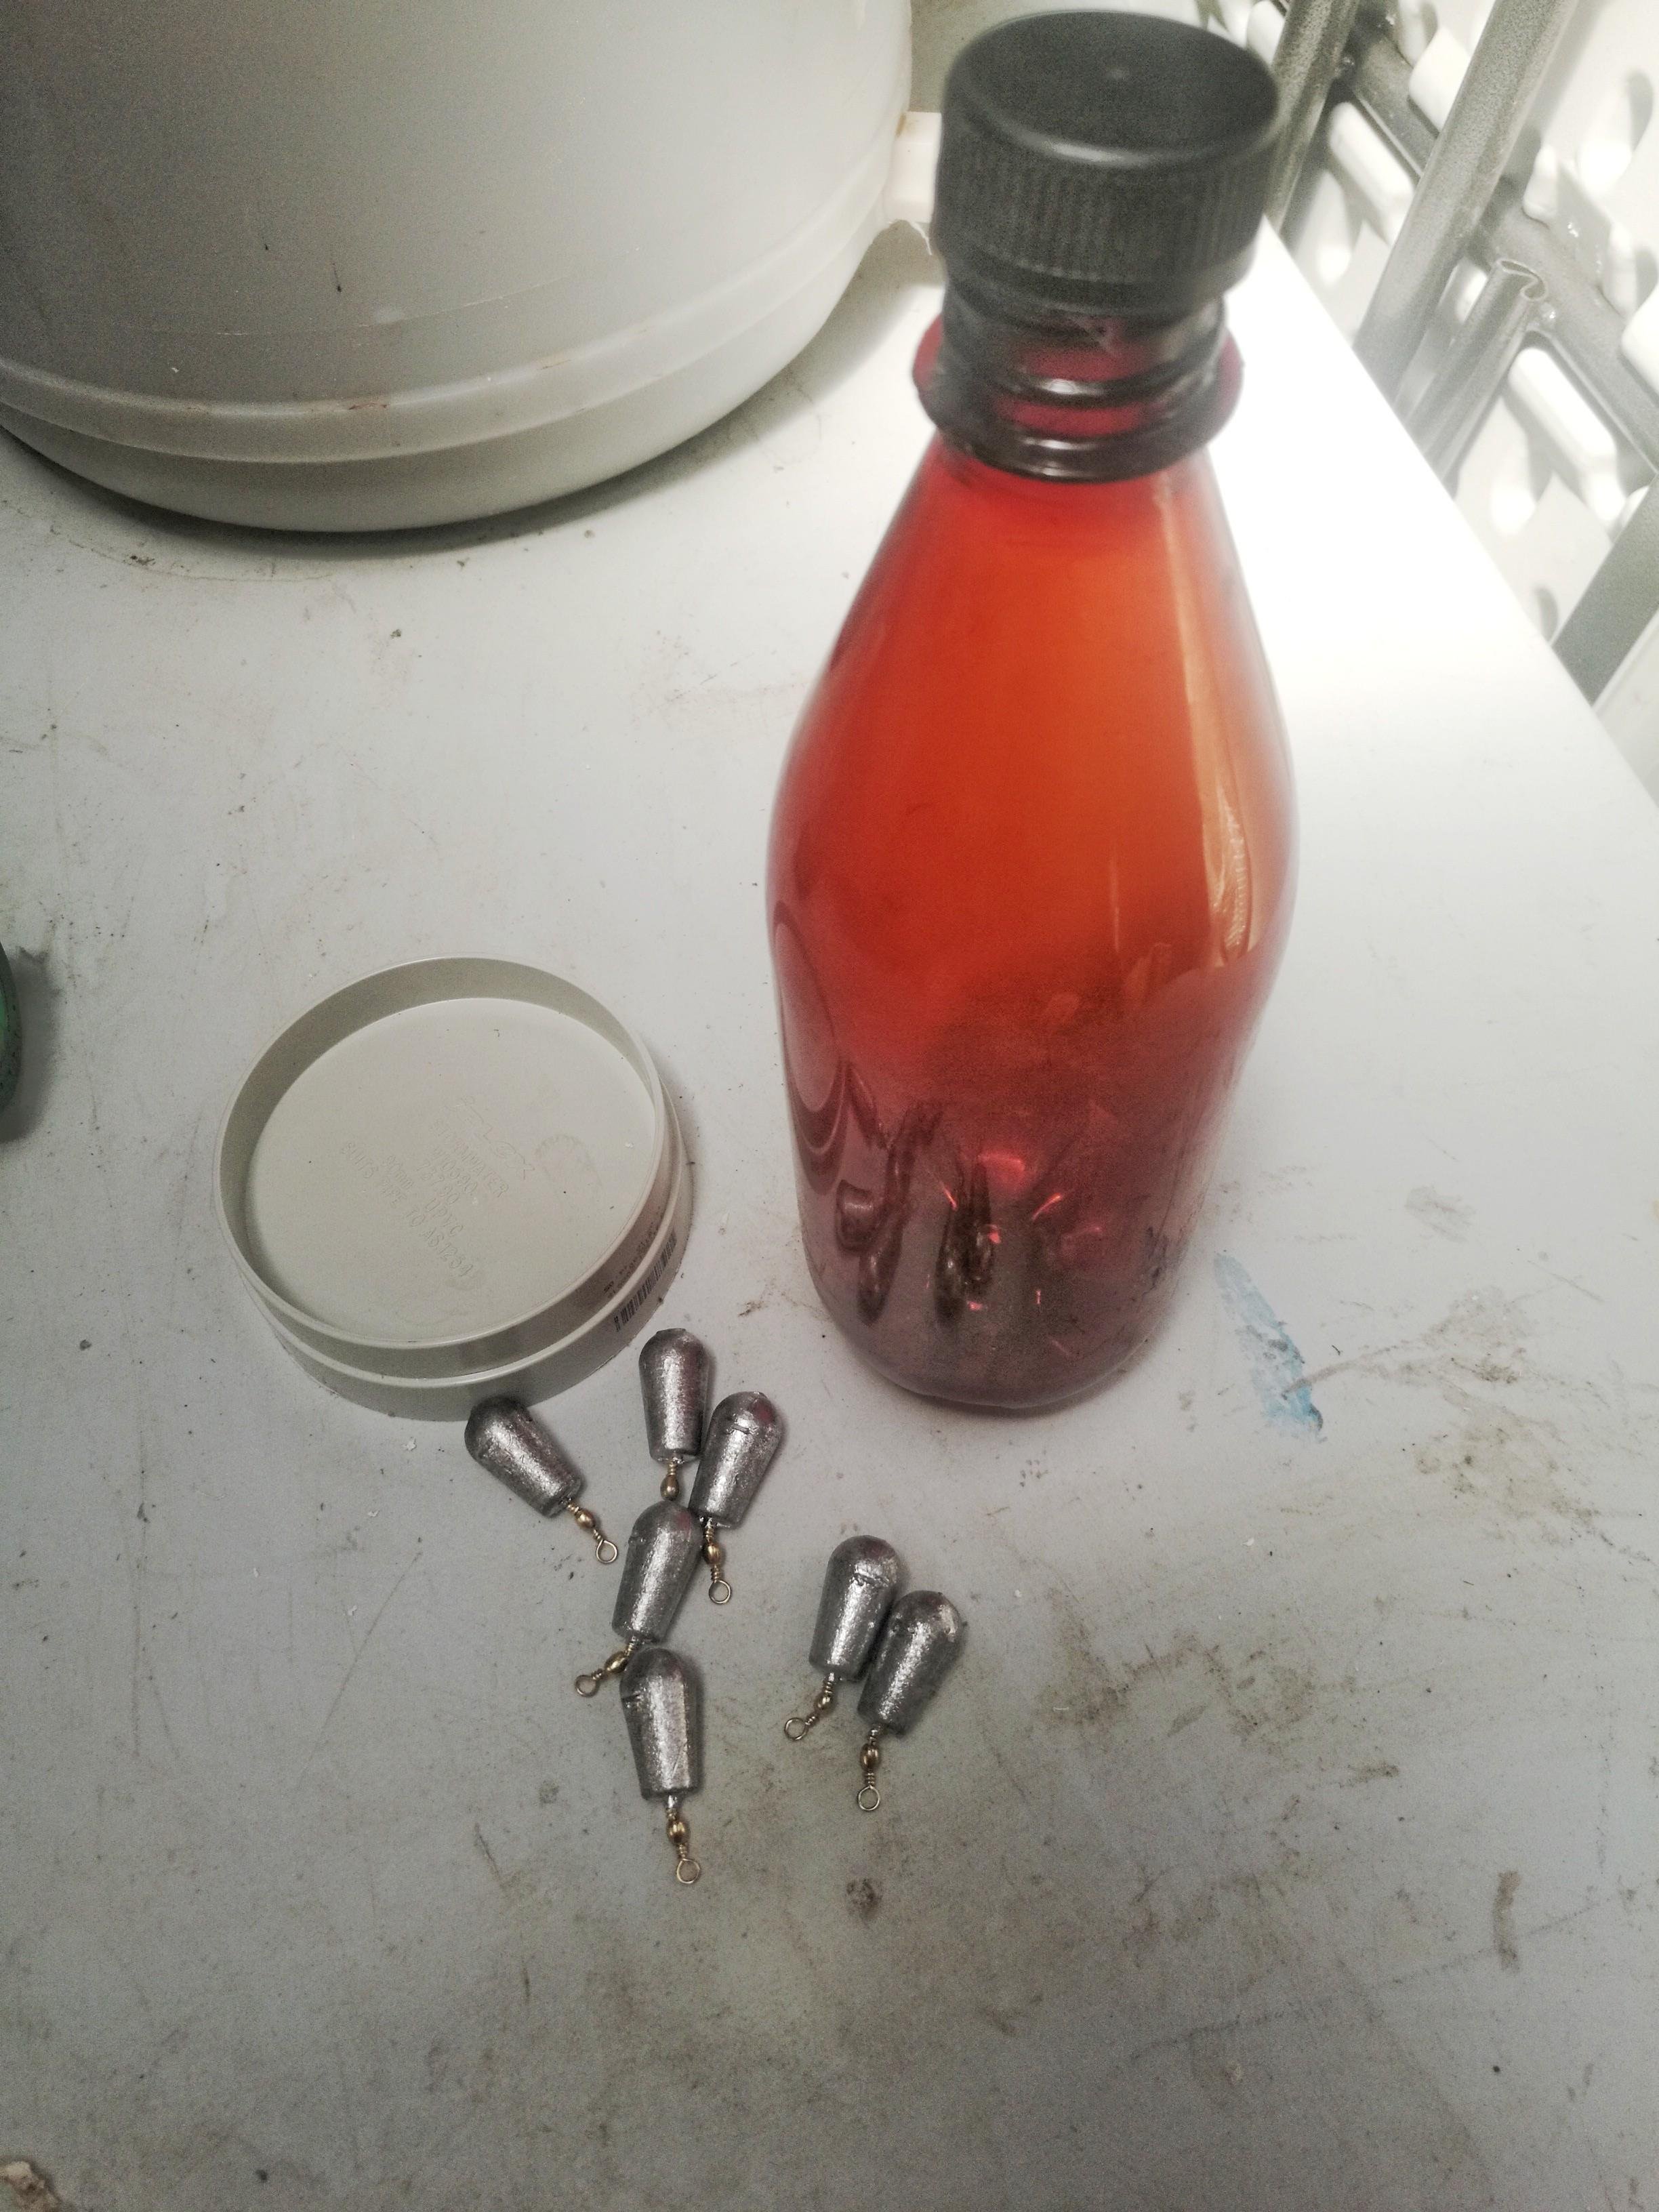
Fill the bottle with water, sand or anything heavy. I had a few fishing weights laying around to add weight.
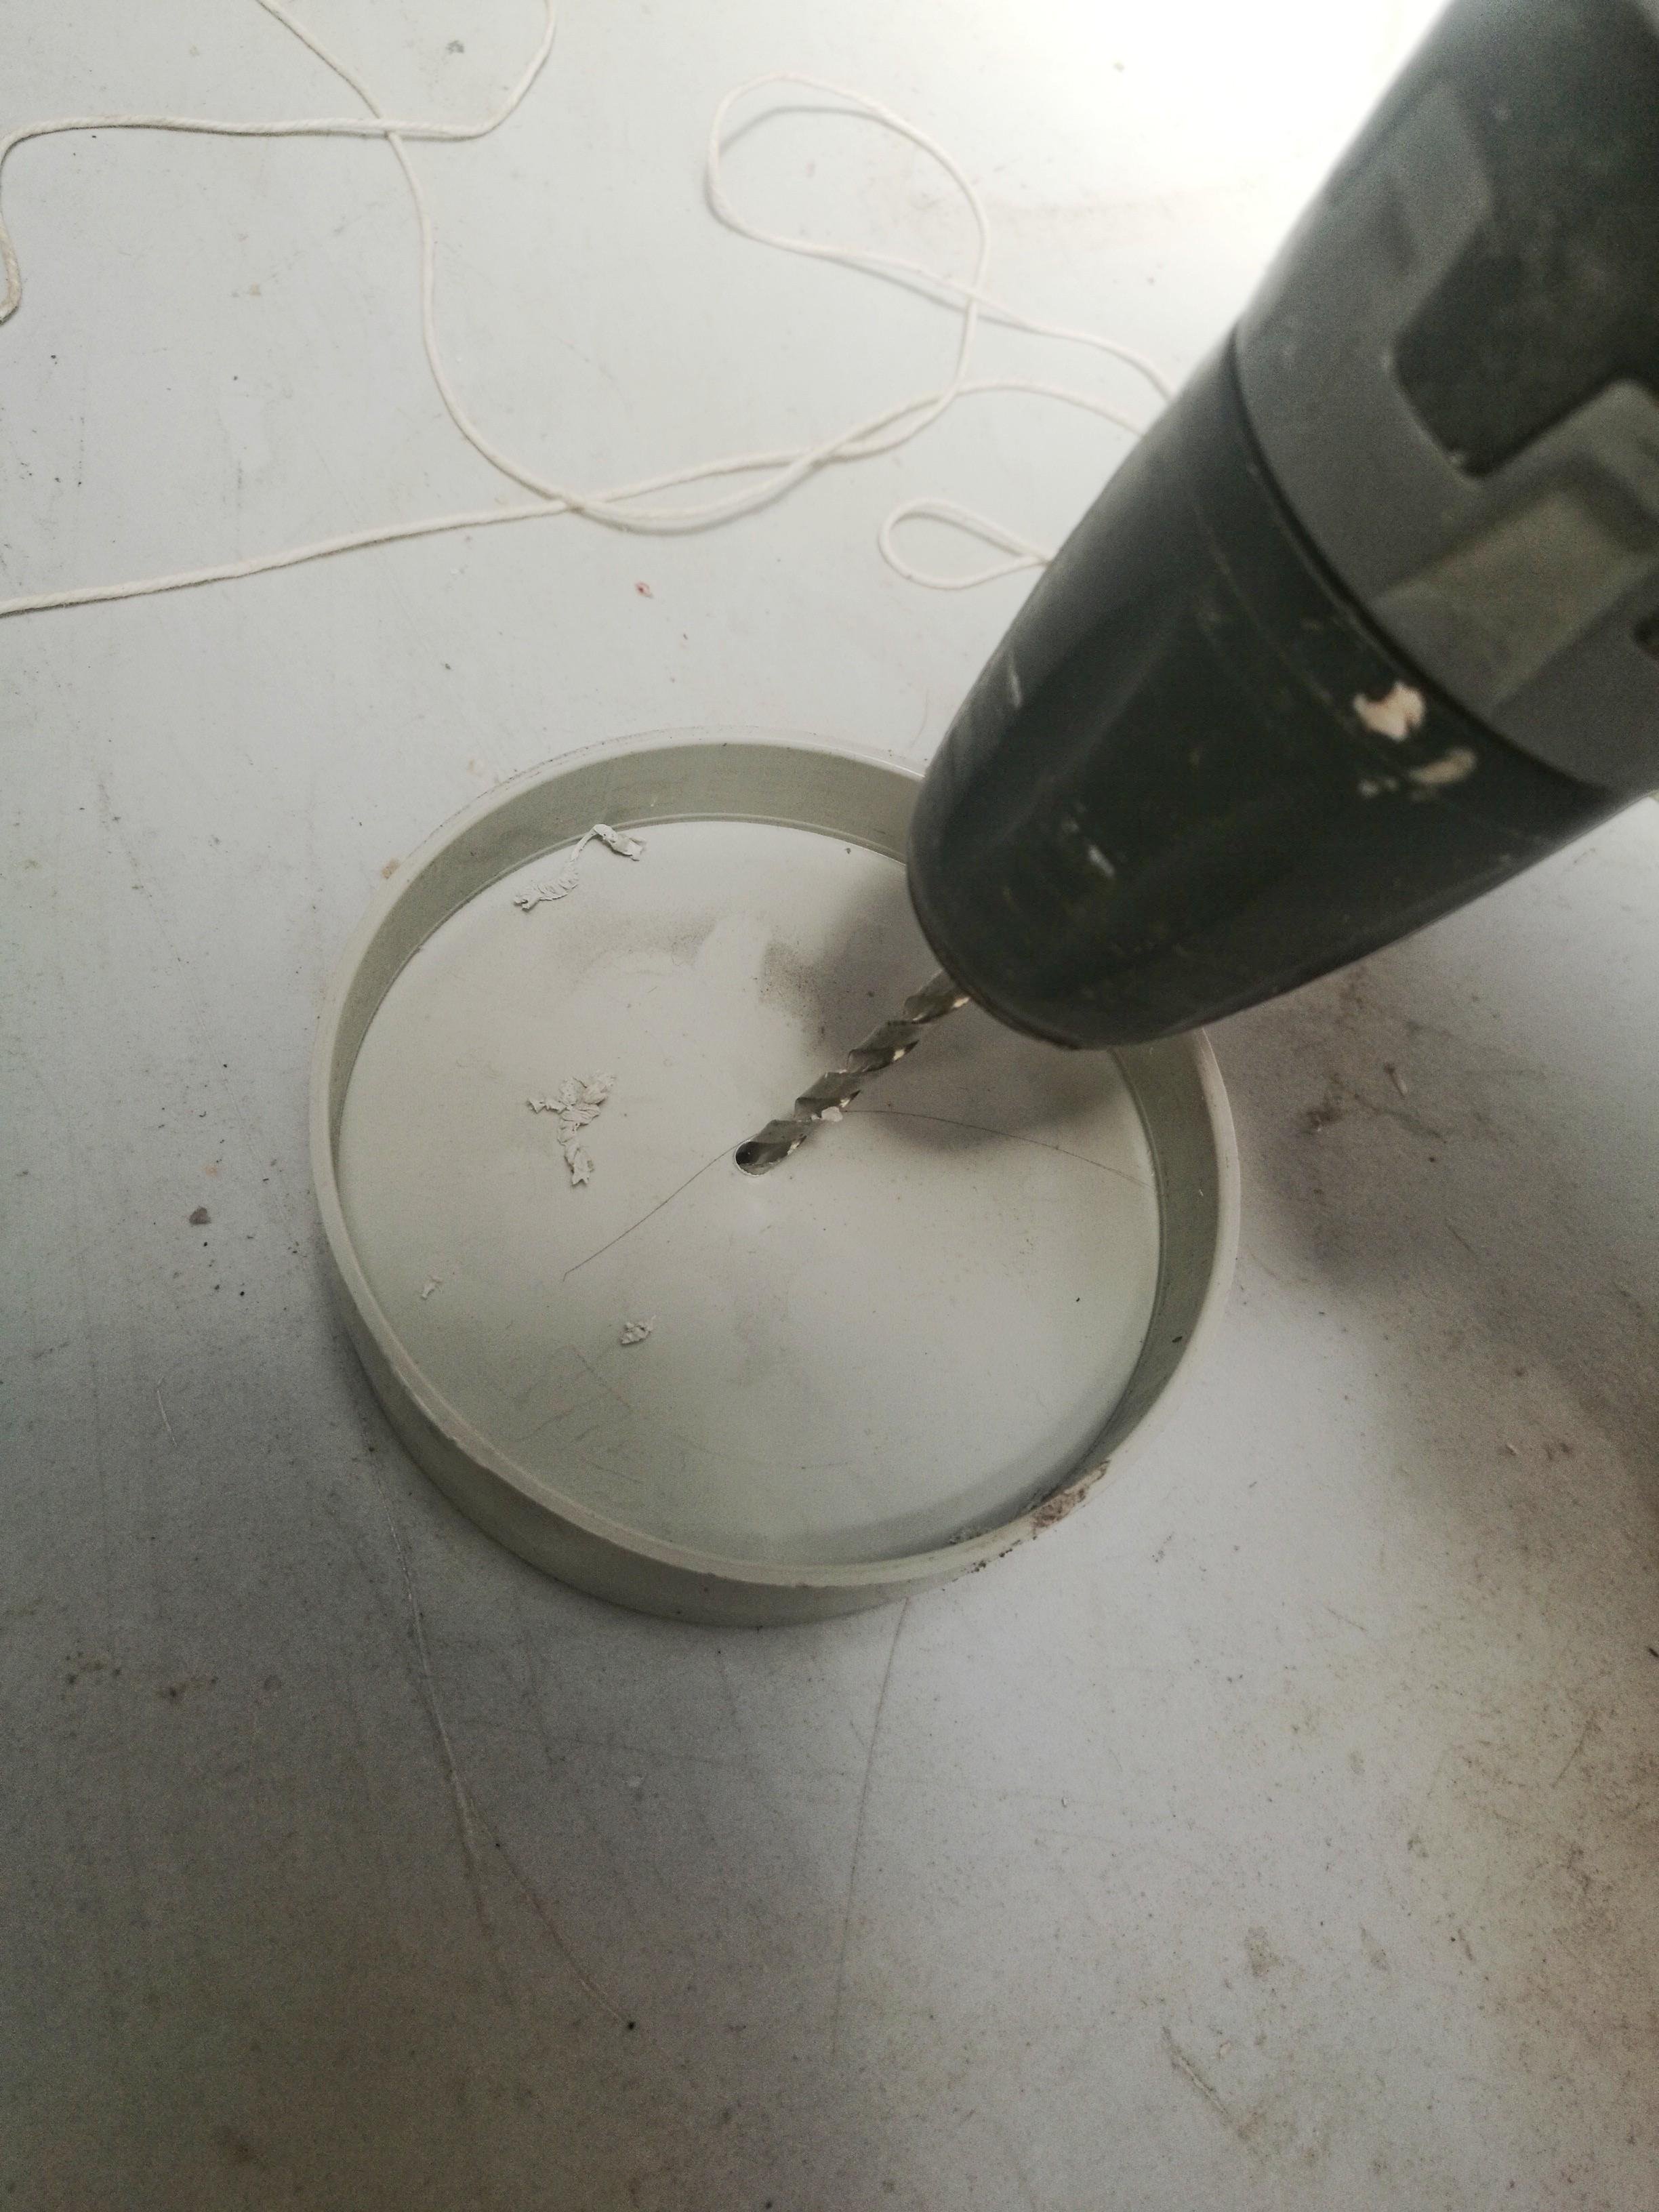
Drill a small hole through the slip on end cap and thread the string through it.
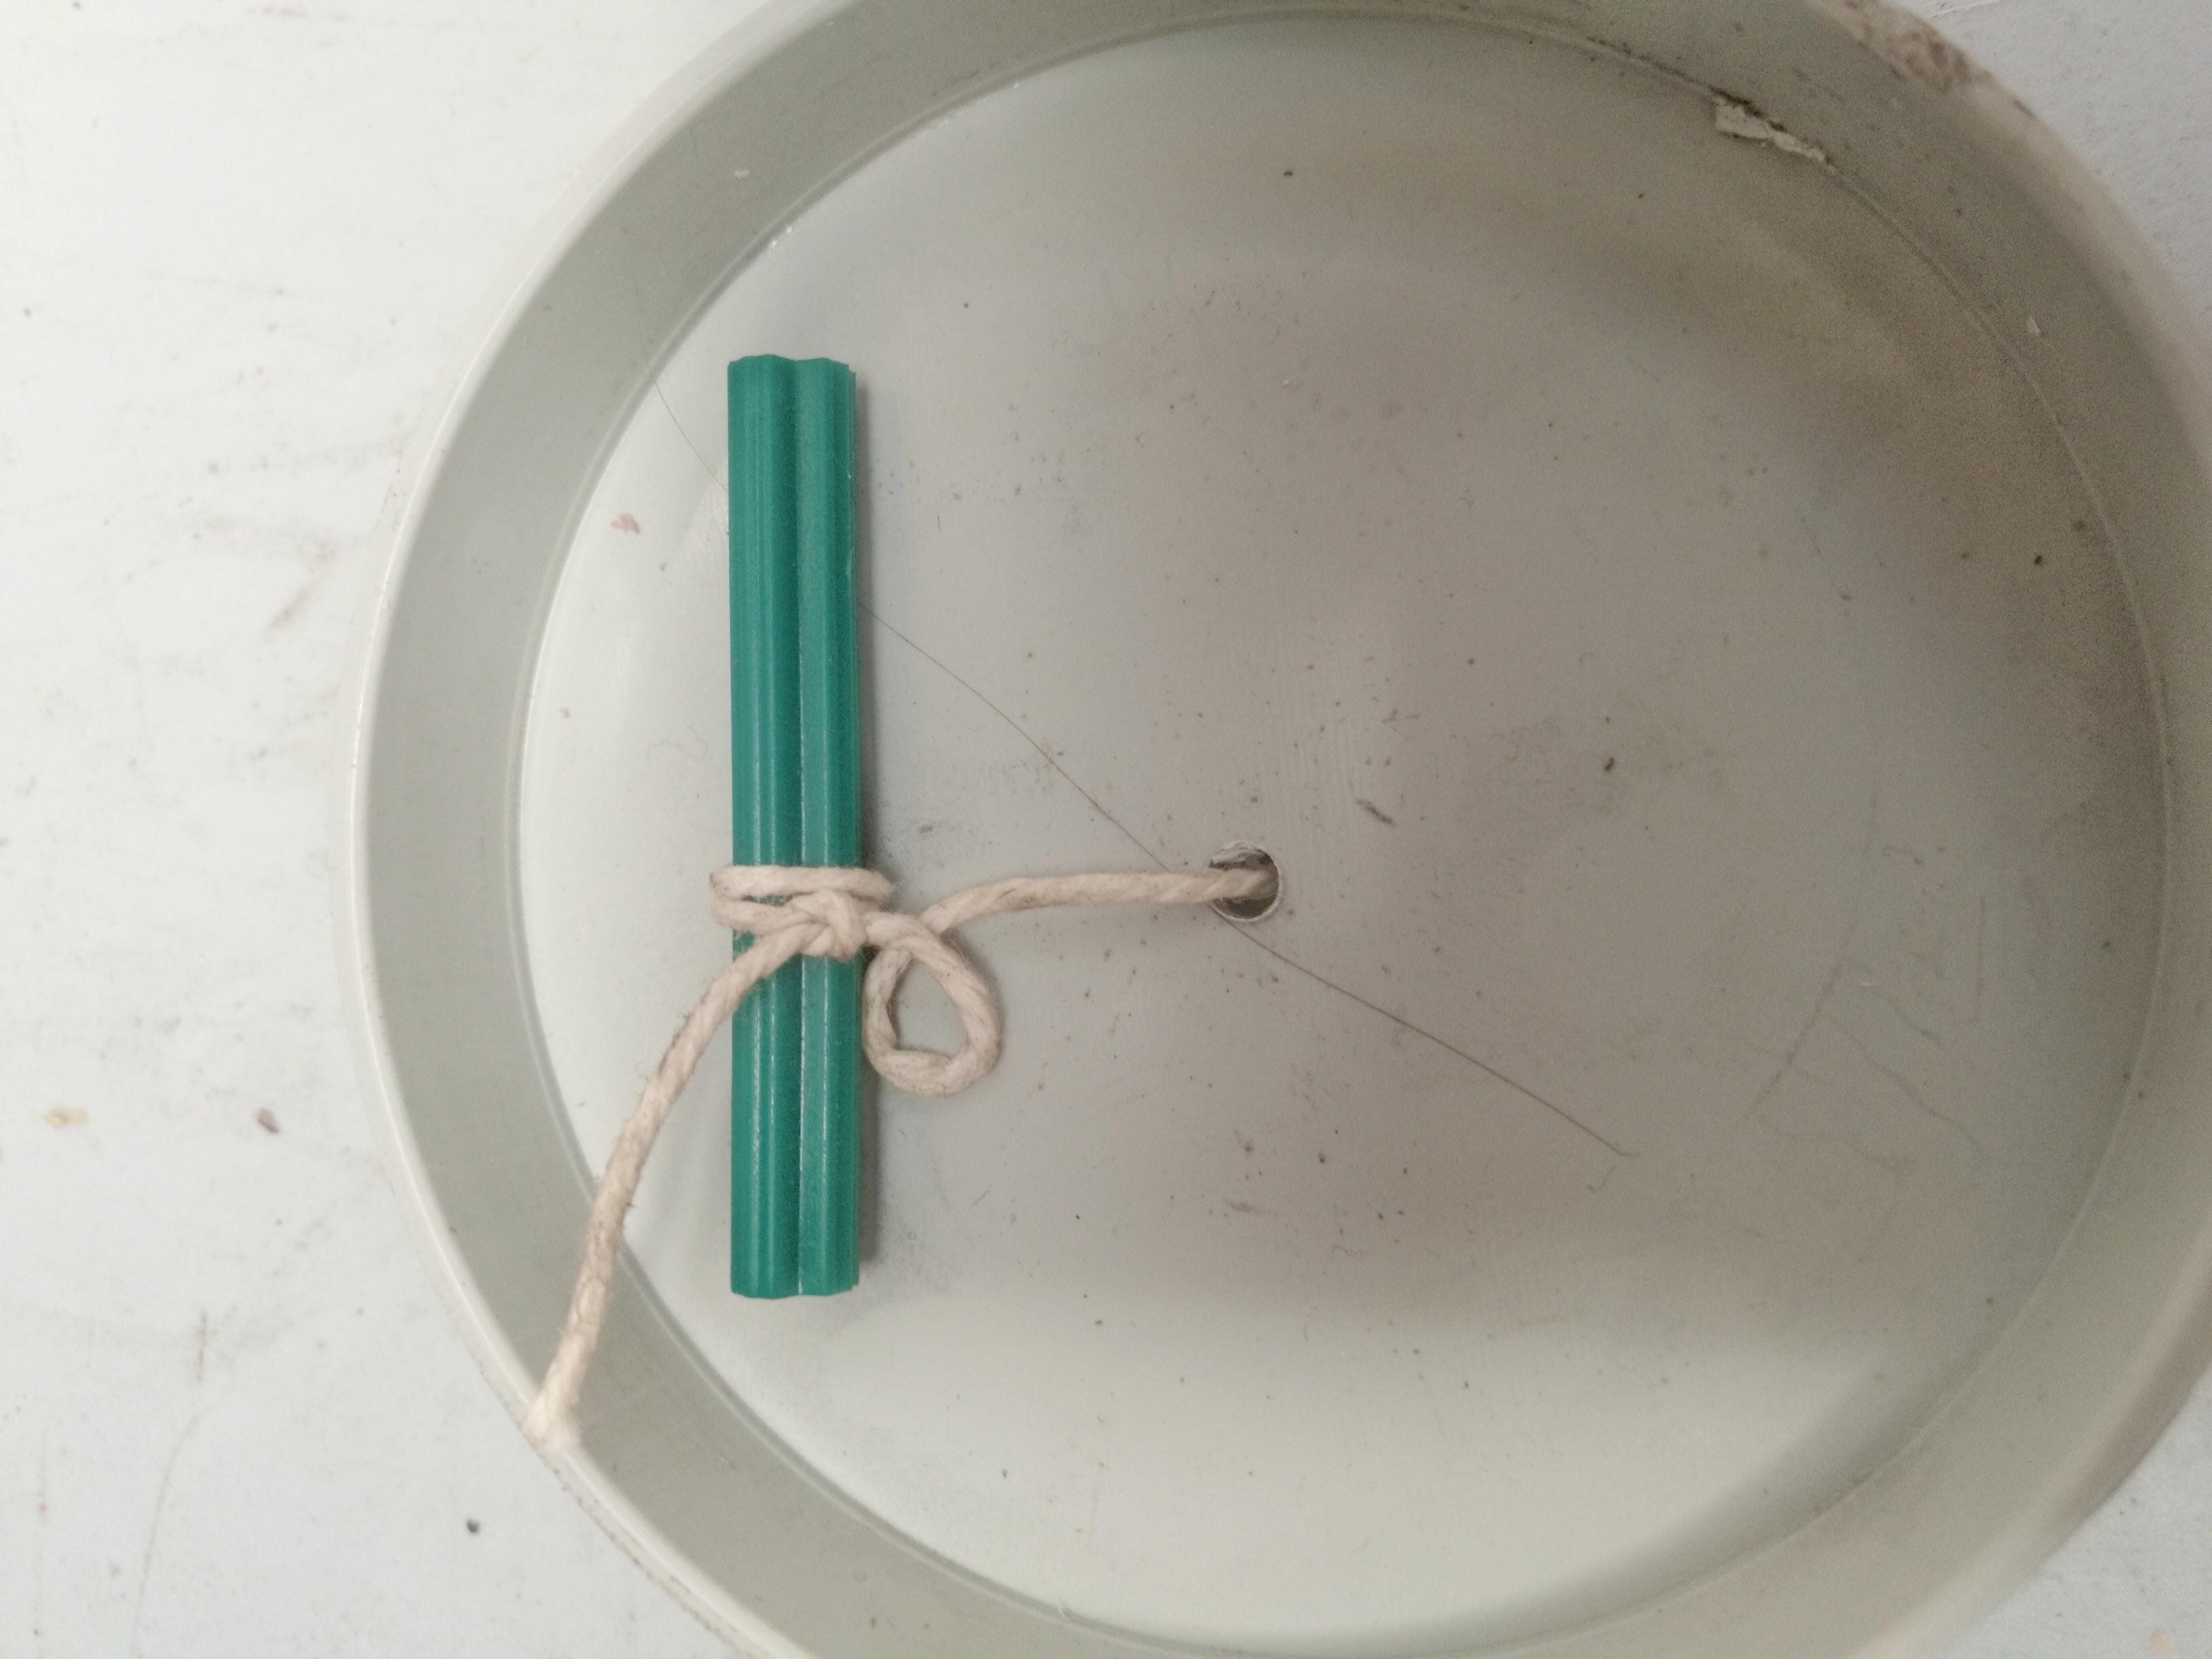
Tie it around the nail or whatever you’re using so that it won’t slip back through. Tie the other end of the string around the neck of the bottle. You can just tie the end to the post that holds the pipe up.
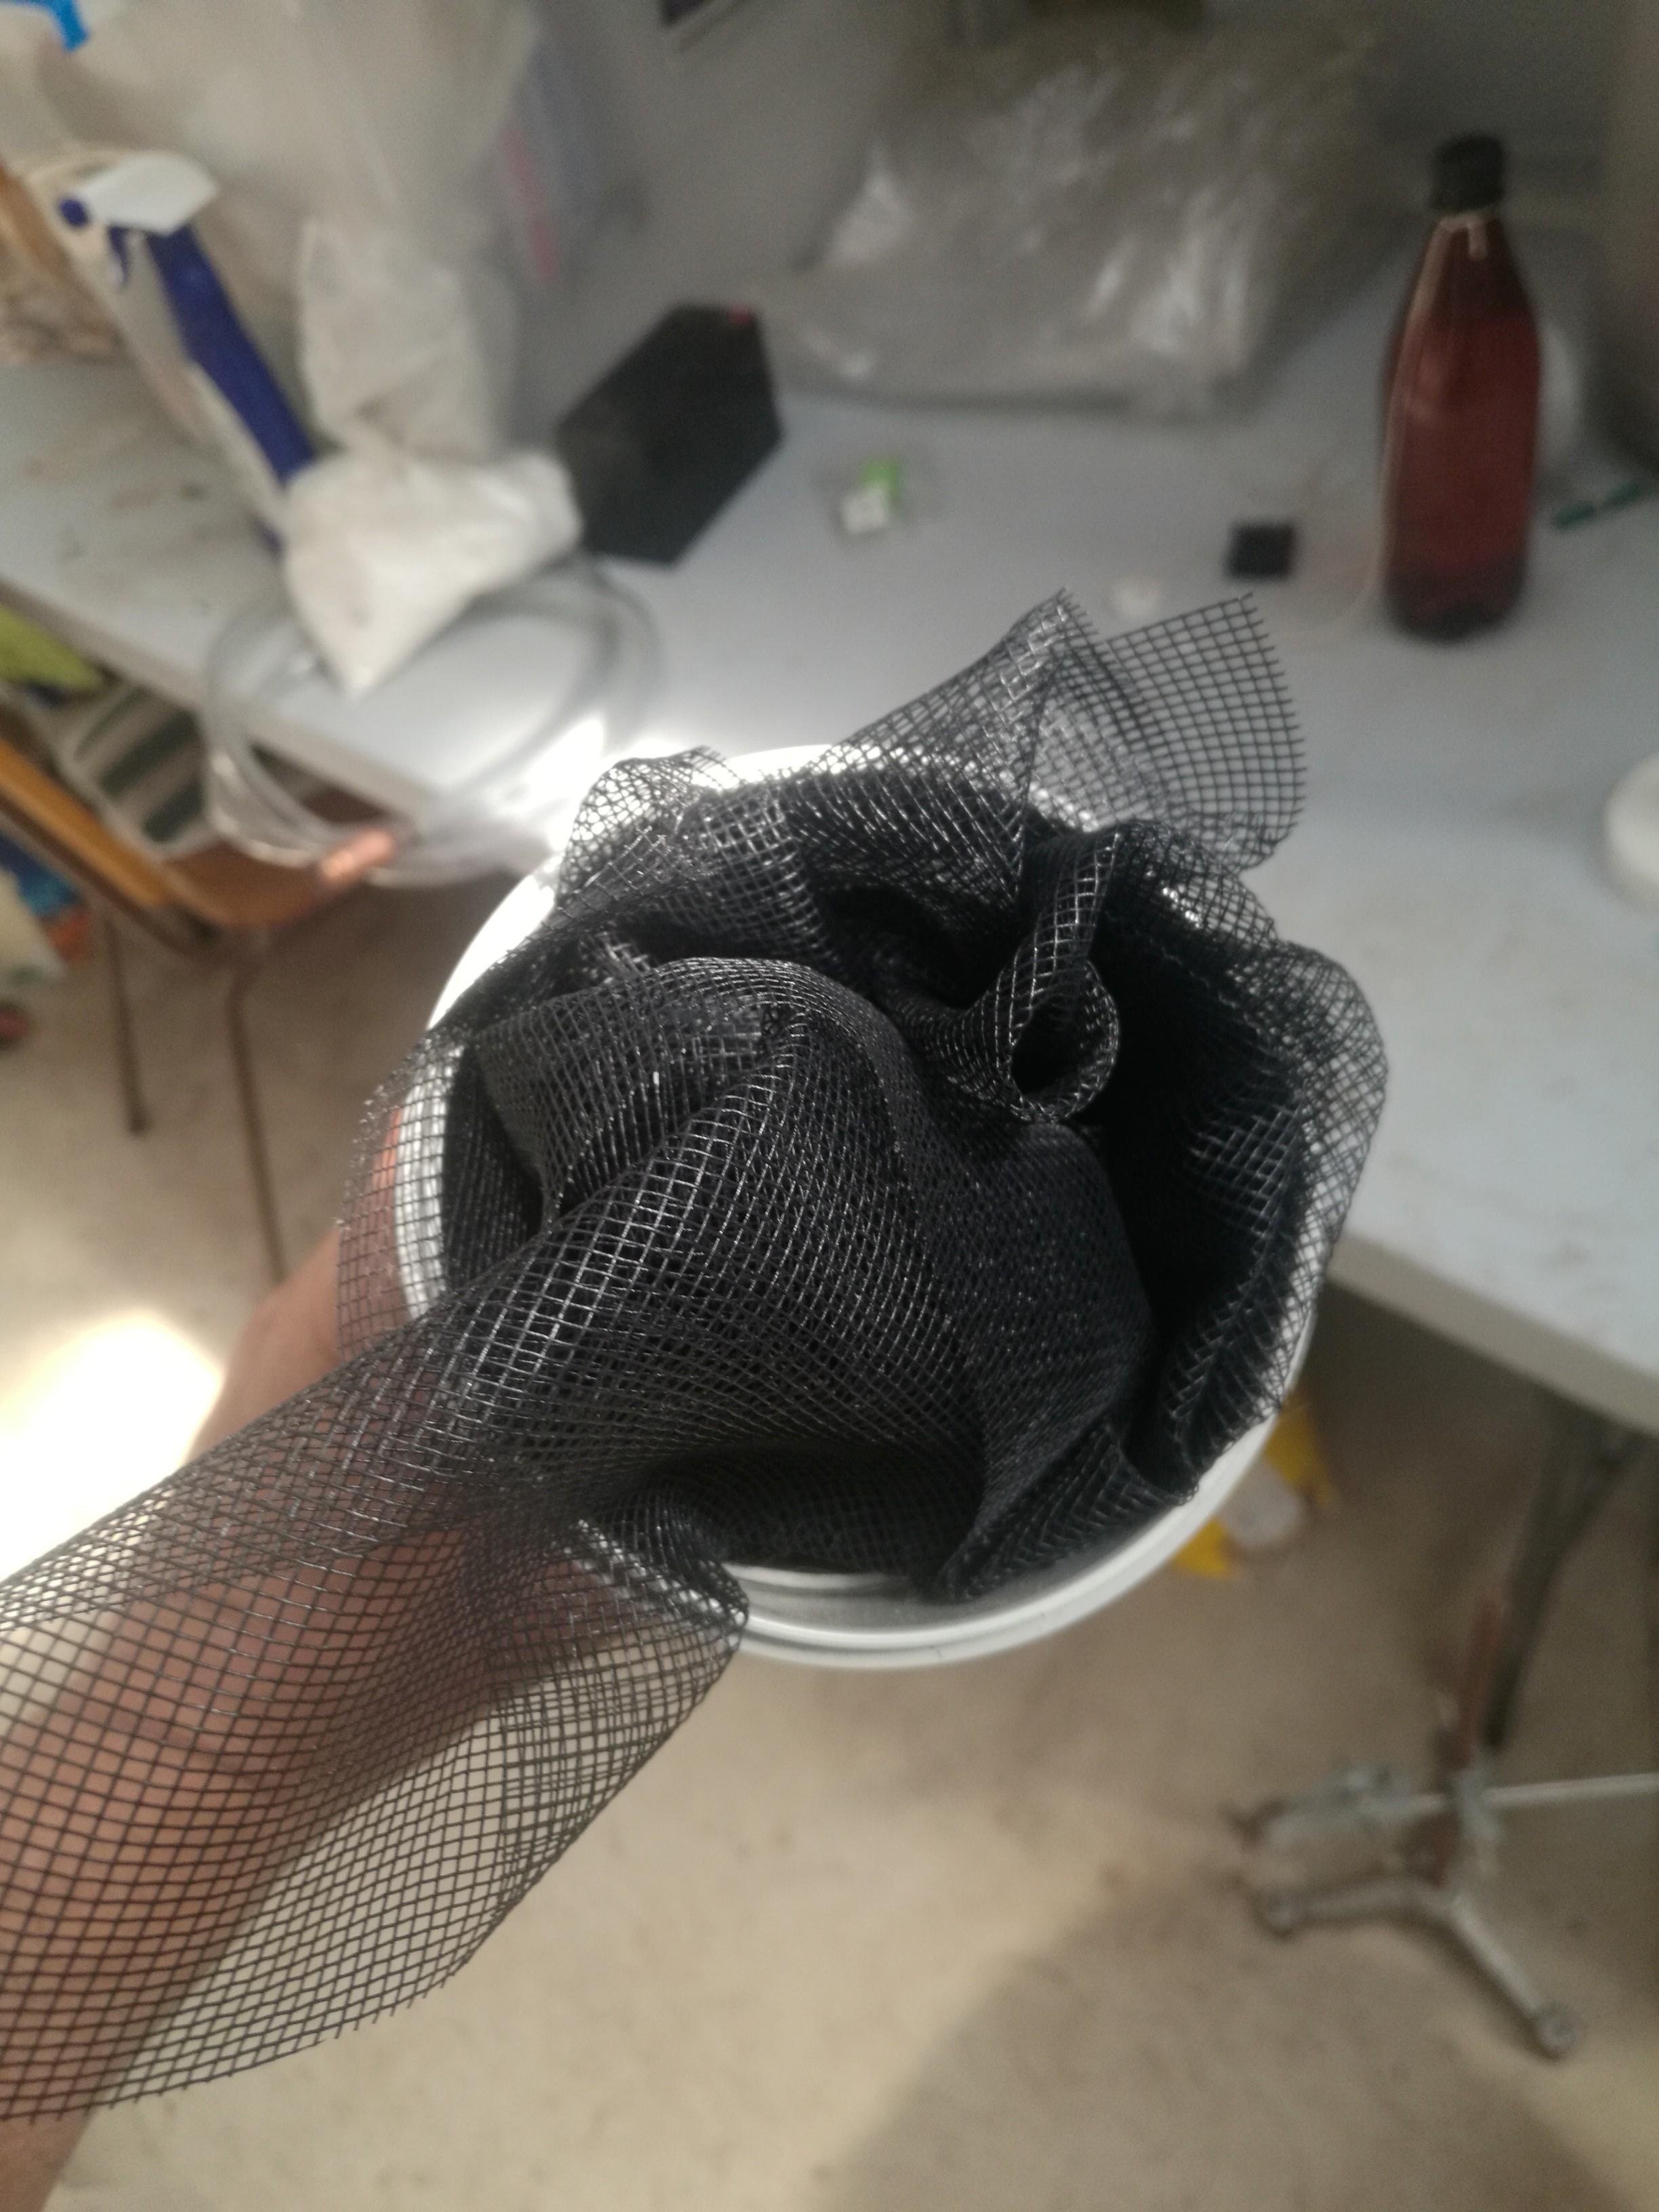
Remove the screw cap and place the filter material inside. Recap the pipe.
There, you’ve made a small scale liquid fertilizer manufacturing plant!
How does it work?
The idea is that the weighted bottle presses down firmly and slowly onto the mass of green material, squeezing the juice out. This then collects at the bottom and flows into whatever container is placed below it. I’ve used a bucket for the picture, but a container with a smaller opening is better. That’ll help exclude bugs and contaminants.
Use the results as a liquid feed by during it about 1 to 10 or 1-20. It makes an excellent foliar spray and the plants in the aquaponics love it!
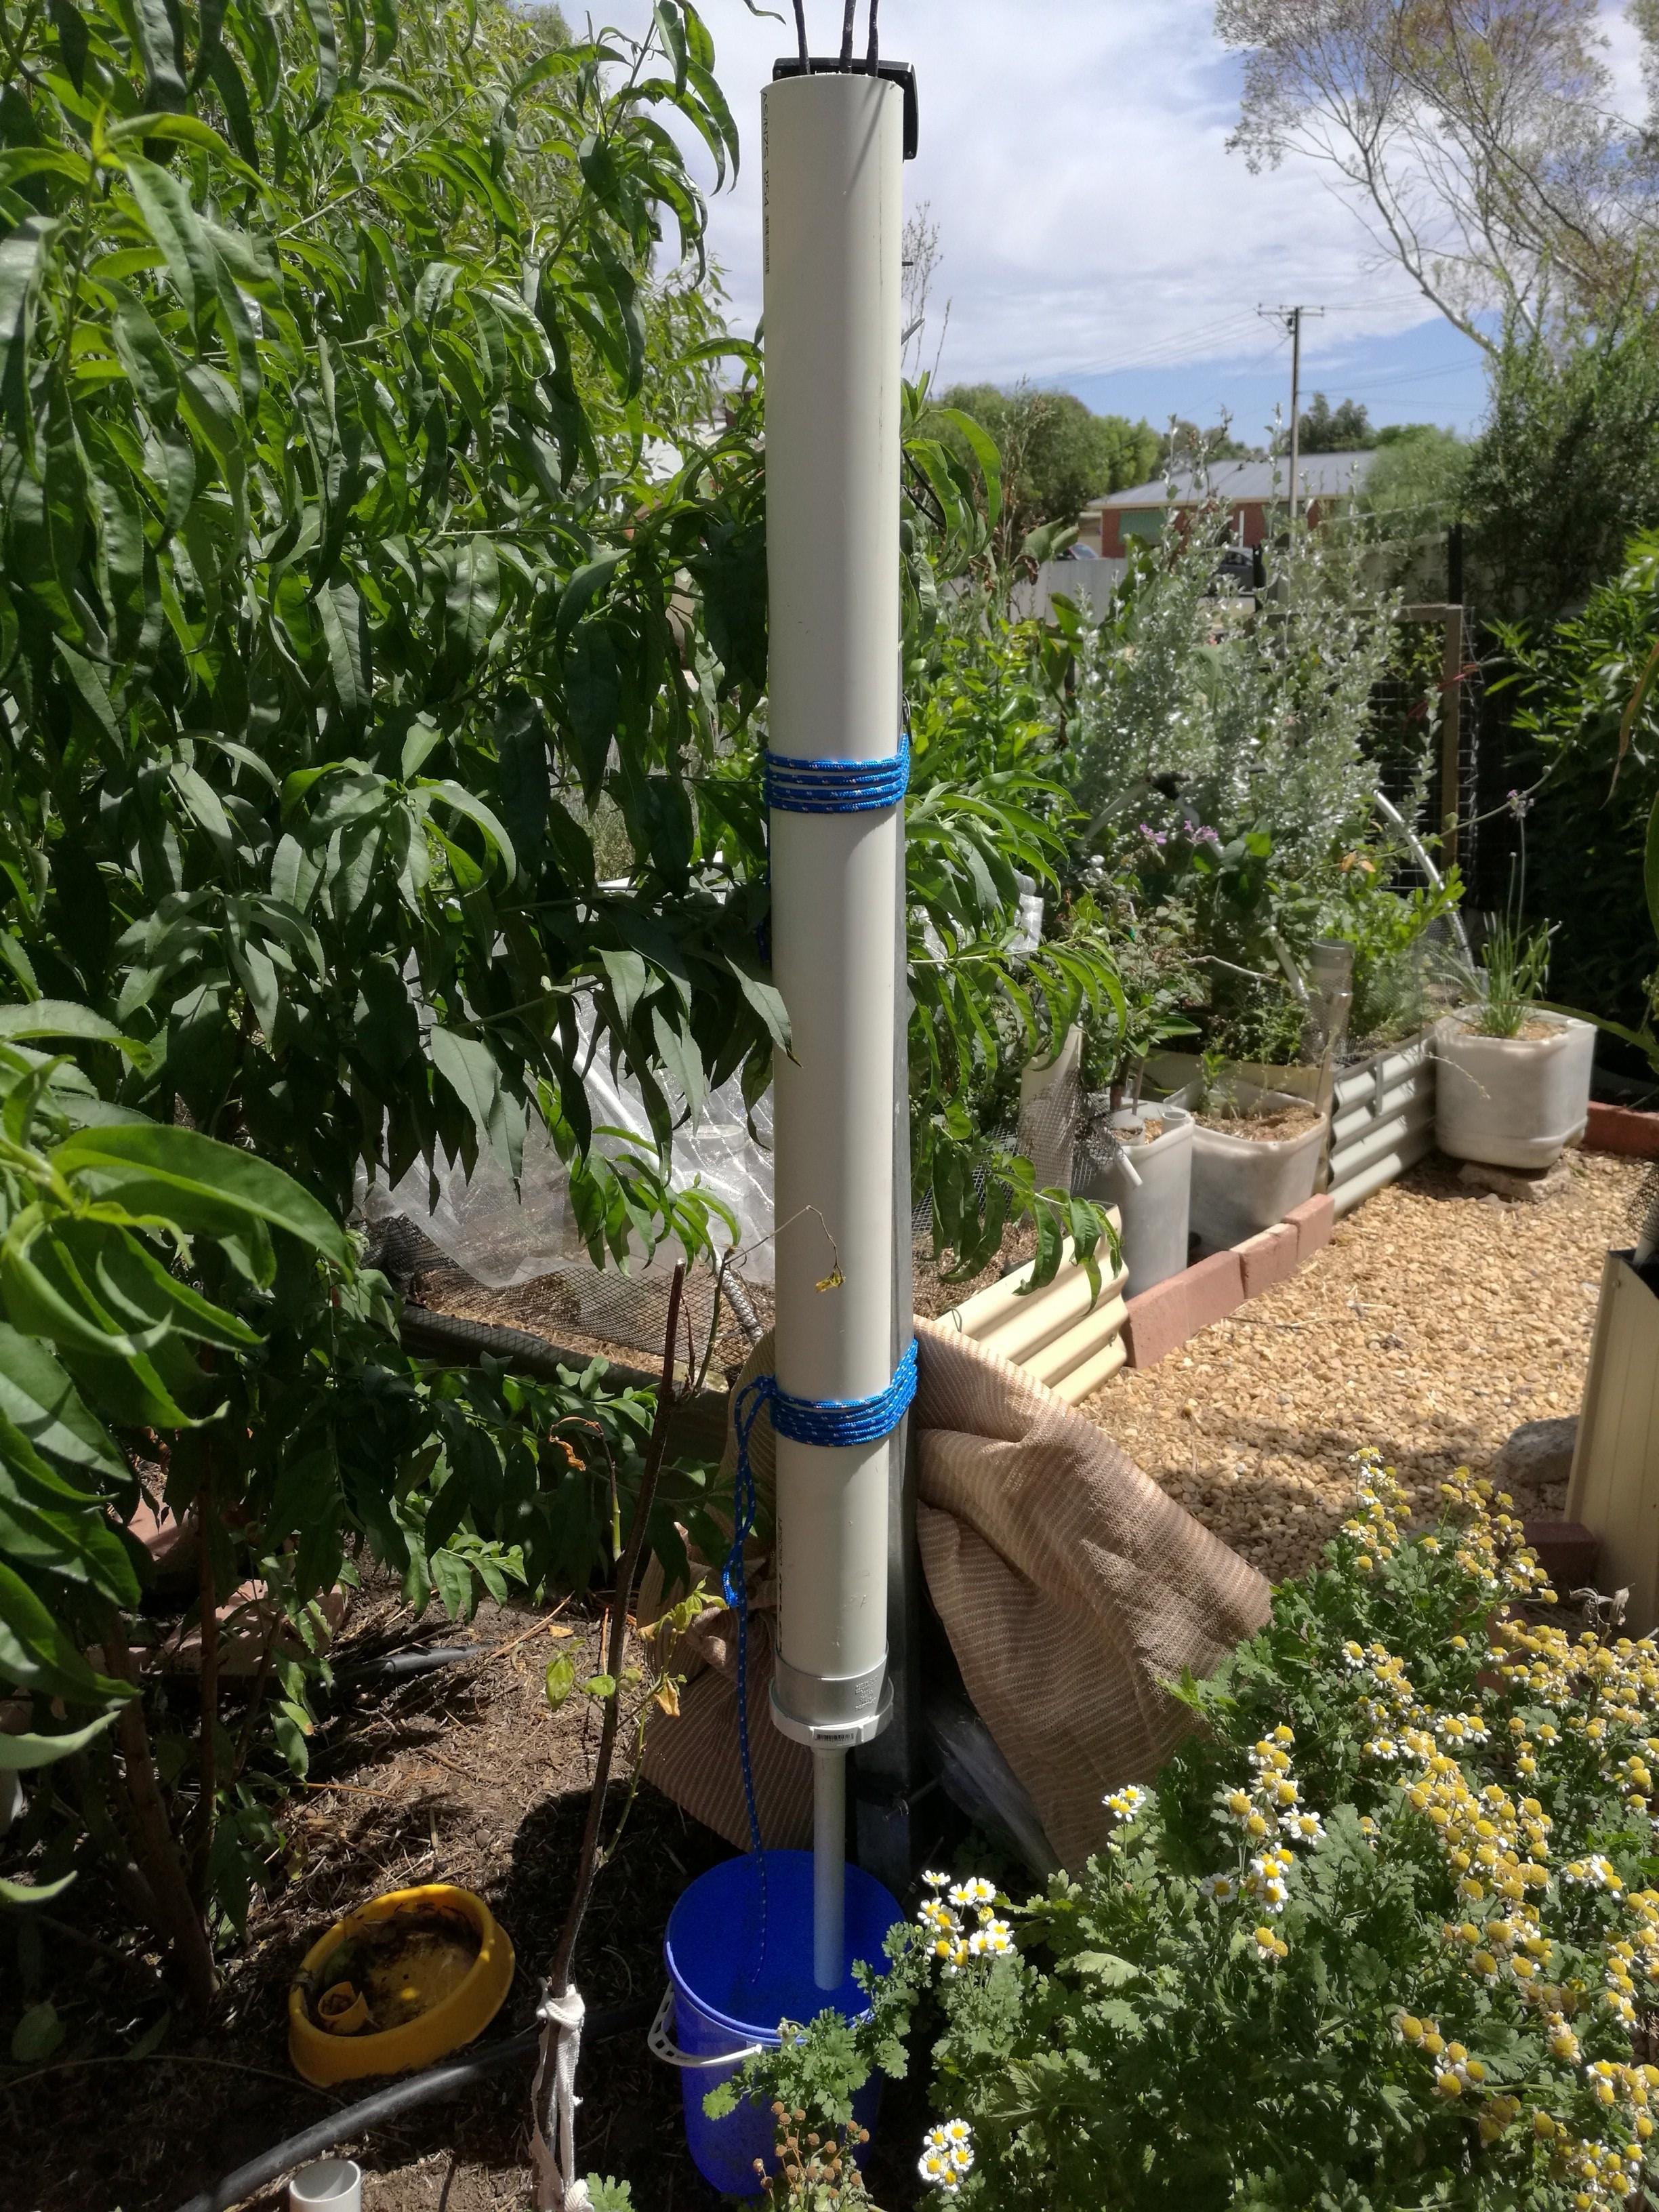
Place the pipe somewhere vertical and attach it firmly to a support, it can get quite heavy when it’s full.
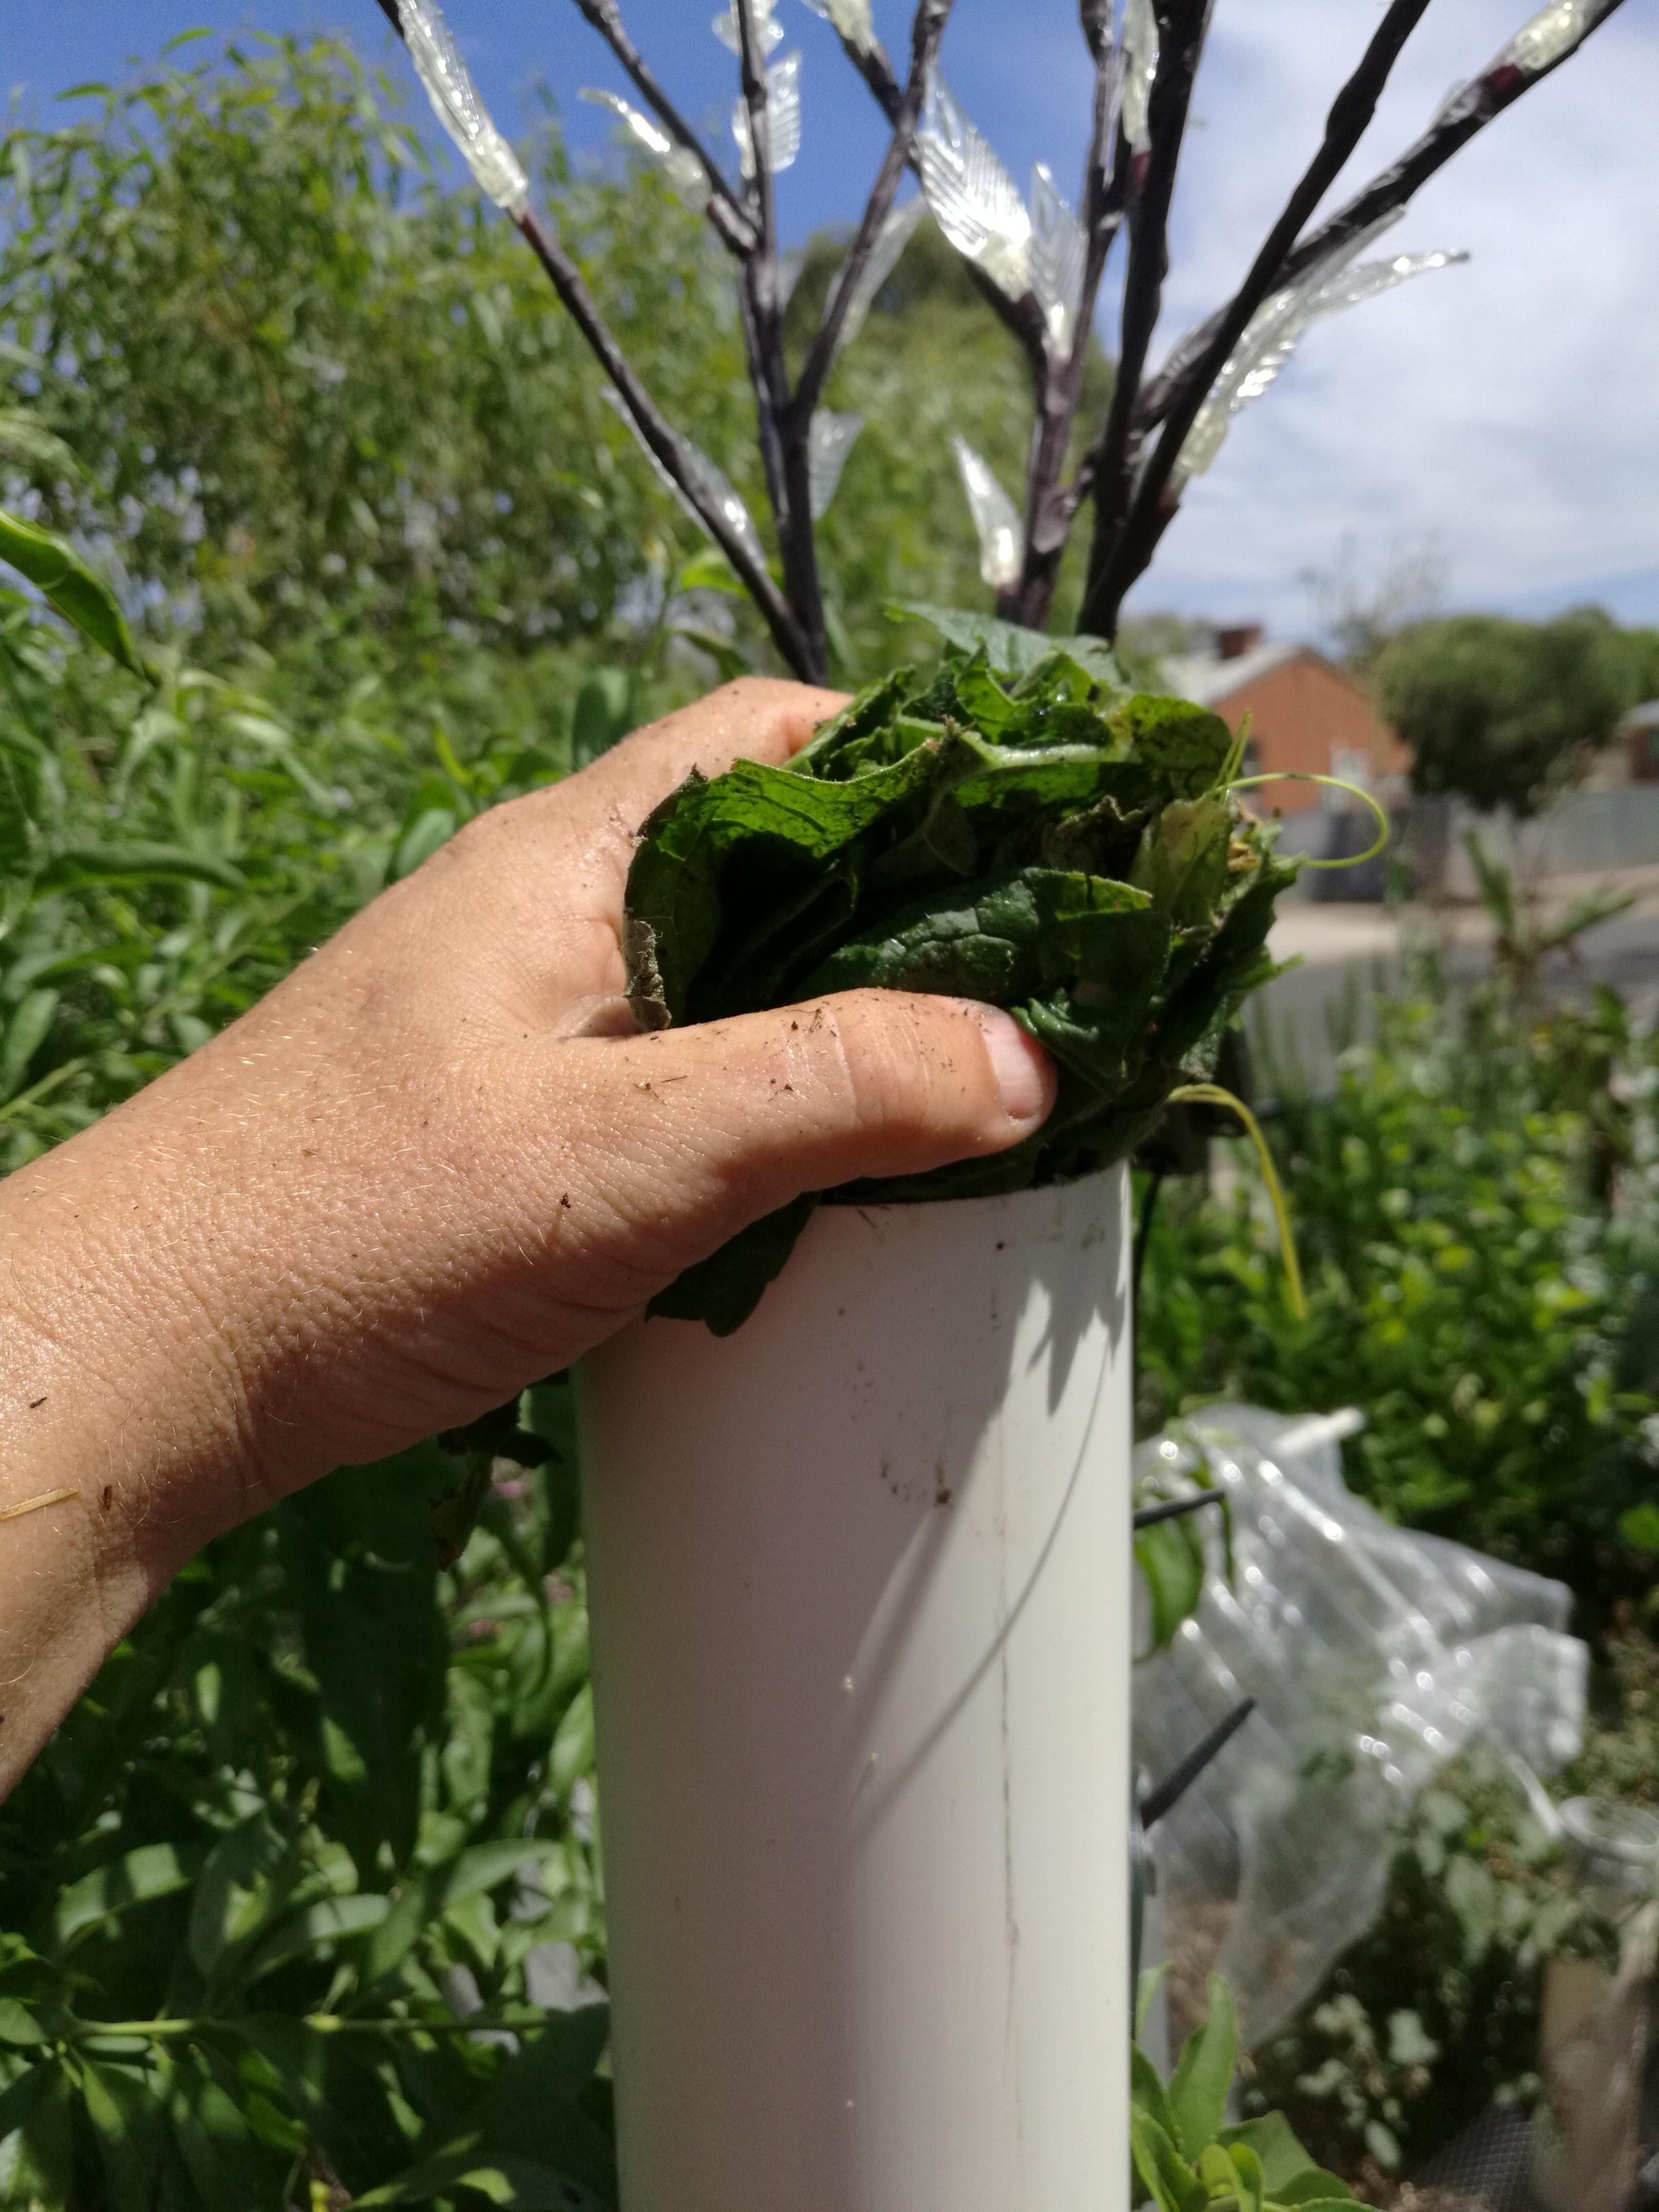
Put a good amount of plant material into the pipe and really pack it down but don’t forget to leave a little space for the bottle.
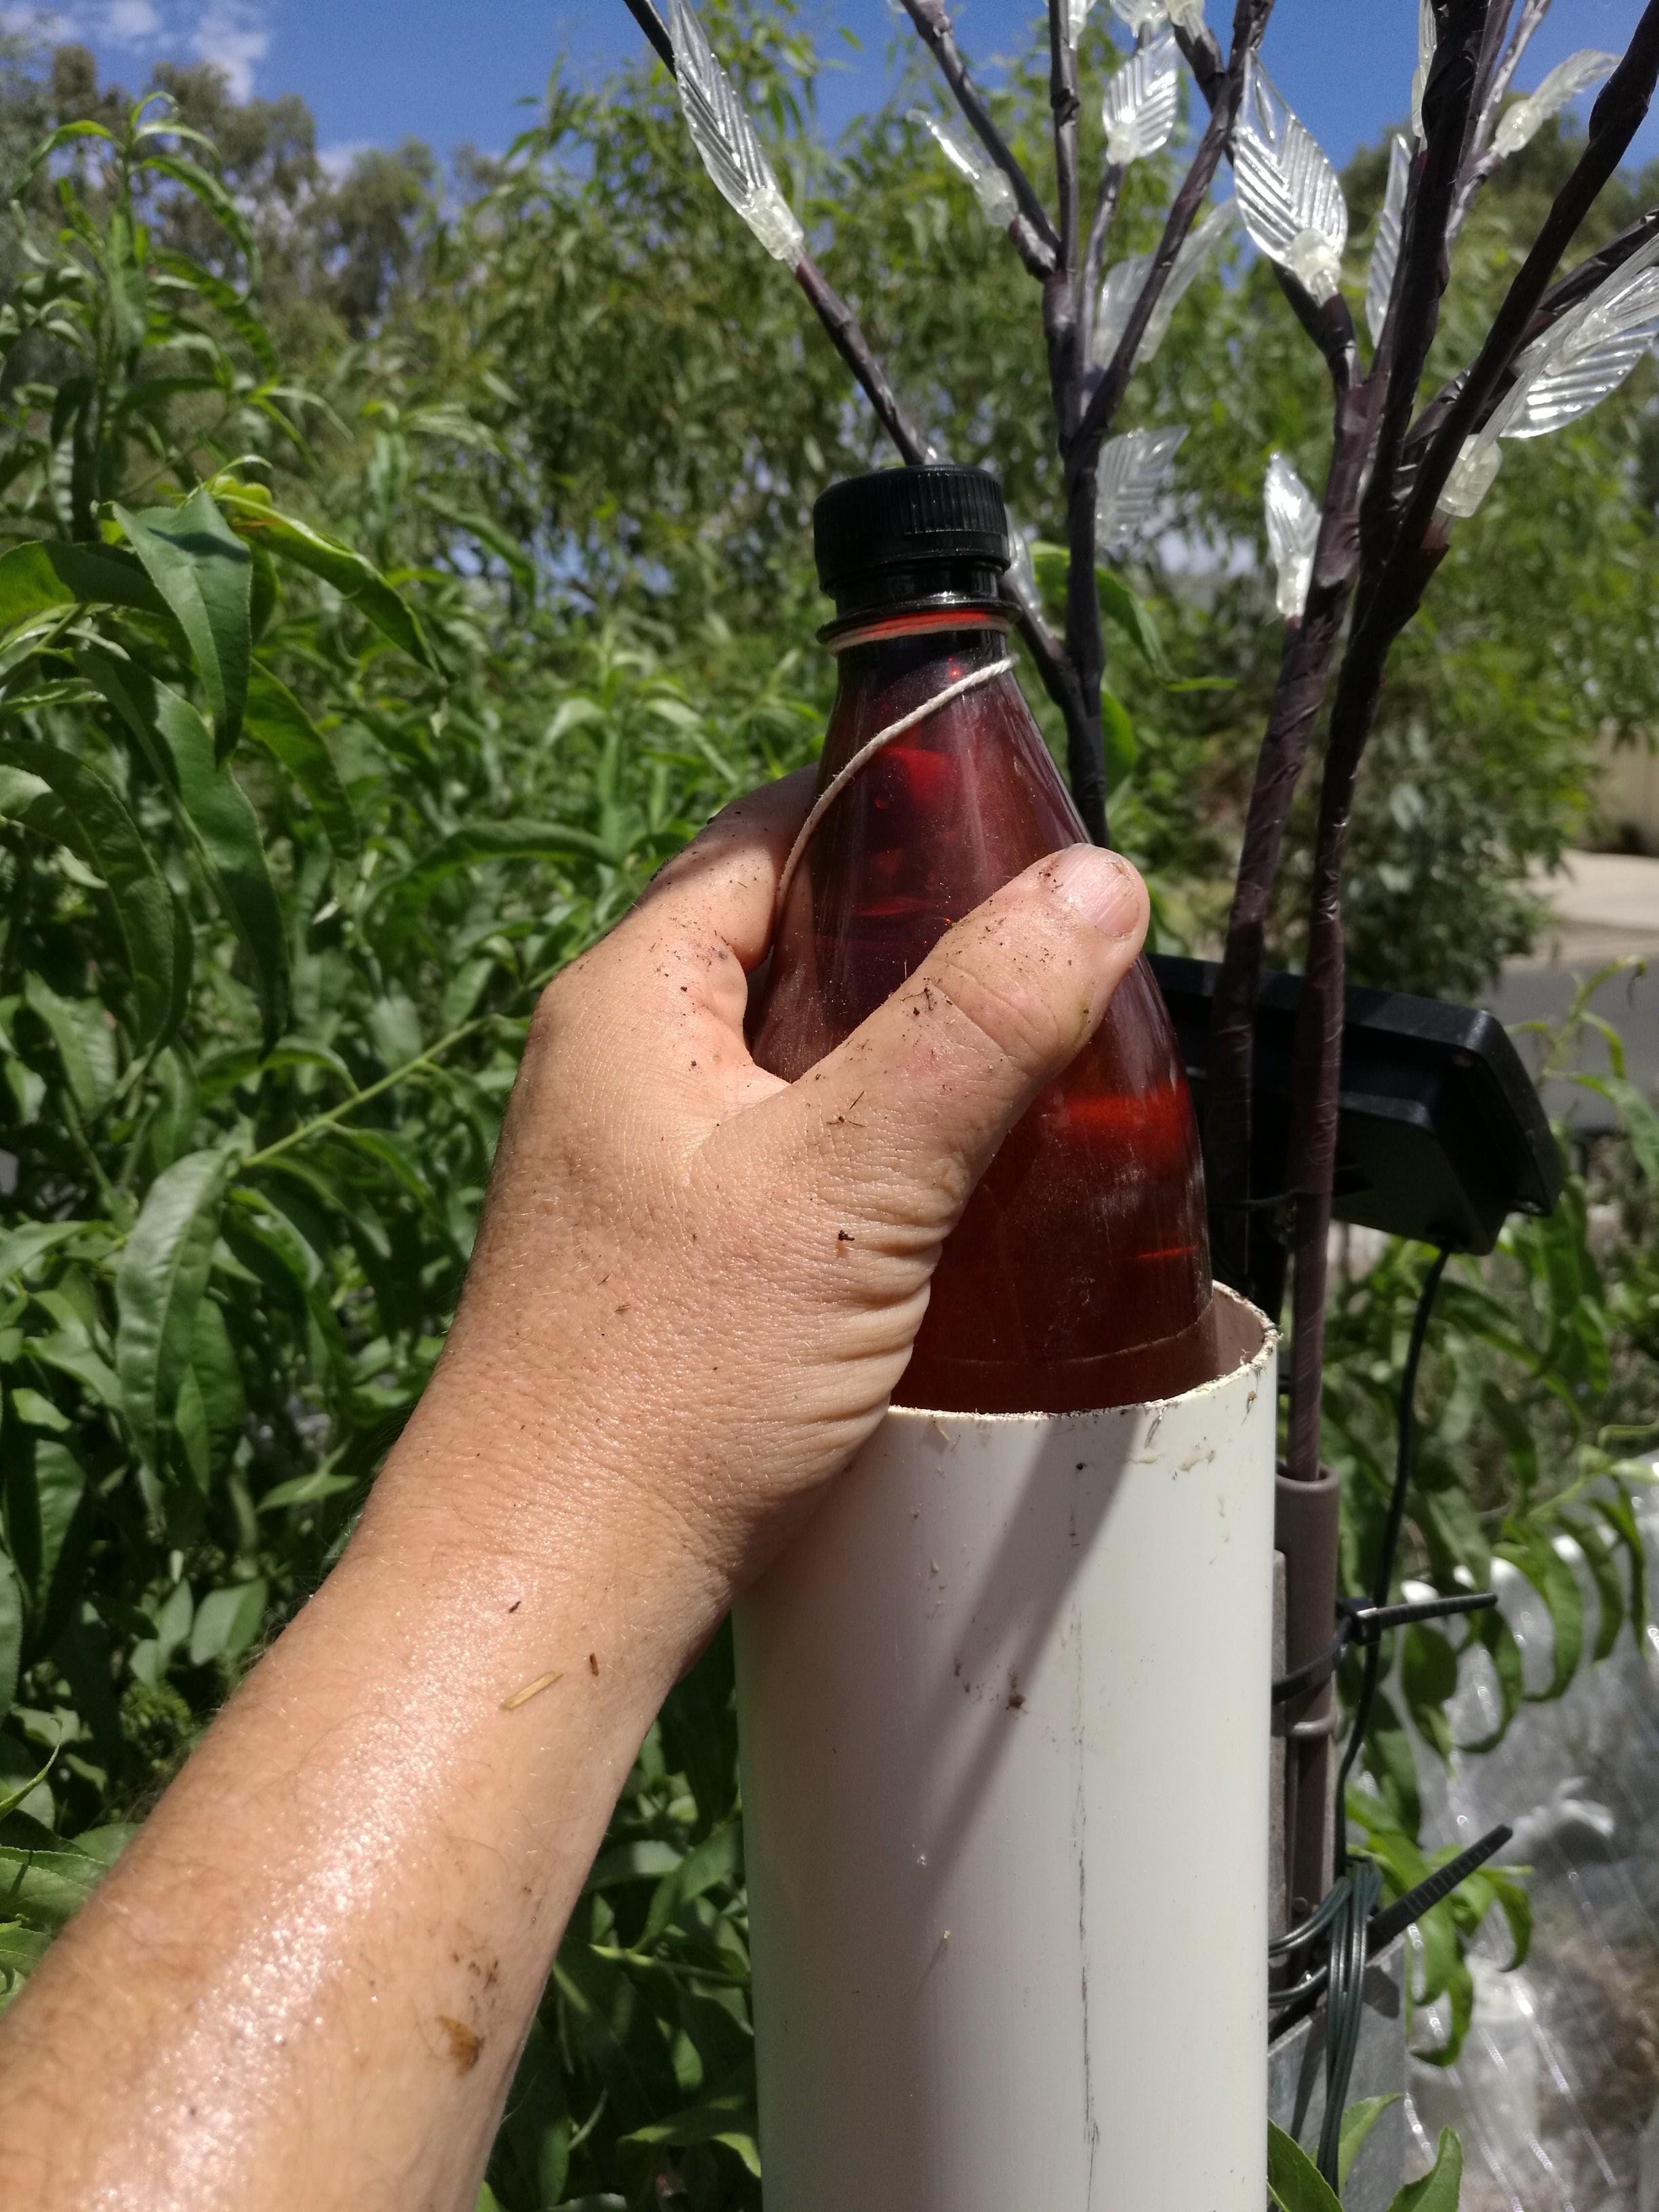
Slip the bottle into the pipe.
Place the slip on end cap onto the pipe to close it all up.
If you want to make it more robust:
To make the setup a bit more robust, especially if you’re using larger diameter pipe, you may want to use a threaded joiner and lock nut instead of the rubber top hat or gasket in the bottom cap. Just follow the pics below to get more strength out of the press.
When you’ve collected some of the magic juice from this contraption, you might want to investigate our ‘Activated Compost Teas‘ page for some ideas about what to do with it.
