


If you’ve looked into the Bokashi system of composting, you will know that there are some ongoing costs that, while not high over time, can mount up. I looked into things and found a way to make our own Bokashi bran for at minimal expense.
This is the quickest method to use, as it includes some already prepared EM1 solution. We have another page explaining how to extend you EM1 solution and another explaining how you can catch and culture your own Lactic Acid Bacteria at minimal cost.
Making your own Bokashi bran
All you need is –
- a bucket to mix in
- 1 kg of bran coffee grounds.
- 70 ml of EM1 solution
- 450 ml of filtered or otherwise un-chlorinated water
- 70 ml of Molasses
- an airtight container to store the prepared bran in until it is ready.
This is a pretty forgiving process. The amounts are all ballpark figures but if you follow these step by step instructions, it’ll work out.
Here’s how to make your own –
Gather your ingredients and find a comfortable work space.

Put the bran in your bucket or mixing container and add 450 millilitres of filtered water.

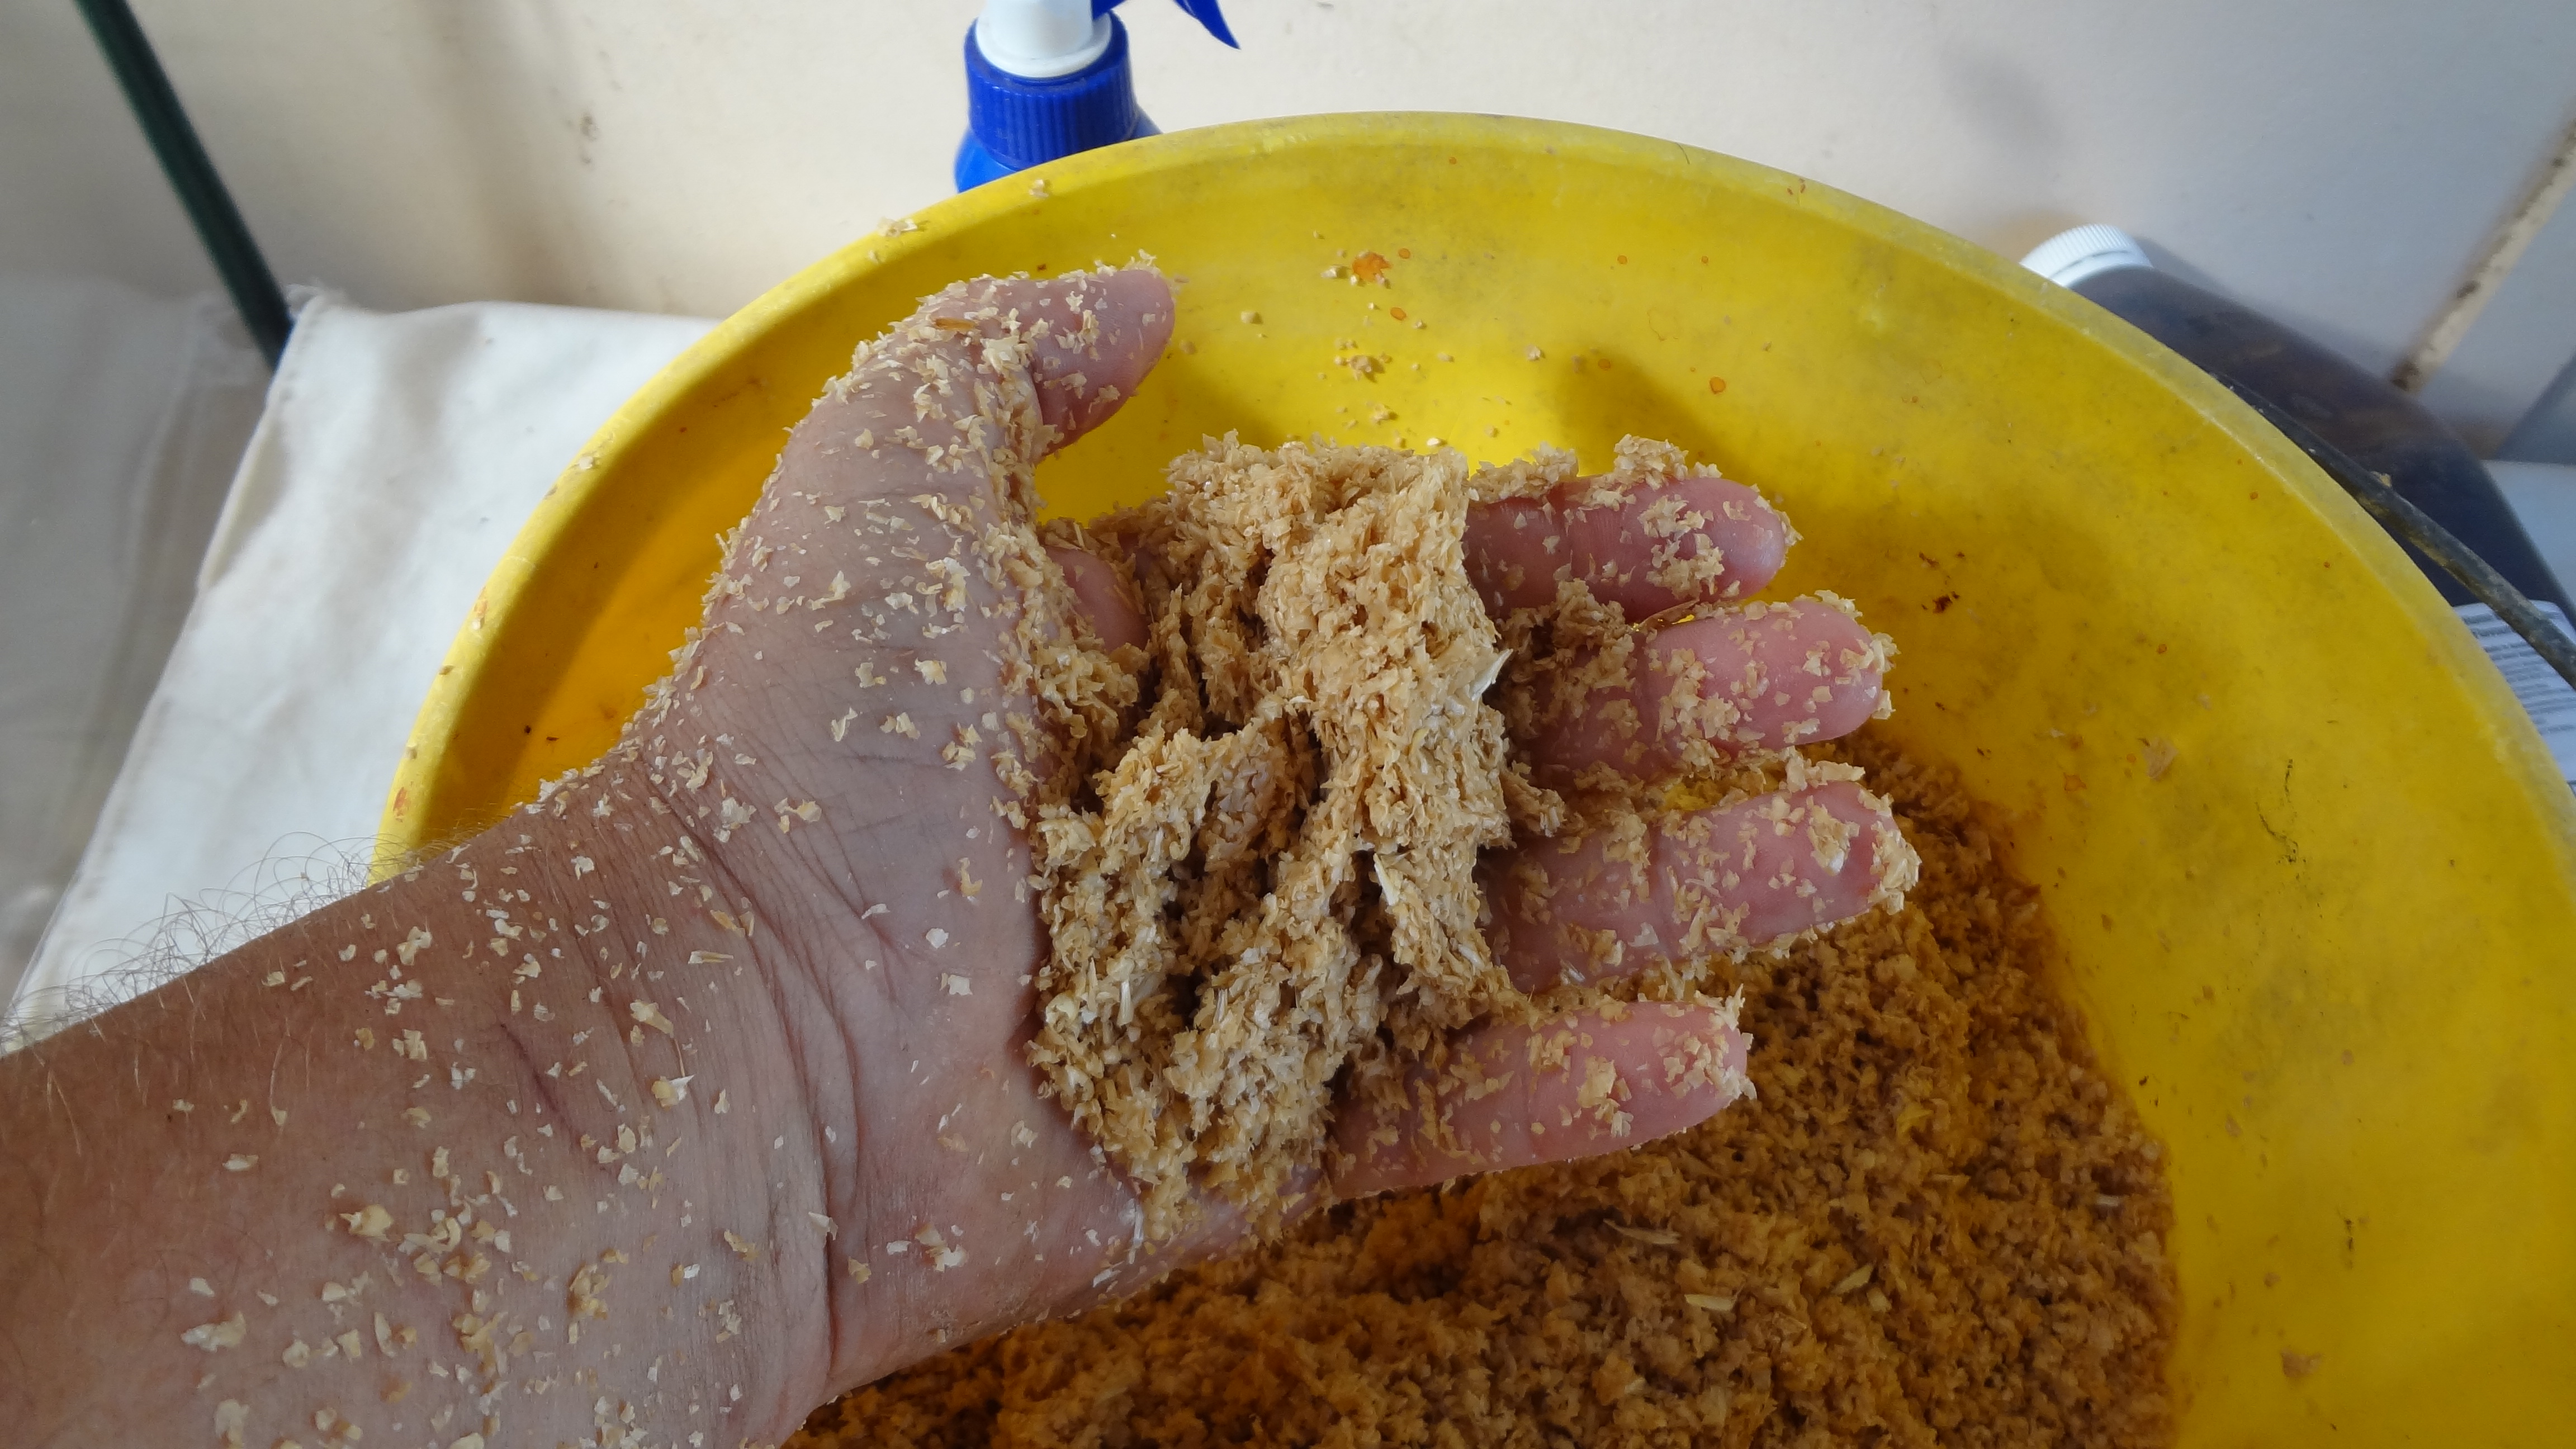
Mix the water and bran thoroughly. It can be any type of bran. I use wheat bran because it is easy to get where I live. It is important to moisten the bran evenly and not leave any areas that are too dry or too wet. Having said that, the process is pretty forgiving.

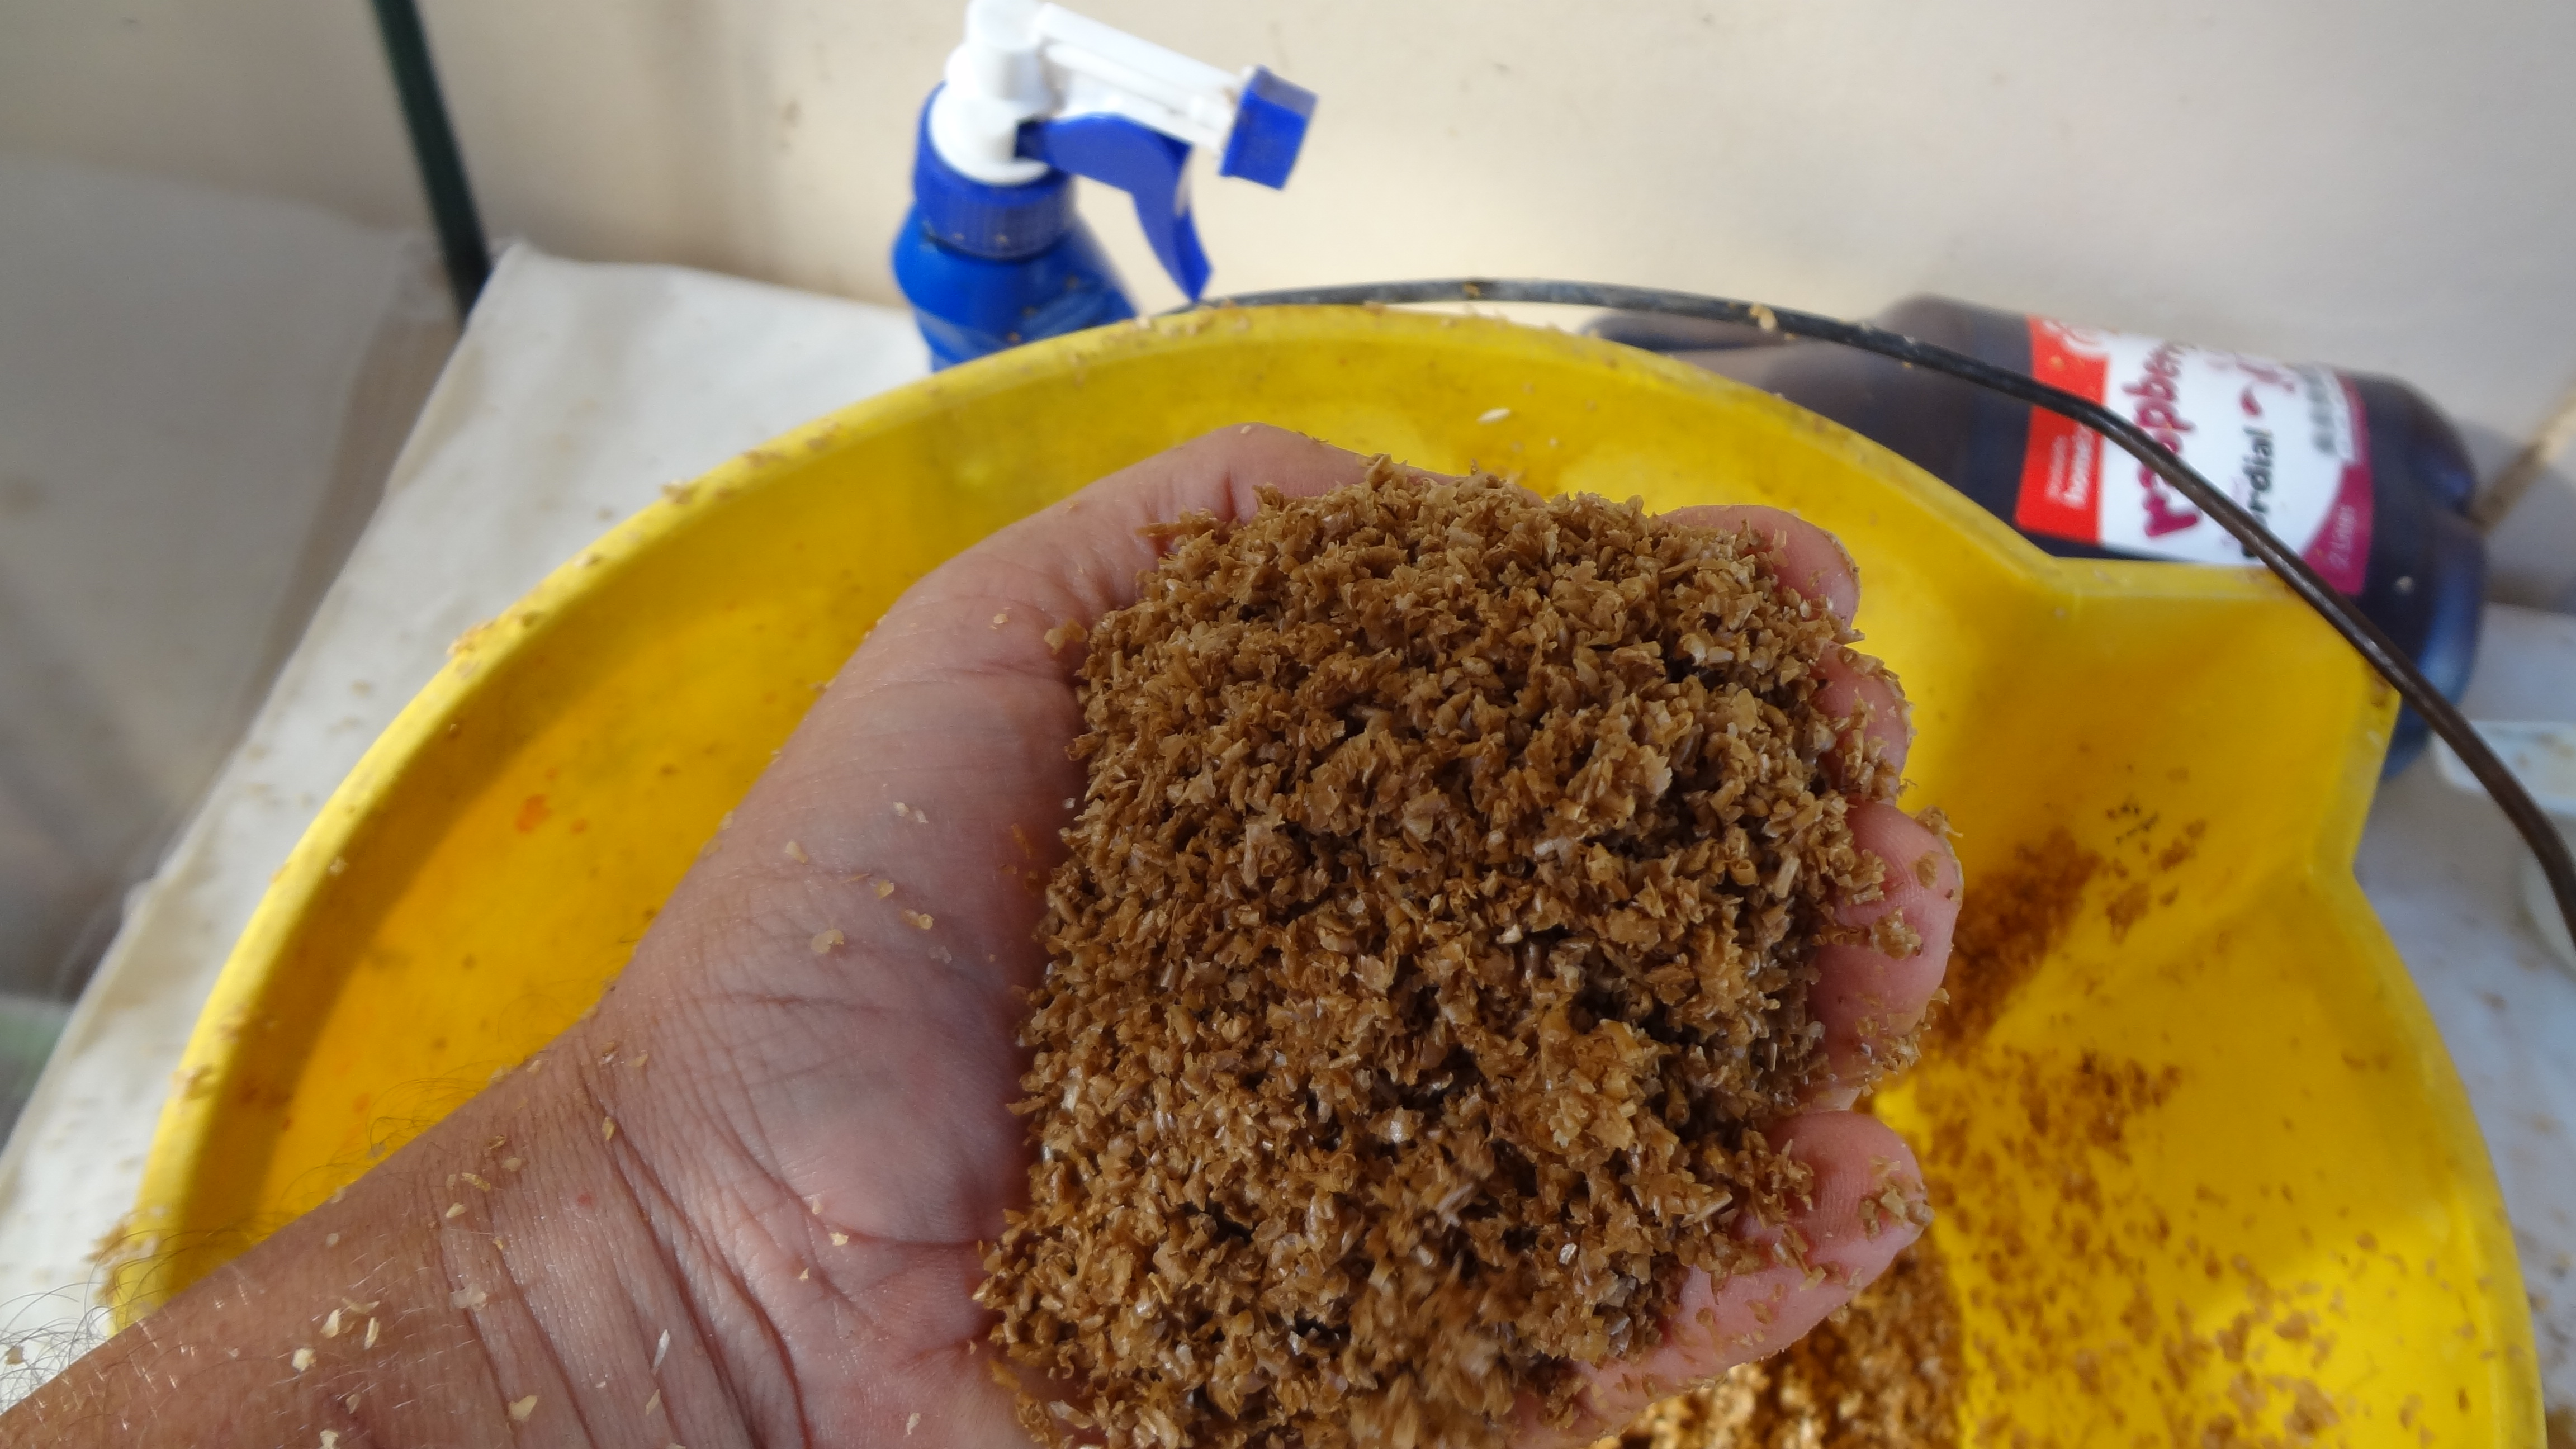
Squeeze a handful of the moist bran. The idea is to have it moist enough to start to form a ball, but not moist enough for the ball to stay together.
Add 150 ml of Molasses and mix as thoroughly as you did in the last stage with the water. The molasses provides the initial food for the microbes in the next step.

Add 70 ml of Microbe solution, or EM1 solution. This contains enough microbes to start digesting the molasses and inoculate the mix.

Mix as thoroughly as possible to make sure that the microbes are fairly evenly distributed throughout the bran.
Move the finished bran mix to your airtight container. Press down on the mix.
Pressing the mix down ensures good contact of the microbes with their food source, as well as expelling air. Remember, Bokashi is an anaerobic process.

Cover the container and place it somewhere not too hot and not too cold, away from direct light until it is ready.
When is it ready?
It will take about a week for the microbes to have bred up to enough of a level to make the bran effective in the composting process. In cold weather, allow them another week to get ready.
I use the white buckets that come from food shops, the ones that are used by bakers for frosting and such. These have a good seal and when the microbes are active and producing CO2, the lids bulge a little.
This bulge tells me they are ready to go! When you pop the lid, you should be greeted with a slightly vinegary, fermented kind of smell, That’s a great thing! If it’s got green mould on it, throw add it straight to your compost or throw it out. A little white mould is OK.
The final bit
Once your Bokashi bran has has a week or so to process and maybe your lid has popped, it’s time for the final step. It’s up to you if you do this part, it’s not compulsory and depends on how much of the bran you’ll be using in a short time.
This step is the drying stage. You will have to spread your bran on trays or screens, somewhere where there is a warm, constant temperature and no direct sunlight. Direct sunlight will kill the microbes. Slow drying will allow them to go dormant.
Turn and mix the bran frequently to facilitate drying or, if you’ve got a food drier, use that on its lowest setting with the lid off. That will stop things from heating up too much. When you’re happy it’s dry throughout, store it in a ziploc bag or container with a good seal.
Add the dried bran to your Bokashi bin at a rate of about one handful every time you add your vegetable scraps. The dormant microbes will soon wake up and start eating and reproducing.
Alternatives to bran.
Bran generally costs money, so substitutes are better for your wallet. Free substitutes also remove waste from the food waste stream.
I use the same process as shown above with coffee grounds that I get from local Cafes. This is my preferred substitute because it’s very clean when you get it, having been partially sterilized by the coffee machine and contains a few beneficial nutrients such as nitrogen. You can find also use shredded paper but you will have to experiment with the amounts of ingredients you use and will work with slightly less liquid. Sawdust is another sensible option but I haven’t tried that yet.
Shredded paper makes an excellent substrate too!

More Ligaya Garden Bokashi links
Making Bokashi bran from used coffee grounds
Culture your own LAB Lactobacillus bacteria [link]
