

Worm Castles are a great improvement on the old, black, heavy plastic worm farms but, in my eyes, they have a disadvantage, especially in the cold, wet weather (ours are outside all year).
When the top two trays are full, the weight causes the castings in the bottom-most tray to compactand become a solid block. This compaction doesn’t seem to affect the worms much and I’ve been told that the Worm Castles are designed to do that, because, unlike the old style worm farms, the trays sit directly on the castings in the tray below to give worms better access.
I like my worm castings to be light and fluffy, so I’ve never been comfortable with this compaction and think that maybe the compaction prevents liquids from the top trays getting to the tap.
Always being one to find sutions, I set about finding a way to prevent or reduce this compaction.
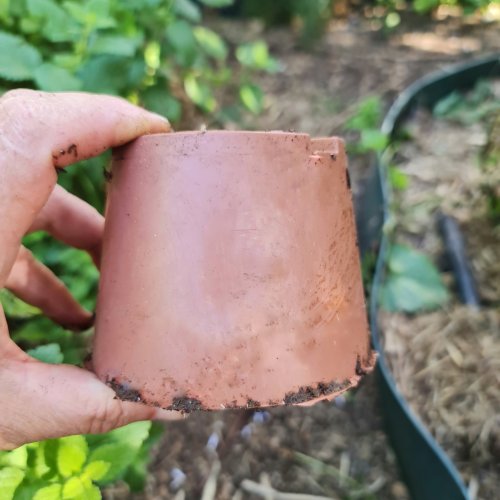
The best way I’ve found is to get any 10 cm or so plastic plant pot and trim it’s height so that it is appropriately 7 – 8 cm tall. Trim from the rim, leaving the base intact.
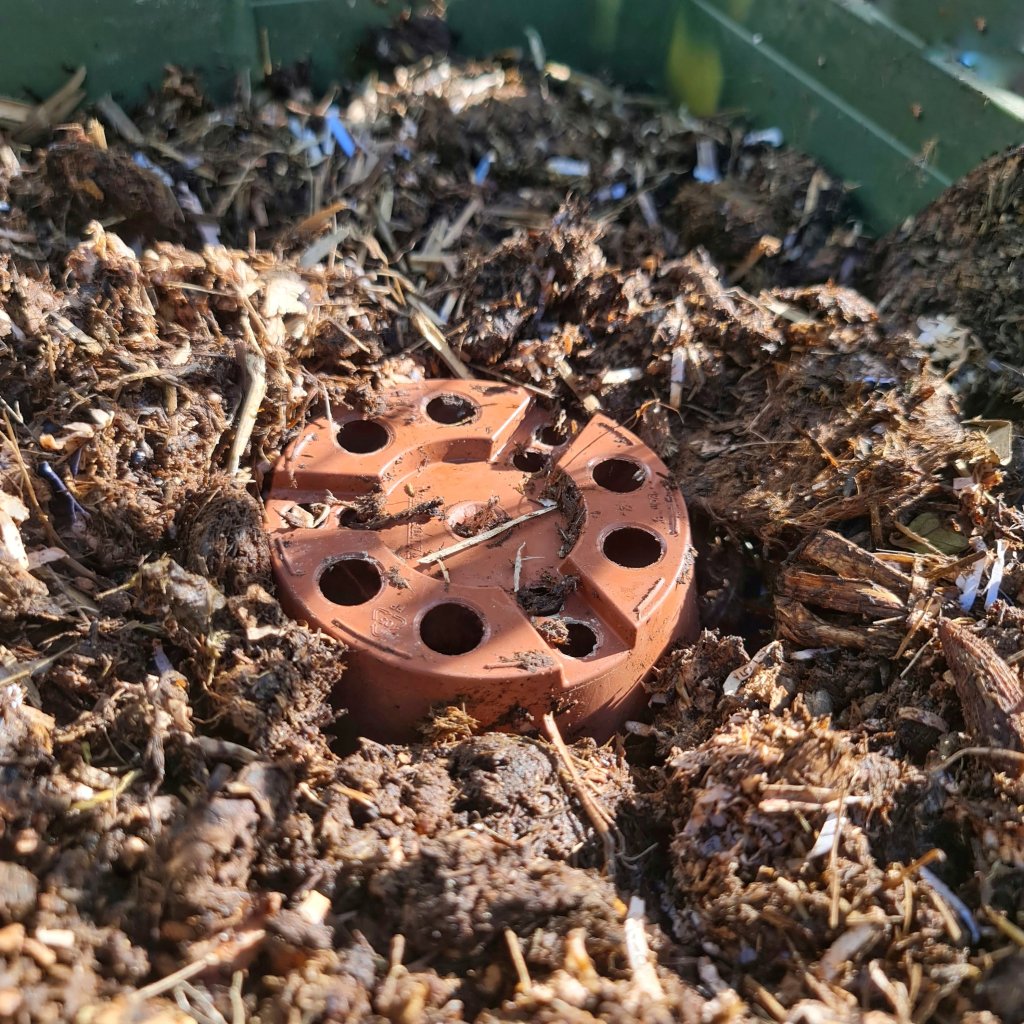
Place the trimmed pot, base up, in the centre of the tray. The worm castings will build up around and inside it but the next tray won’t push down as much. There’ll still be light compaction and the worms will still have full access to all the trays and their food but it will prevent the castings in the lower trays from turning into bricks.

The holes in the base of the pot allow the worms full movement and eventually castings will fall through and partially fill the void inside the pot. I think that this system may also improve overall drainage and ventilation too.
