

Finding nice looking Ginger, Galangal or Turmeric rhizomes at the supermarket often gets folks thinking of growing their own, only to find their rhizomes rotting after planting. With supermarket Ginger at around $56 a kilo last year, it really is worth trying to grow your own.
I’ll share here the process that we’ve found successful at Ligaya Garden. It should give you a good crop and help you to avoid pieces of your favourite spice turning to goo after planting. We get some pretty extreme weather in Gawler but these tips work here and should work from Melbourne across to Perth. It’s a bit different in the tropics but isn’t everything? The steps in this article apply to all three rhizomes, Ginger Turmeric and Galangal.
The most important things to remember when growing these plants are that they like a lot of Sun and don’t like swimming. They love a lot of water but don’t like it sitting around. Good drainage is the key to successfully growing them.
We’ve found Galangal to be pretty well indestructible but Gnger prefers 20-35 degrees for best growing and Turmeric, a little cooler at 20 – 30. It doesn’t really make a lot of difference, as long as they’re not baking in 40°C + temperatures for days in end. Ours have gotten through a few days like that without missing a beat.
When to propagate your plants
You can start growing your plants any time but they do much better if the weather is warmer. Spring is best and propagating then will give you a good start. If you’re in a hurry, you may even get a small harvest when the leaves die down in Winter.
Choosing the right piece

Successful growing starts with the choice of pieces to grow from. It may take a couple of visits to the markets to get just the right pieces but that effort is well worth it.
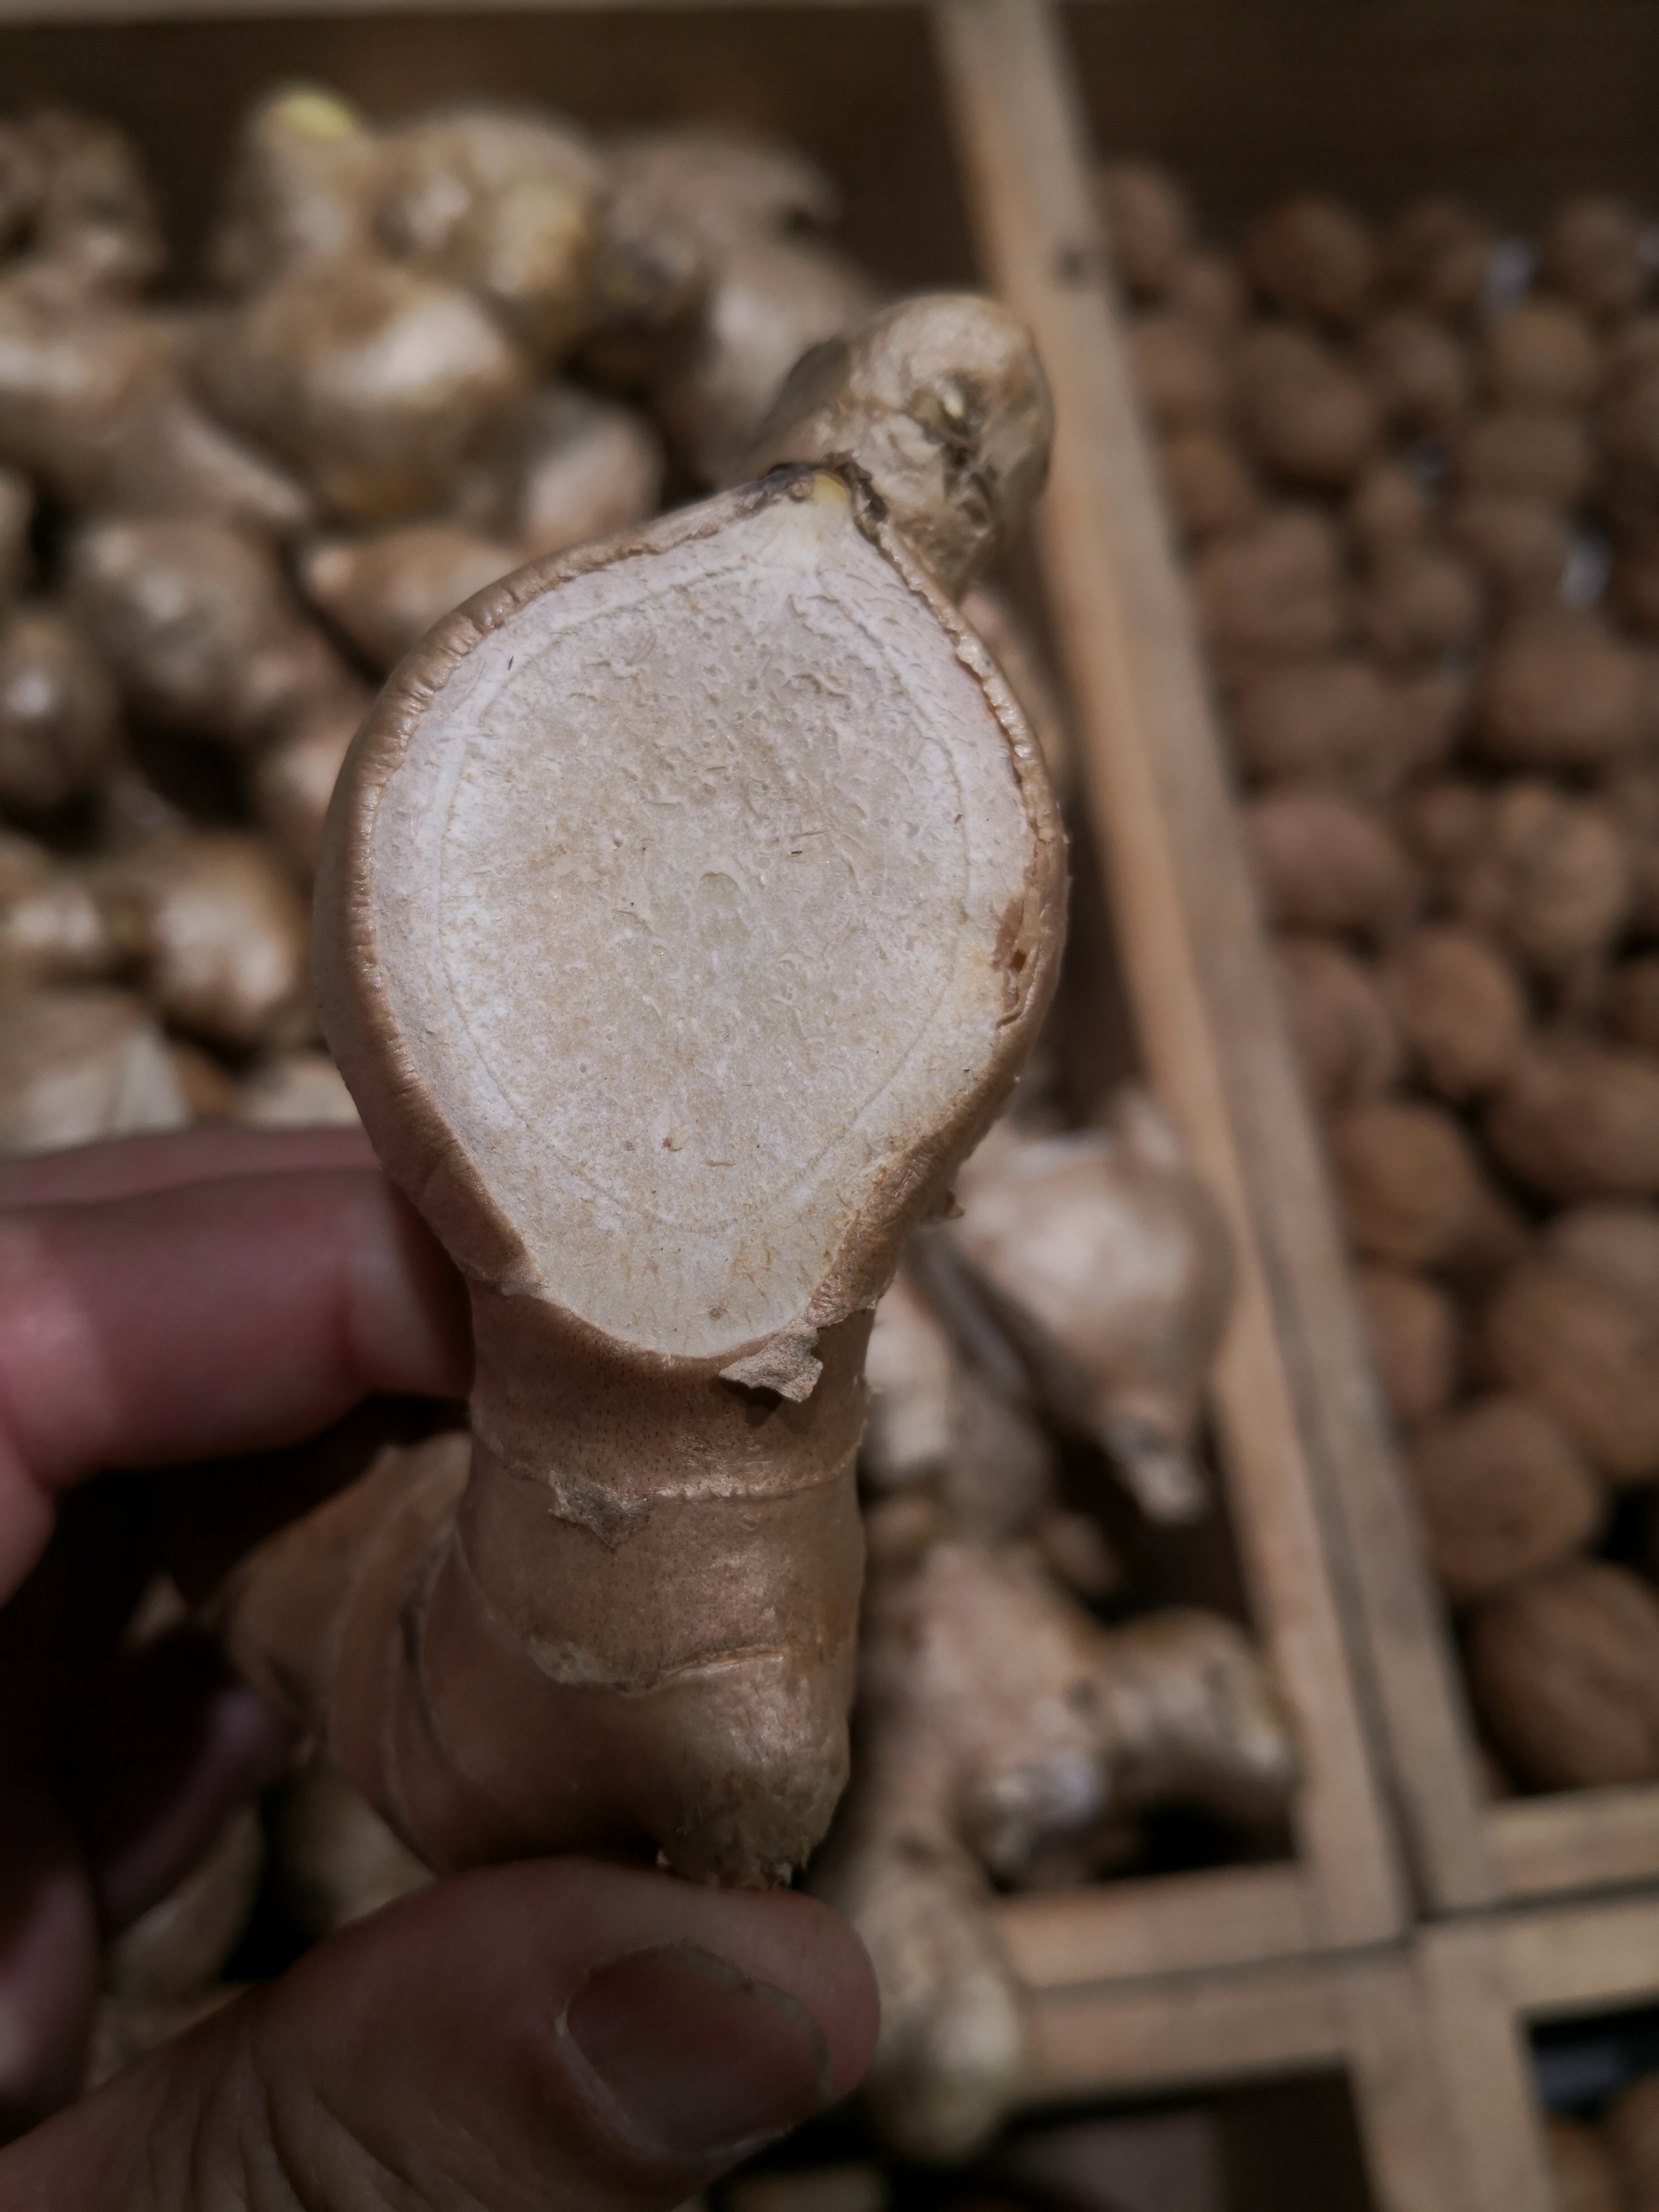
Find a piece that has a couple of eyes (buds) on the same side. If distinct shoots are already forming, that’s wonderful and if they’re green or turning green, that’s perfect.
The next trick is to not have too much rhizome. If each shoot has a piece of rhizome about the size of two 50 cent pieces, that’s perfect. One of the most common reasons for failure is putting too much rhizome in the ground.
Treating the pieces before planting
If you need to break or cut the rhizome, try to leave a little rhizome around the shoot and let the wound dry. It will callus over with a protective layer that will help your rhizome piece survive in the soil. The rhizomes have a protective surface and water only enters through roots so damage to the rhizome will allow water inside and could rot it. That’s probably the most common cause of failure.
Now that the wounds are sealed, it’s time to soak the pieces in a dilute liquid fertilizer such as Seasol. A few hours is enough but it doesn’t hurt if you leave it overnight. I often do that because I forget about them!

It’s time now to plant the pieces into their temporary home, where they will grow roots and leaves and start supplying themselves with energy and nutrients, no longer needing to rely on the stored energy in the initial rhizome pieces.
Potting up

Put the pieces into well draining soil or potting mix in a small pot, the next size up from the size of the rhizome pieces that you have. Choose a loose, well draining potting mix, even add some sand if you’re not sure. These two things will ensure that water won’t sit around the rhizome for too long. You can put multiple pieces into a larger pot but ensure there’s a good amount of space between them. Don’t put a saucer beneath your pot.
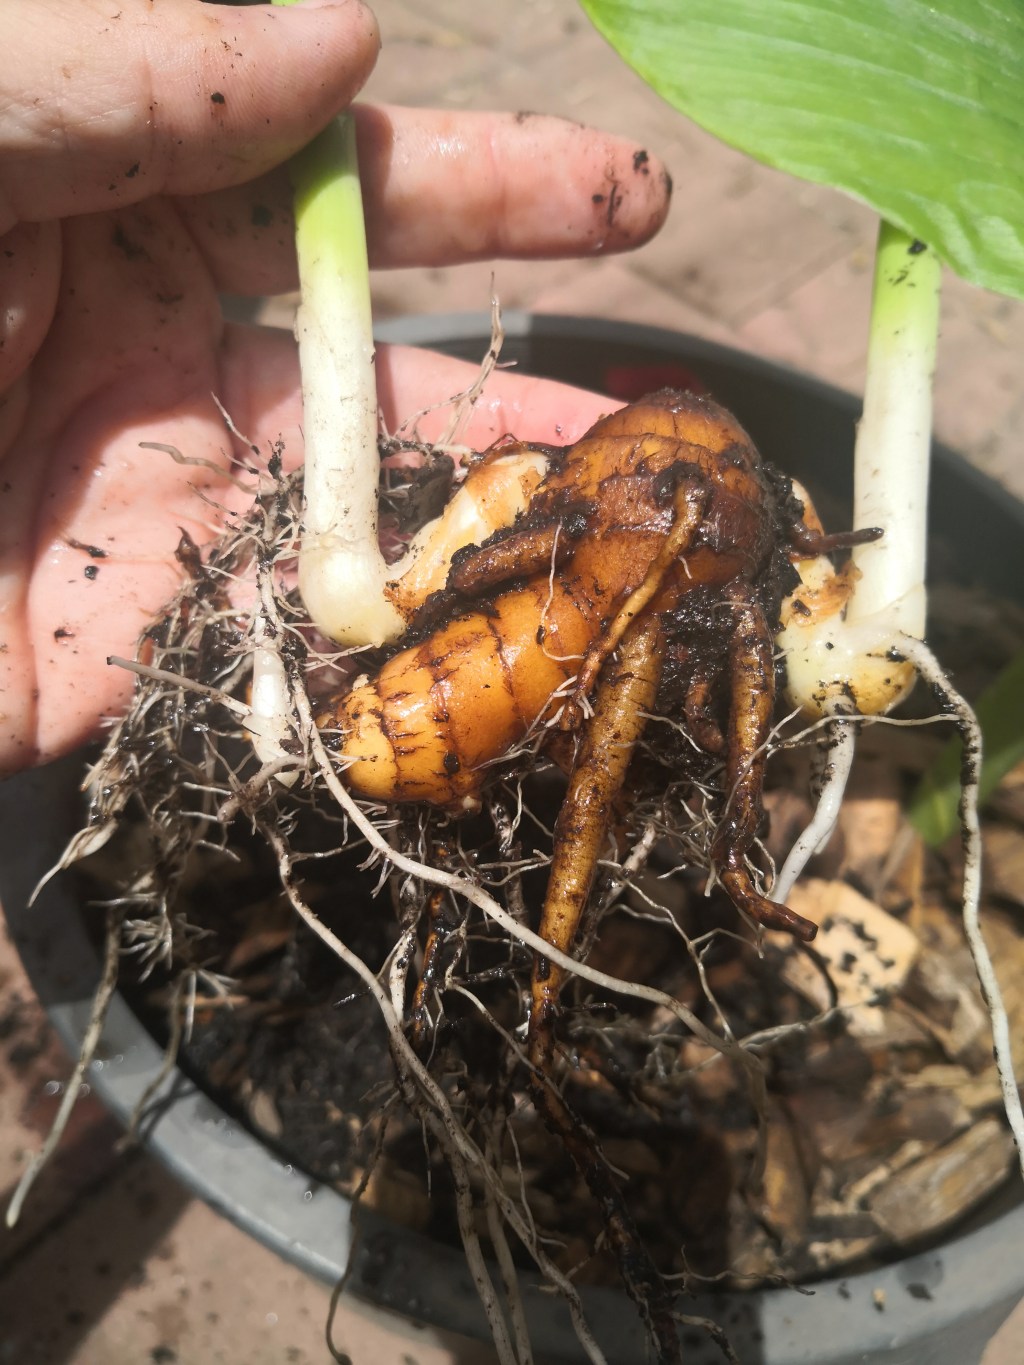
Depth is important at this stage, place the pieces so that the shoots are just at the surface where they can receive a little light. We’re trying to stimulate them to grow leaves so that the plant can get energy. The shoots will grow leaves and the first roots will form at the base of the shoot. These two things are vital to our success. This can take from two weeks to a month depending on several factors, some of which I’m unsure of at this time.
Give the pot a good water and set it aside for a few days. You’ll only have to water twice a week for the next few weeks. When you have some healthy leaves, take a peek at what’s going on underground. If you see something like the pics above or below, you’re doing OK. If not, leave it a little longer.
Transplanting to your garden

When leaves and roots have formed, it’s time to transplant the new plants to their final home in a large tub or the ground There is a difference in how the three types of rhizome like to be planted. Ginger prefers to be closer to the surface, just lightly covered. Galangal likes to be buried deeper, 5 centimetres down. Turmeric prefers a depth of around 2-3 centimetres. It sounds like a bit of fuss (something that I’m not known for) but ot works.
Remove as much soil along with the rhizome as you can when transplanting to help prevent transplant shock. Water well with a little seaweed concentrate.

The plants need excellent drainage and a lot of light. I like to add about 5% of sand to where they are to be planted out.
The leaves will droop and look sad until the roots are re-established. When yiu see them back upright, all is well.
Mature plants will survive our near 50 degree South Australian Summers and the frosts of Winter but it is advisable to add some cover on these days. The rest of the year they’ll be fine. Currently, it is the hot, dry, Northerly wind that seems to do the most damage, so some kind of wind break helps until the plants are fully mature.
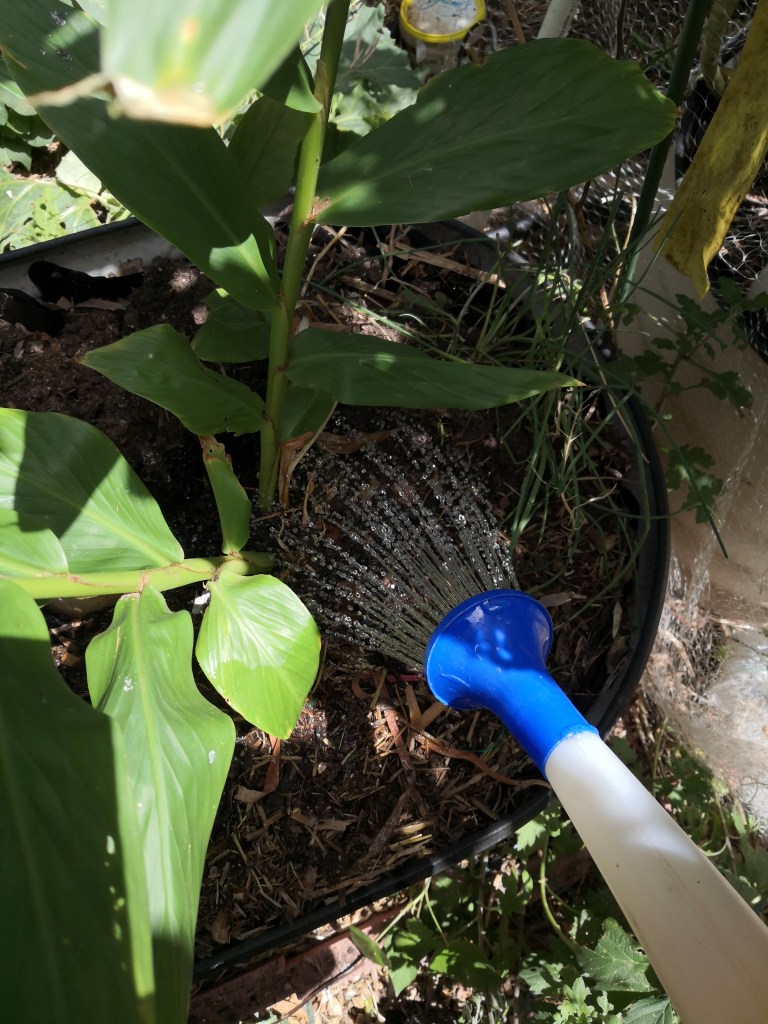
Water well, twice every second day and use liquid fertilizer once a week for a while until the leaf growth looks good.
Wait a bit
It takes a while for the rhizomes to get going and this is where folks sometimes think that they’ve failed when they’re really just jumping the gun. I advise no harvesting for the first year. In the second year just bandicoot around the edges of the patch. Once the main rhizome is well established, you’ll have so much of your favourite spice that you’ll be giving newbies tips on how to grow them
We grow different varieties of Ginger, Galangal and Turmeric at Ligaya Garden. There’s Redback Ginger for its striking leaves, Cardamom Ginger, shop bought Ginger, Alpine Ginger, Galangal and Turmeric. We’ve grown them all successfully using the methods I’ve written about here and if you follow these tips, I’m sure you will too.
The plants
Each species looks pretty well the same during the early stages. The ‘stem’ that shoots up is made from incompletely unopened leaves and isn’t a real stem at all. The leaves branch out from this alternately. Turmeric looks almost identical to Ginger at this stage but the leaves start to become more rounded with maturity. Galangal leaves are rounder from the start.
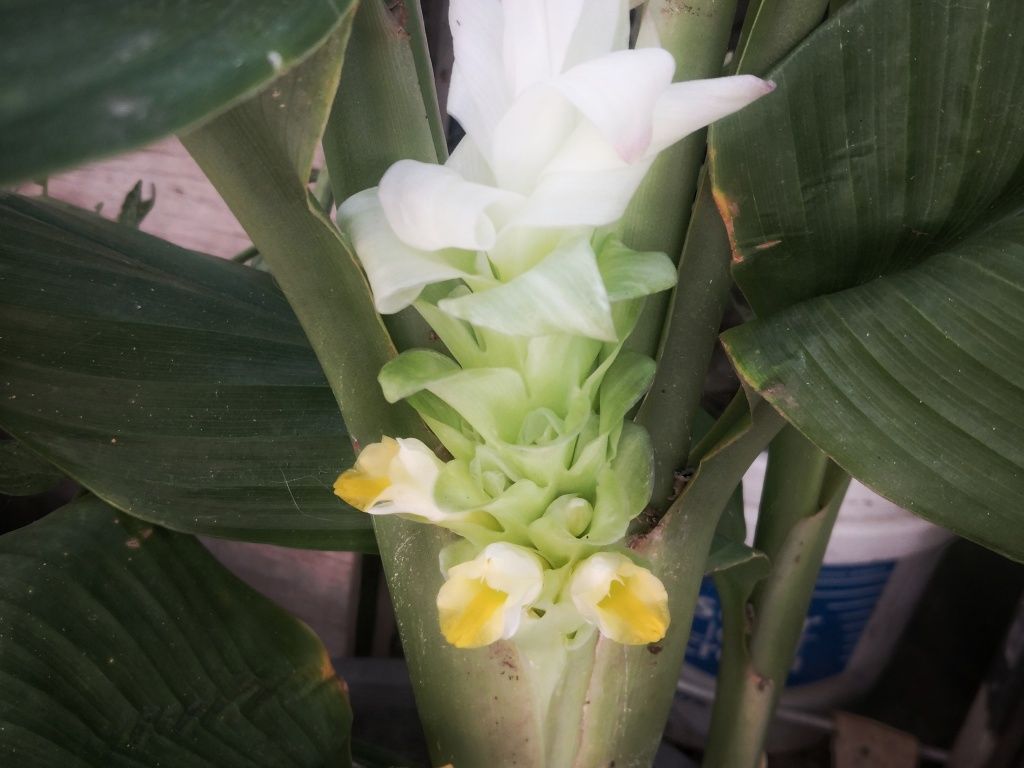
The leaves and stem can reach 1 metre tall pretty quickly. Flowers come later. Turmeric flowers are a spike that comes directly from the rhizome and consist of an upper layer of sterile bracts of a white/cream colour with fertile flowers below which may be tinged yellow or pink.
Ginger flowers are more of a cluster on the end of the flowering spike and ours are cream but many colours are possible depending on the variety.
Galangal comes in two varieties. One flowers in a spike like Turmeric, the other has smaller flowers at the end of the leaf stems. We grow the latter here.


Harvest time!
Whatever you do, don’t harvest your rhizomes until the second year. Let the plants get established and fatten up a bit. Traditionally, you’d do it when the leaves have died back but with the climate the way it is now, we have some leaves all year on all 3 species, though the Turmeric seems to get harder than the others.
If you harvest your Turmeric at the beginning of Winter, it will have white tubers attached to the roots. Those are how the plant stores nutrients for its off-season. They’re quite tasty.
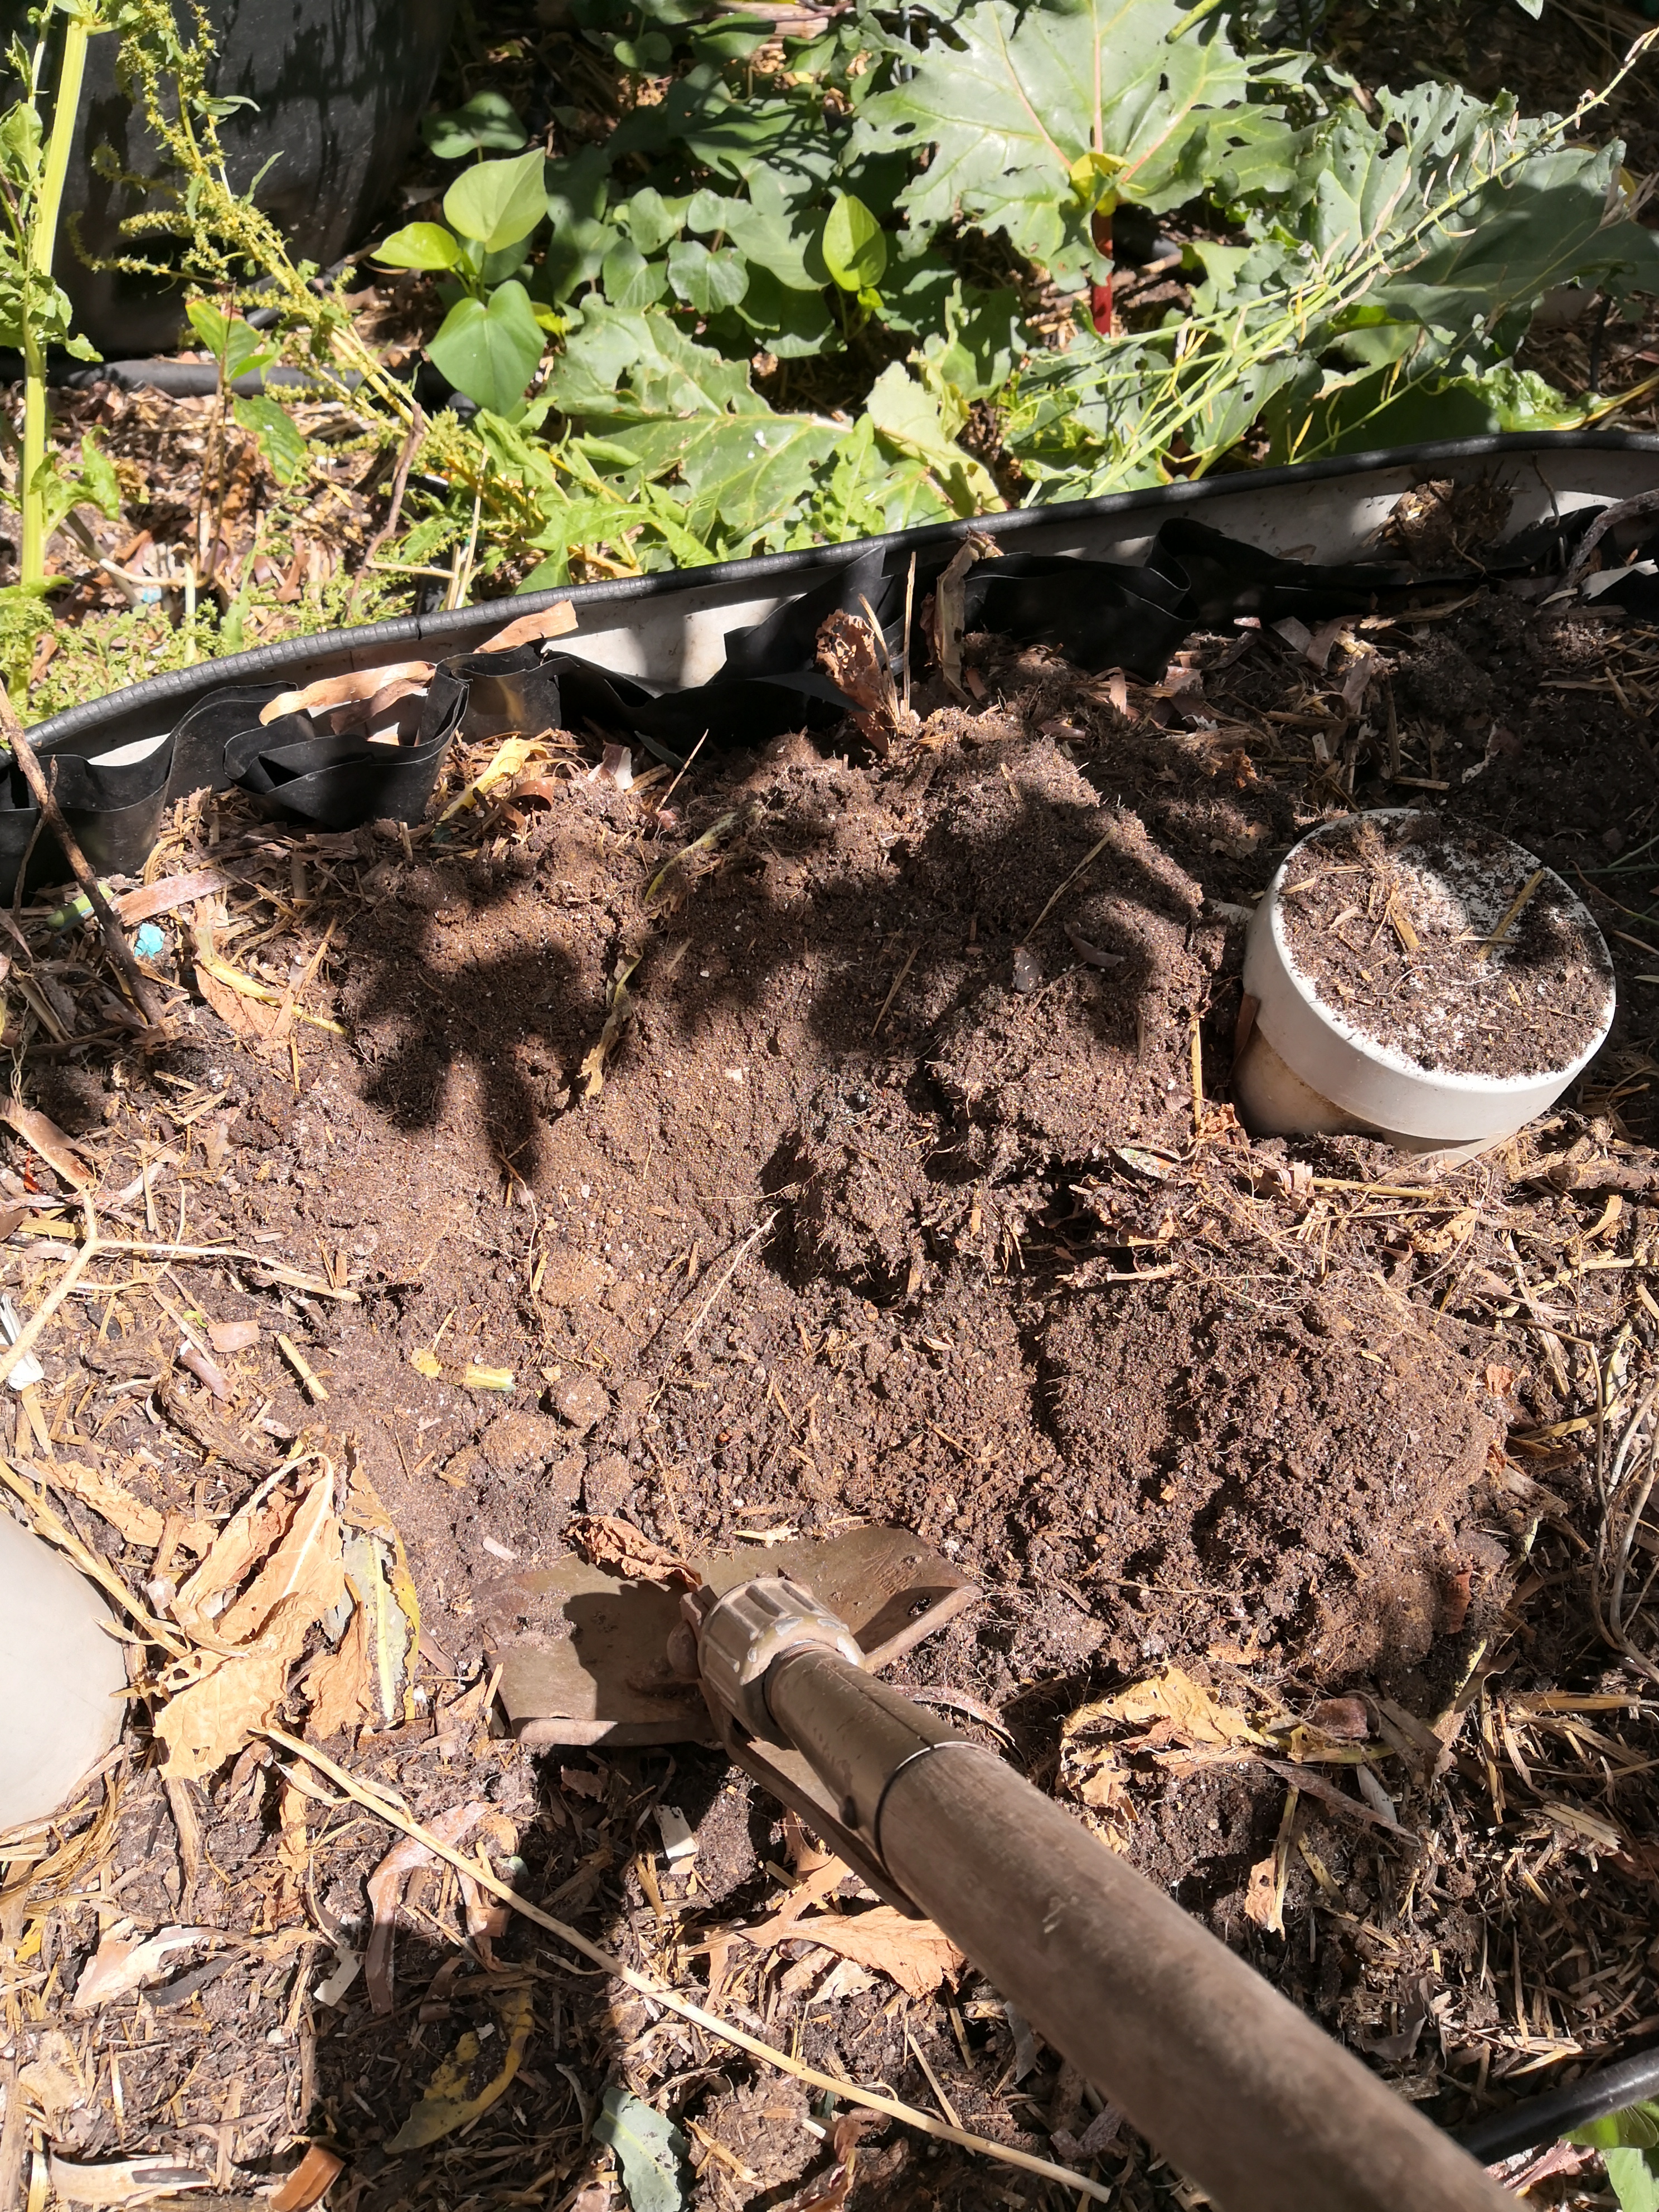
There are two ways to harvest. You can dig up a whole patch of rhizome from a single plant. That means a mess and replanting.
The best way is called ‘Bandicooting’ here in Oz, after a little mammal who likes to use the technique. This means digging down a little and finding, then breaking off as much rhizome as you need. You won’t have to dig far. All three species tend to grow at just on or below the surface. This method is a lot more fun and doesn’t necessitate replanting the whole plant. Also, the rhizome is stored in the soul for any time you want a fresh bit.
