To maximise the benefits of your herbs for as long as possible, it is important to know how to store them. Many herbs are seasonal, so they aren’t available all of the time, and we don’t want to keep buying from the shops, do we?
What are we trying to protect our herbs from?
Moisture and oxygen are the two main things that we try to protect our herbs from. Both promote chemical reactions that degrade our precious herbs and promote the activity of the microbes that can do the same. Drying your herbs thoroughly and excluding moisture and oxygen are the keys to good herb storage.
Temperature is also important to consider. Higher temperatures promote faster chemical reactions that will break down the wonderful properties and the physical structure of the herbs quickly. Store your herbs in a cool place that never reaches any more than the ambient temperature of the room they are in.
The ultraviolet part of sunlight can also cause chemical reactions that are bad for storage. Always store your herbs out of direct sunlight.

Mould is one of the worst contaminants that we try to guard against. It is particularly fond of moist environments and will even grow in vacuum and heat treated containers if the contents haven’t been dried properly.
Insects and rodents are also important to exclude from your herbs. They can do a lot of damage to the herbs and even to their containers.
In summary – keep your herbs sealed in sturdy, airtight containers. Keep these in a dry, coo place that is out of direct sunlight. Do all of these, and you’ll be surprised at how long your harvest can stay potent.
Browning.
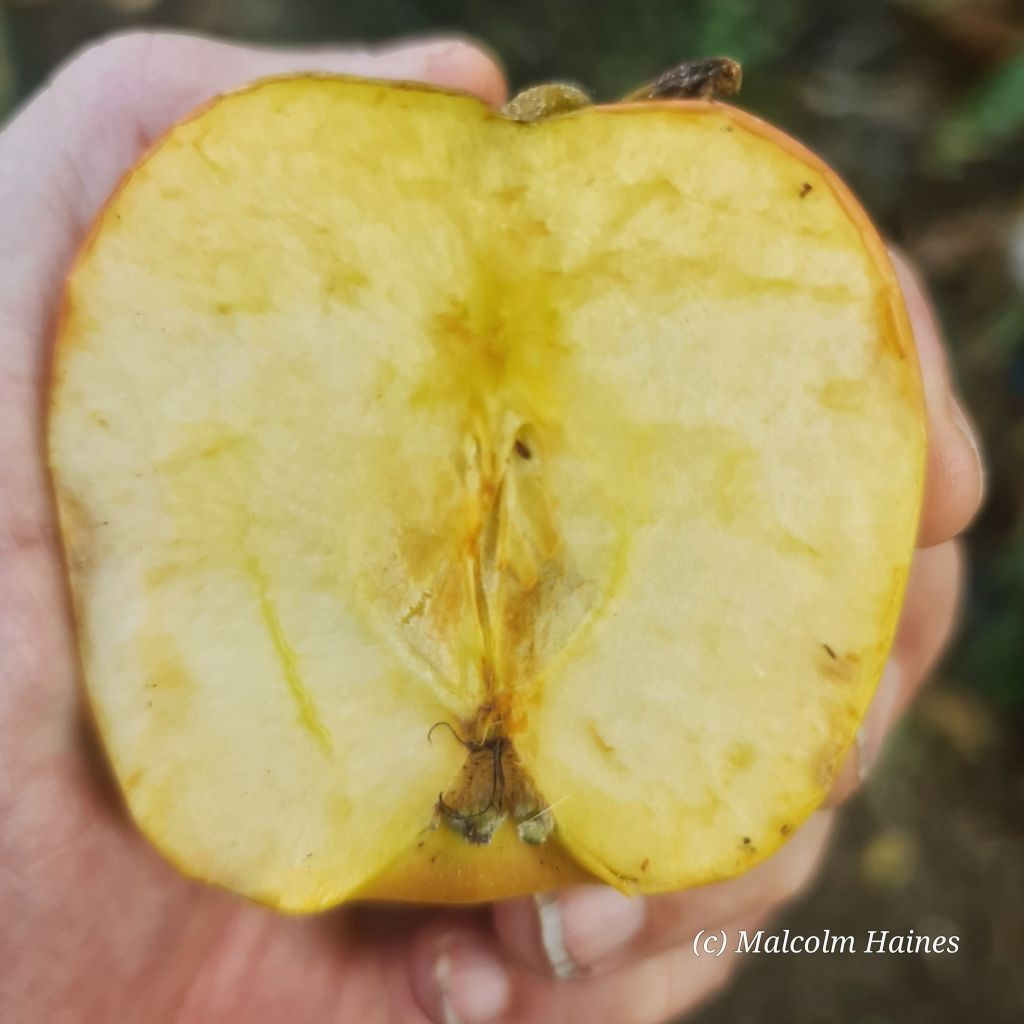
Browning is the unsightly change in colour of many fruits and vegetables that indicates that they are going bad. It is a slow process, facilitated by natural enzymes in the food that require moisture and exposure to oxygen to work. That’s why we try to remove as much of those two things as possible when preserving our food.
Besides looking yucky, browning also affects the food’s taste and nutritional value.
Browning can be used to alter the taste and colour of foods in a positive manner, think of tea and figs.
Browning can be prevented or at least slowed by –
- ●Blanching .
- ●Acidification – vinegar or lemon juice
- ●Antioxidants – vitamin C
- ●Naturally using enzymes and other chemicals in Pineapples, Onions.
Dried herbs and foods are best for long time preservation.
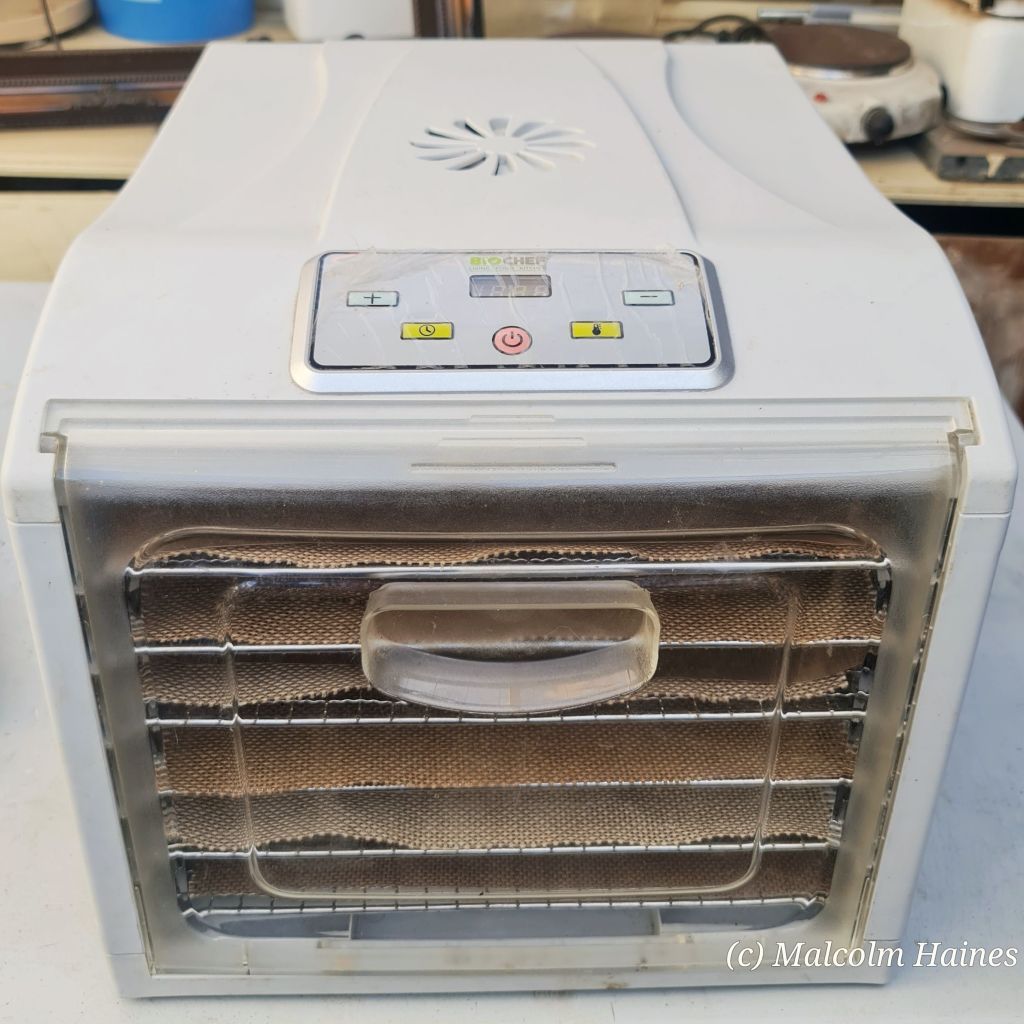
Drying herbs eliminates most of the factors that contribute to spoilage. The dried herbs can then be stored for long periods in jars or vacuum sealed.
We have a whole page dedicated to drying herbs here. All of the information there can be applied to foods as well.


Paper, glass or plastic?
Wrapping your dried herbs in non-glossy or non-coloured paper is the cheapest and easiest way to store them briefly. The paper helps to protect them physically and aids in keeping them dry because it breathes a little. That’s why, often, when you buy your herbs, they come in brown paper bags.
Paper has the disadvantage that it isn’t very durable and won’t protect against excess outside moisture. It is also easily gnawed at by rodents and insects.
Plastic is another option, though it is made from petrochemicals and cheap plastic containers are known to leach nasty chemicals over the long term. Then there are the pollution issues of discarded plastic. It is an excellent option for short-term storage.
Glass is by far the best option for long-term storage. It is cheap, easy to get, easy to clean, and doesn’t make fossil fuel companies rich. It is generally recyclable and doesn’t leach nasty chemicals into its contents. Correctly chosen glass can also handle heat, pressure and sterilization. All of this makes it the number one choice.
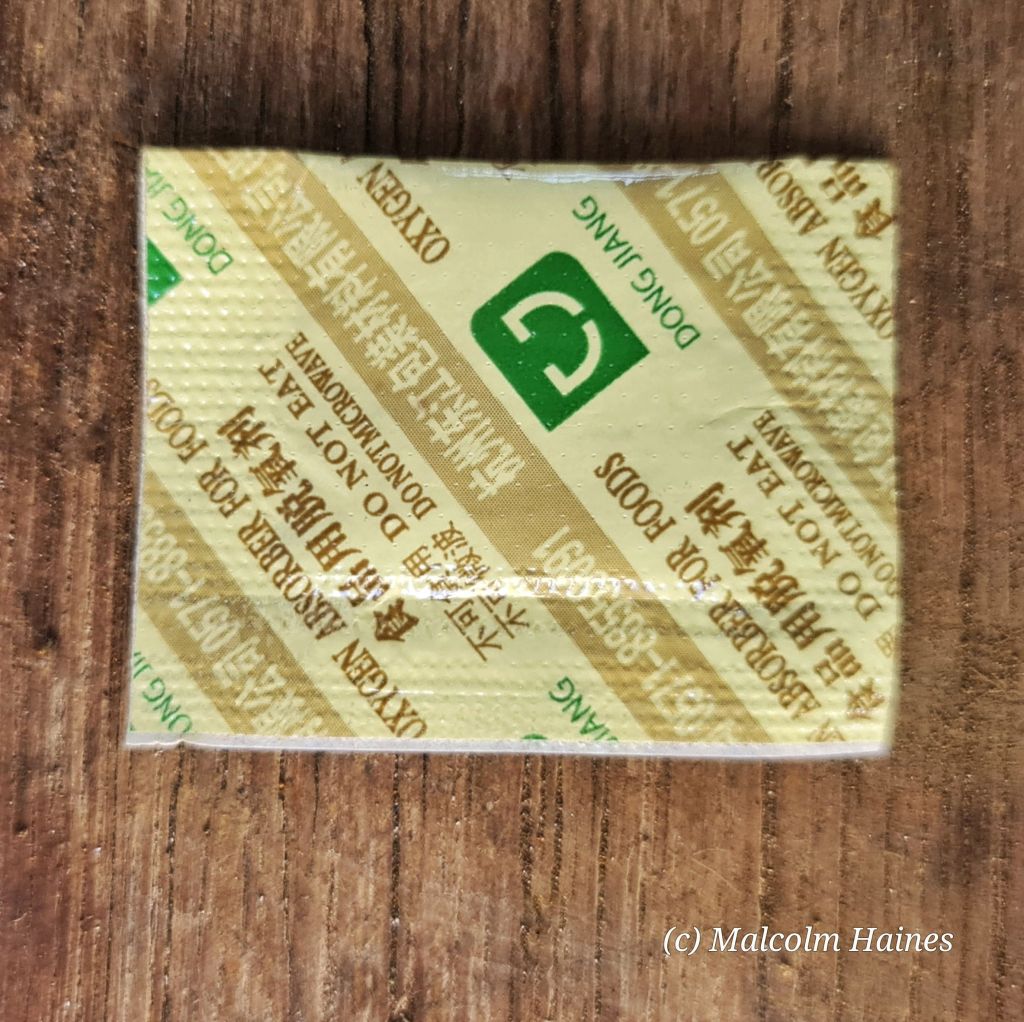
Silica gel and oxygen absorbers
You will need to store your dried herbs in an airtight container. If you are looking to do some long-term storage, some silica gel can be added in packet form. If you don’t have or want to use silica gel, a pinch of salt added to each container will absorb some more of the humidity in it.


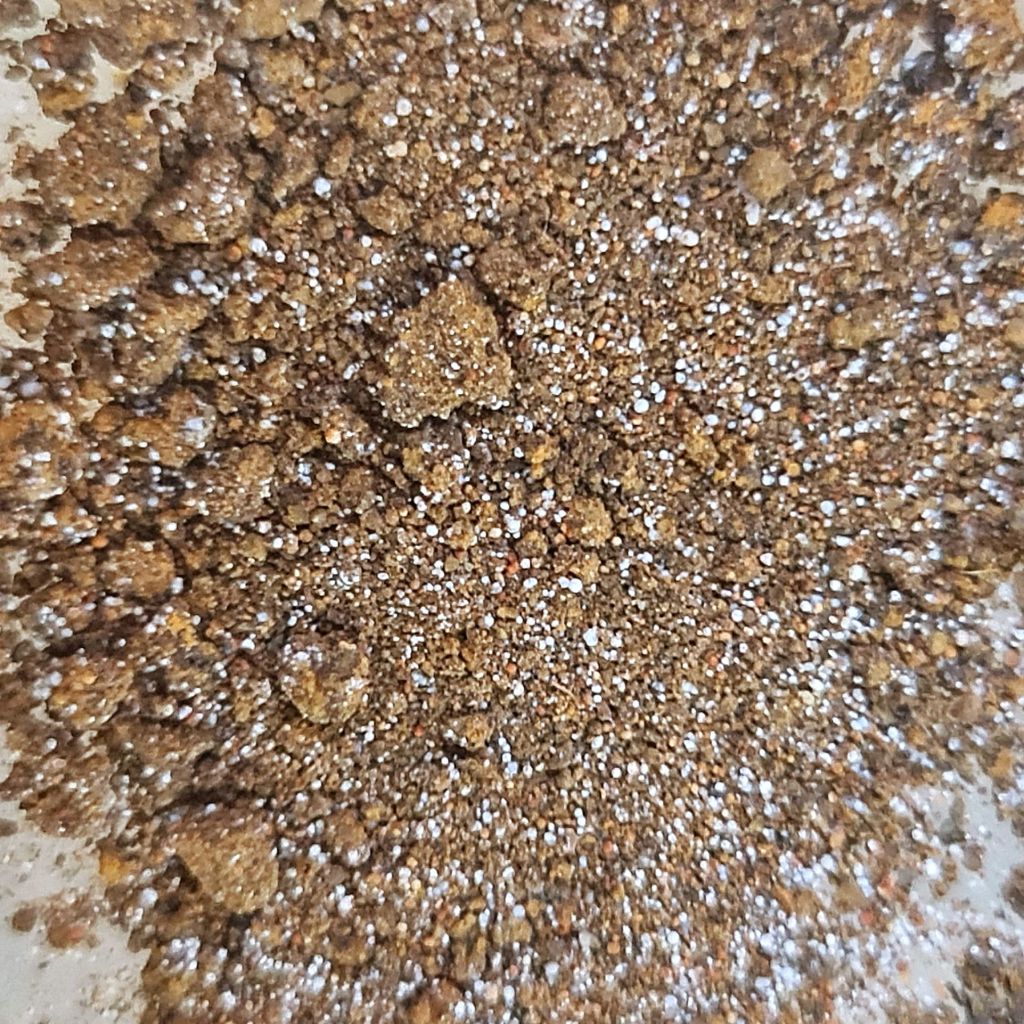
For very long storage, add some oxygen absorber packets to the container. Don’t panic about weird chemicals; here’s a little secret. Most oxygen absorber packets only contain very fine iron particles. When they react with the oxygen in your container, they oxidize and form harmless rust. Check, though, before you use them. The easiest way to check if your oxygen absorbers are just plain iron powder is to break open a packet and hold a magnet near the powder. If it is pulled onto the magnet, you have plain iron.
My modified Moccona jar method
If you are still worried about silica gel or oxygen absorbers coming into contact with your herbs, here’s a technique that I use to modify the ubiquitous Moccona coffee jars into a safe form to hold both and your herbs.

Vacuum sealing
Vacuum storage is the perfect solution for the long-term preservation of dried herbs. You can store your herbs in vacuum bags, jars, or special containers with a vacuum valve built into them. All are good, but there is always the question of plastic. The bags are made from food-grade plastic and are tough – you can freeze them or even use some cooking styles in them. They’re also very durable and reusable once you get used to filling them correctly, but they’re still plastic. Vacuum sealing is also excellent for marinating meat or vegetables as the vacuum forces the marinade into the thing being marinated.


There are many brands of vacuum sealers, some under $100, some w-a-a-a-a-y over that. I like the Foodsaver range. They’re easy to get, have a good range of accessories, and are relatively cheap. Most work along the same basic lines, but check your instructions, just in case.
Some things like sliced and dried mushrooms, roots, and bark are best stored in the bags. They are bulky but tend to lay flat, making it easy to stack them.
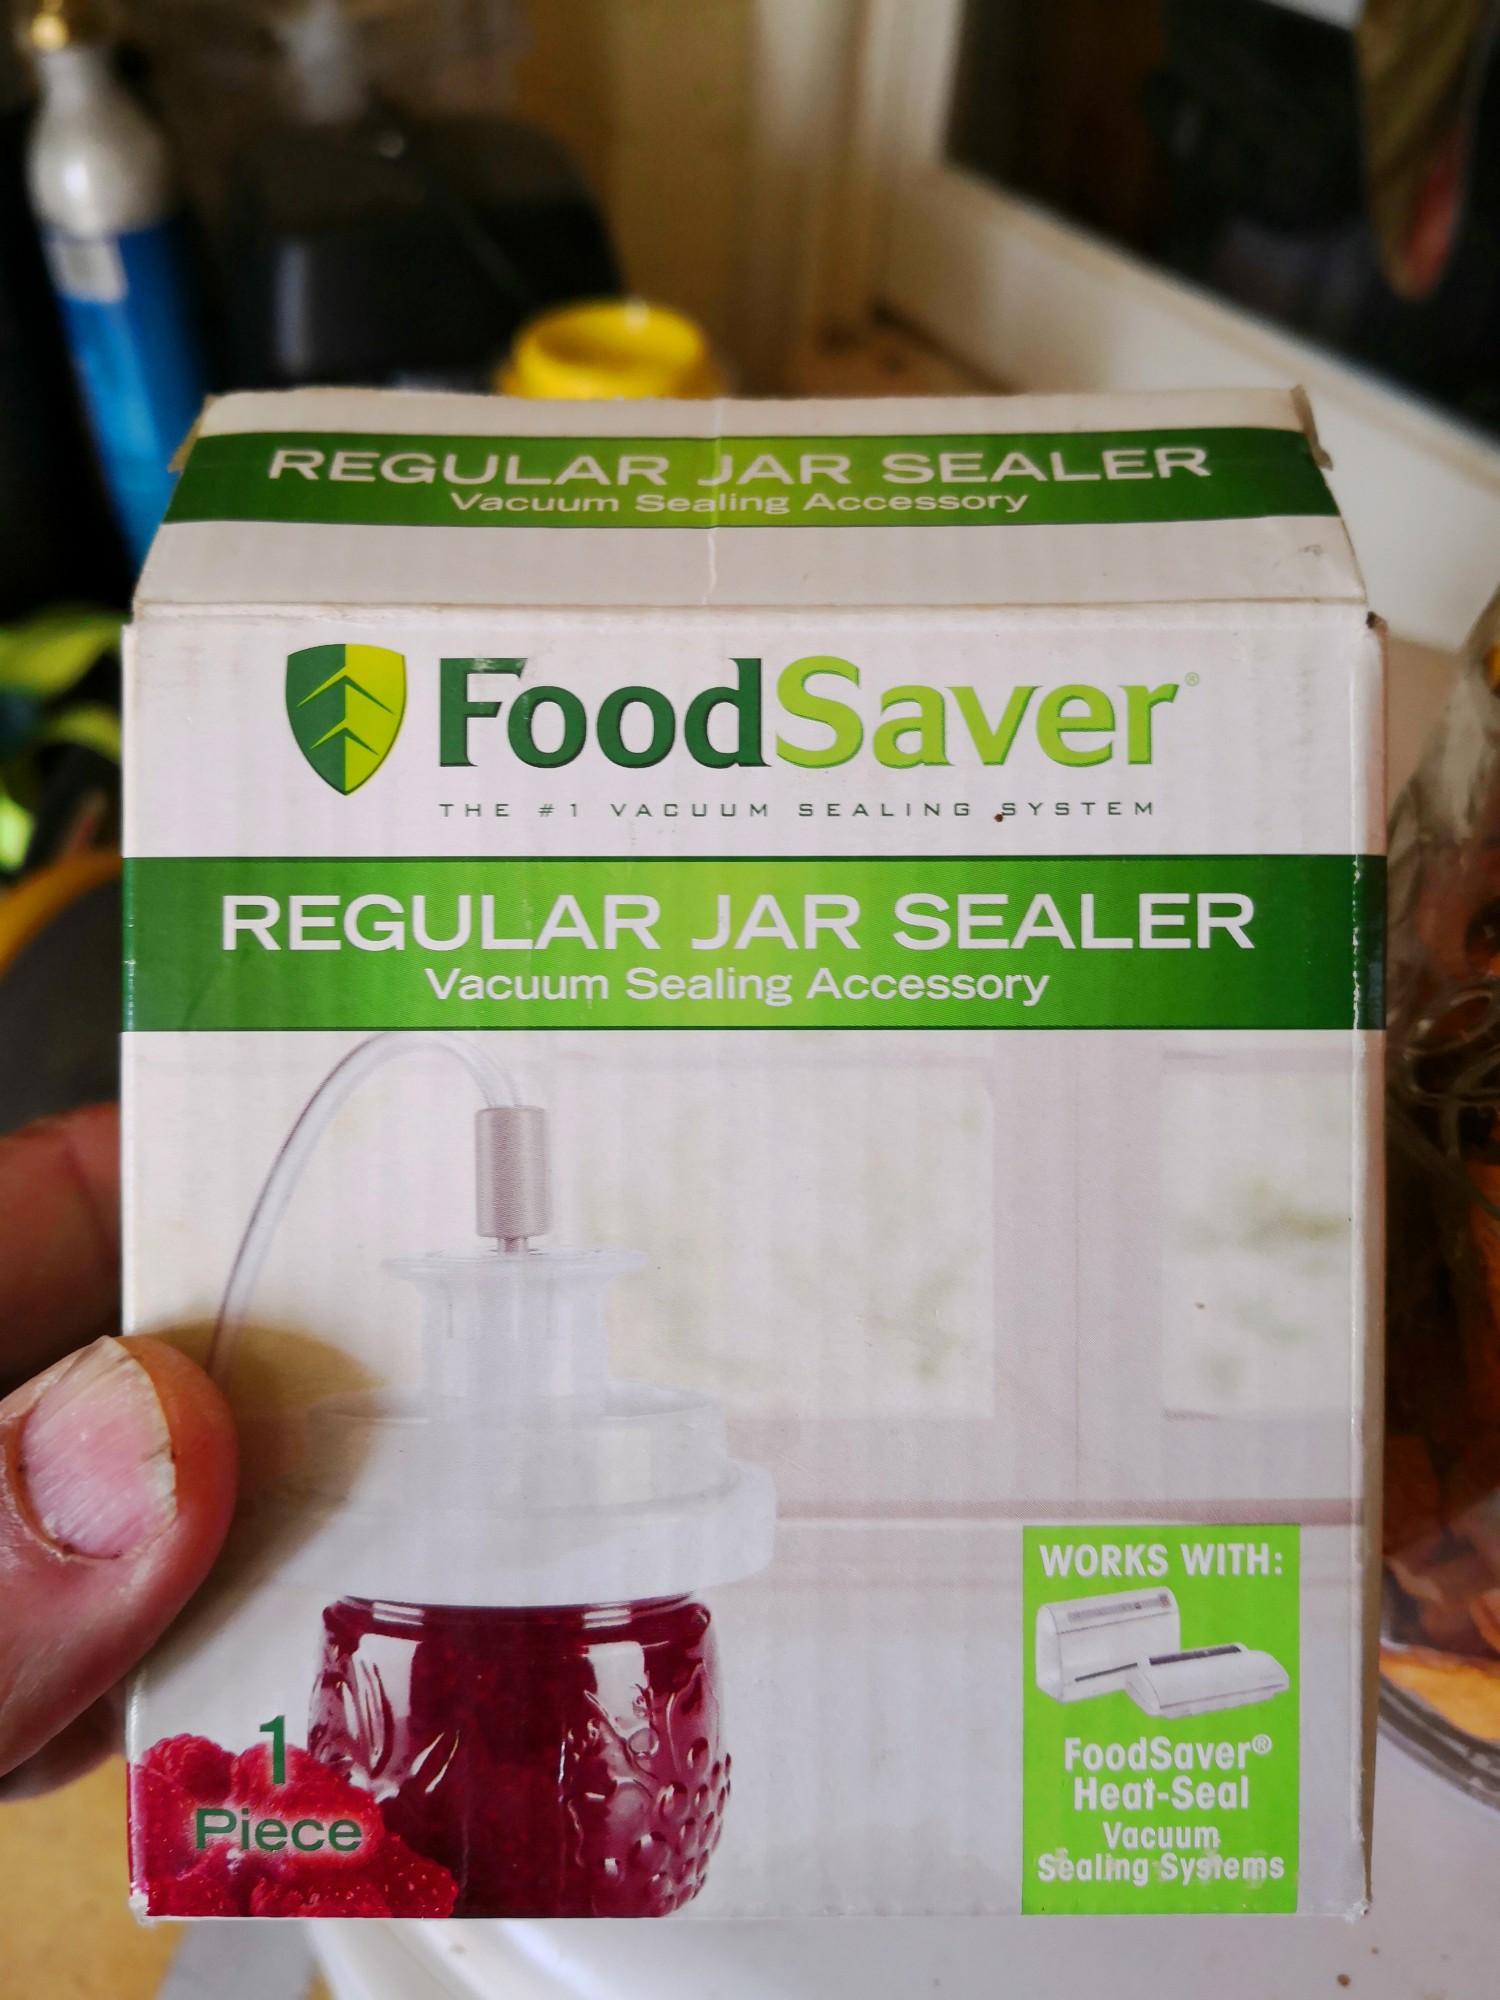
Jars are great for everything else. The vacuum system here relies on the Ball Mason Jar sealing design with the metal lid. Once you’ve filled your jar, the lid is loosely placed on, and a special adaptor is placed over the top. The vacuum pump is turned on, sucking the air out of the jar and forcing the lid tightly onto it. The seal can be stronger than the one formed by pressure canning! There is an adaptor for regular or wide-mouth jars. Some of the cheaper sealers don’t have an offtake to allow you to connect your jar adaptor to your pump, so check before buying.
You can still use the adaptor if you don’t have a vacuum pump (i.e. a vacuum sealer). any suction device that will fit the small hose works – I eventually modified a bike pump to do the job. Hand pumps are available online for this purpose, and having one will help if the grid goes down.
Vacuum sealing has the advantage of pulling air out of the plant material itself. Still, if you are in a pinch or if you only store the herb for a short time, you can do your own DIY vacuum sealing (it’s not a vacuum, but it removes most of the air). There are two ways, in fact.
The first way is to pack a Ziploc bag and insert a straw. almost close the bag, right up to the straw. Suckout as much air as you can, then, as quickly as you can, pull out the straw and finish sealing the bag. It’s good in a pinch!
The other way also includes a Ziploc bag. This is my preferred way because, with the first method, you can end up sucking in a mouthful of herbs!
For this second method, pack the bag and insert the bag slowly into the water, making sure that you keep the opening of the bag above the surface of the water by a couple of centimetres. The water is denser than the air in the bag and will push it out. Give the bag’s contents a little massage while still under the water to help dislodge any trapped air. Seal the bag before removing it from the water. Easy! After a little practice, you can remove nearly all of the air from the bag.
If you’re finding this information useful, share it with your community
Refrigeration and Freezing
Just like with food, freezing your herbs at below 5 degrees C will help them stay fresher and potent for longer. Freezing them below 0 degrees C can help them remain active for quite a while longer. It is not my preferred method because it constantly needs an energy input which may or not be reliable in the future.
Blanching
Blanching is a technique used to preserve the colour of fresh herbs and food. It also preserves many of the beneficial constituents of the herb. Blanch fresh herbs as you would any vegetable before freezing. This will slow down the breakdown of some components, such as vitamins and minerals, but the process could destroy or at least drive off more subtle compounds, such as aromatic oils.
Nettles are an excellent herb to blanch. Once blanched, store them in sealed containers of puree and put the puree into ice cube trays for freezing.
Blanch and submerge the herbs in boiling water for 30 – 45 seconds, then remove them from the boiling water and plunge them immediately into ice water until they are cold. Pat dry and refrigerate or freeze.
Freezing
To freeze a fresh or blanched herb leaves, rinse them off and pat them dry.
Place them on a tray so that they are not touching. Put the tray into your freezer and freeze them. This will stop them from sticking together in the container you will store them as none of the moisture that has been frozen is shared between parts.
Remove them from the tray, place them into a ziploc, freezer bag, or container, seal them up and store them.