Just like people, plants are at their best at different times of the year or even the day. This means that different plants are best harvested at different times. Understanding a plant’s growth and lifecycle is important in understanding when to harvest from it to maximise the nutrient and energetic content of your harvest.
Equipment tips
Make sure you have the right sized tool for the job. Snips for flowers and leaves, secateurs for stems and branches, loppers for bigger stuff. You’ll need a trowel with a good edge for below-ground parts and a small fork for loosening soil.
Make sure blades are as sharp and clean as possible and clean them periodically.
While harvesting, store your bounty in a recipticle that breathes – a basket or a fabric bag.
Look after yourself, too! A hat, gloves, water and sunscreen. Don’t forget a small first aid kit, either.

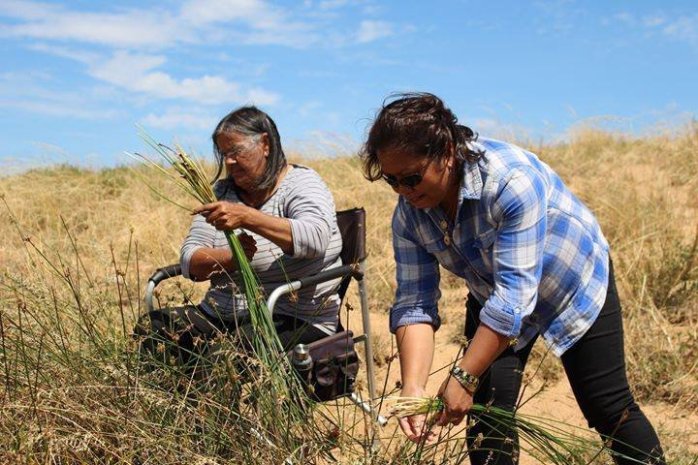
Many of us rely on foraged herbs and food to supplement what we grow ourselves. Knowing the location they were harvested from and the conditions within that location are especially important nowadays when more and more locations are becoming contaminated.
Wildcrafting

Wildcrafting is a popular term that means harvesting what you don’t grow in your own garden or somewhere else that you have control over things. ‘Wildcrafting’ summons up images of angelic, beautiful people delicately harvesting perfect herbs from idyllic woodlands and meadows. Hmmm.
For we mere mortals, it is more likely to mean harvesting from local parks and forests, creeks, road verges, over other people’s fences…you get the picture.
Wildcrafting does bring one more in contact with the natural world and gives a deeper understanding of how plants grow when they’re not confined to garden beds. I find it beneficial because it helps me understand the natural plant communities that my herbs and foods grow in and I try to mimic some of these associations in my own garden, sometimes to great benefit. Wildcrafting also brings an acute awareness of seasons and weather, and the impermanence of things. Like foraging in general, it helps us step away from our egos and demands. Who hasn’t gone out to a favourite spot expecting to harvest a big basket of something only to find that the plant hasn’t flowered or fruited or has not thrived at all? Many times I’ve been out and found that a new path has been constructed through the middle of my patch, earthworks done, or houses built over it. That’s when I have to remember that the place isn’t ‘mine’ in any shape or form; I just benefit from a temporary abundance.
Some locations are Conservation or Heritage sites or places of other significance, and you may not know exactly what is being protected and why. For example, in several locations I know of, Blackberries are allowed to grow because they provide shelter for Bettongs where the natural Bush has been degraded.
When wildcrafting, one should –
- remember that you don’t own the location, regardless of how attached you may feel to it
- acknowledge the impermanence of things
- give thanks for what one finds and harvests
- know your plants so that you’re not damaging others in the search for them
- take only ‘enough’ to make your trip worthwhile
- if you are harvesting in a group, try not to follow each other’s path. This prevents soil compaction which can be damaging to the whole location
- if the plant can reproduce vegetatively, replant the unused pieces of it
- if harvesting Fungi, cut the base of the stem and leave the mycorrhizae undisturbed.
- when harvesting bark, don’t cut around the whole tree or branch (ringbarking), leave a good patch complete so that the fluid flow within the tree can continue
- give the location and the plants time to rest and regrow
- never harvest all of the flowers on a plant
Time of day
The energy and nutrients in plants cycle through them as the day progresses. Understanding this flow will help you to maximise the potential of your harvested herbs. Essentially, the best time to harvest the above-ground parts of most plants is around 10 am, when they have fully woken up and before the full sun hits them.
As the day dawns, plants send energy and nutrients from their roots and storage organs up into the leaves and flowers. As evening draws near, the energy is sent below ground for storage for the cycle to be repeated the next day. Of course, not all energy and nutrients are moved this way; many need to remain in the plant cells to continue to function. Still, it is a good way to visualise things and to know that very early in the morning is the best time to harvest roots, bulbs, corms and rhizomes and comfortably later in the morning after the Sun is up. Photosynthesis has begun, which is a good time to harvest the above-ground parts.
This is a good way to think about seasons, too. In Autumn, perennials start moving nutrients down into their below-ground parts in preparation for Winter. In Spring, that energy and those nutrients become the energy source to create new, above-ground growth. Therefore, roots, bulbs and rhizomes are best harvested in late Autumn or early Winter when the leaves have started to die back.
Leaves

What about the stems?
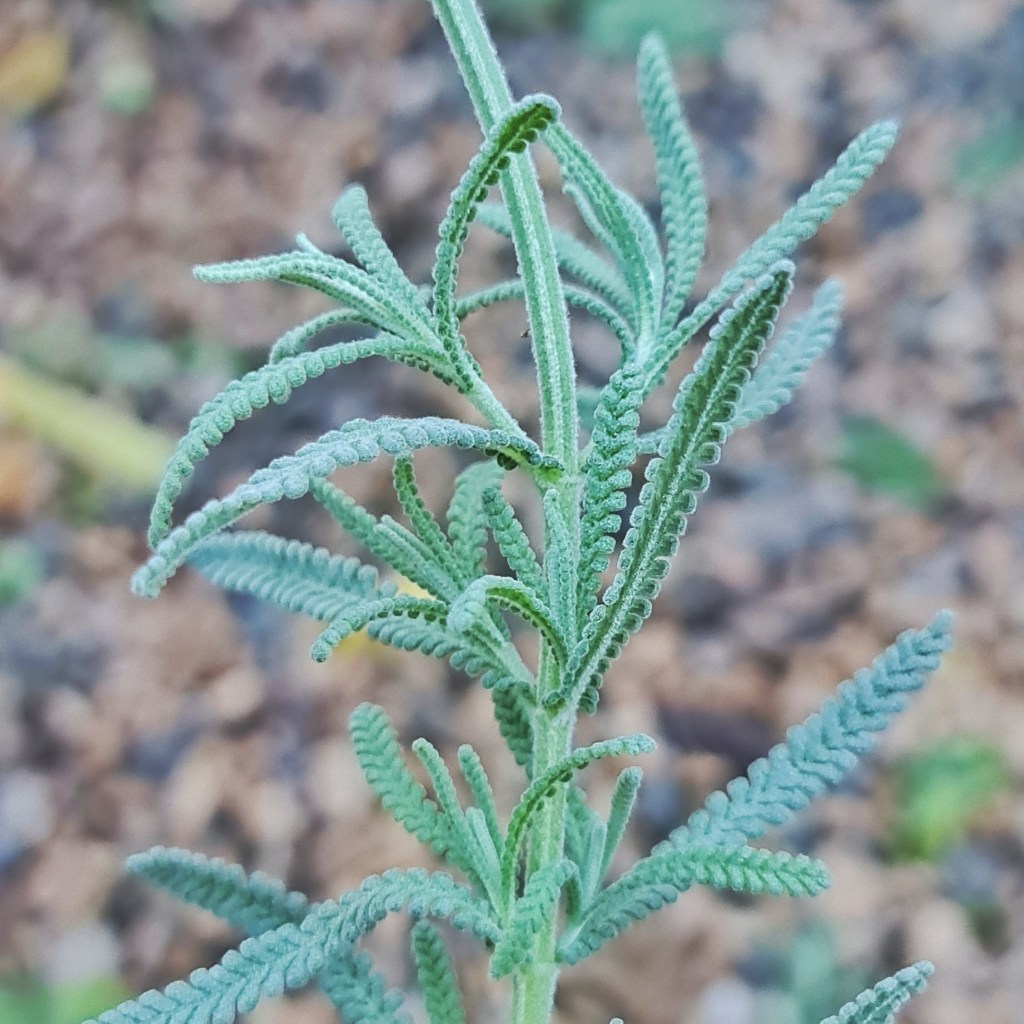
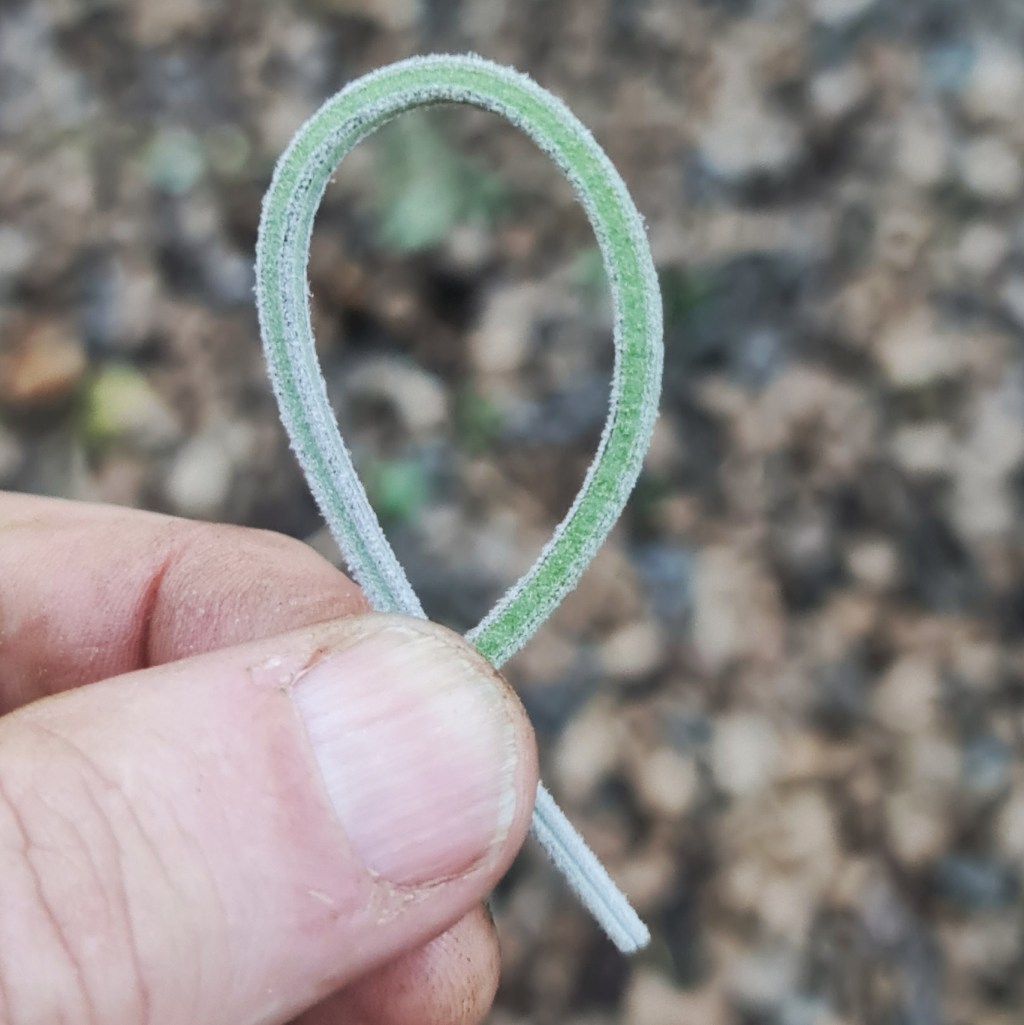
Stems contain some of the beneficial compounds of a plant and can be included in your flower or leaf harvest if they are green and pliable. My general rule is that, if a short length can be bent into a loop, it’s fine. Anything more brittle than that is generally too dry or woody to have much benefit.
Aromatic herbs

To harvest from aromatic plants, it is best to do so before the Sun is fully on them and some of those volatiles begin to evaporate into the air to do their job of protecting the plant from predators; if you’re only after a quick cup of fresh tea, this isn’t an issue, but if you’re trying to maximise the herbal potential of your harvest, this is important.
The Labiteae Family – Mints, Sage, Lavender, Rosemary, etc. are full of aromatic oils and should be treated in this way so that those goodies aren’t lost.
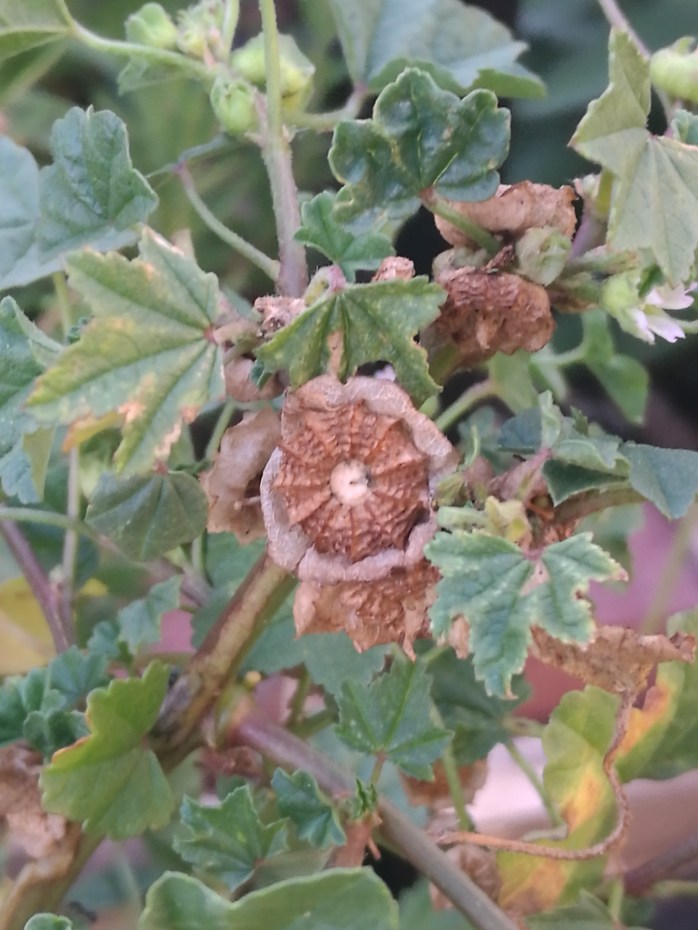
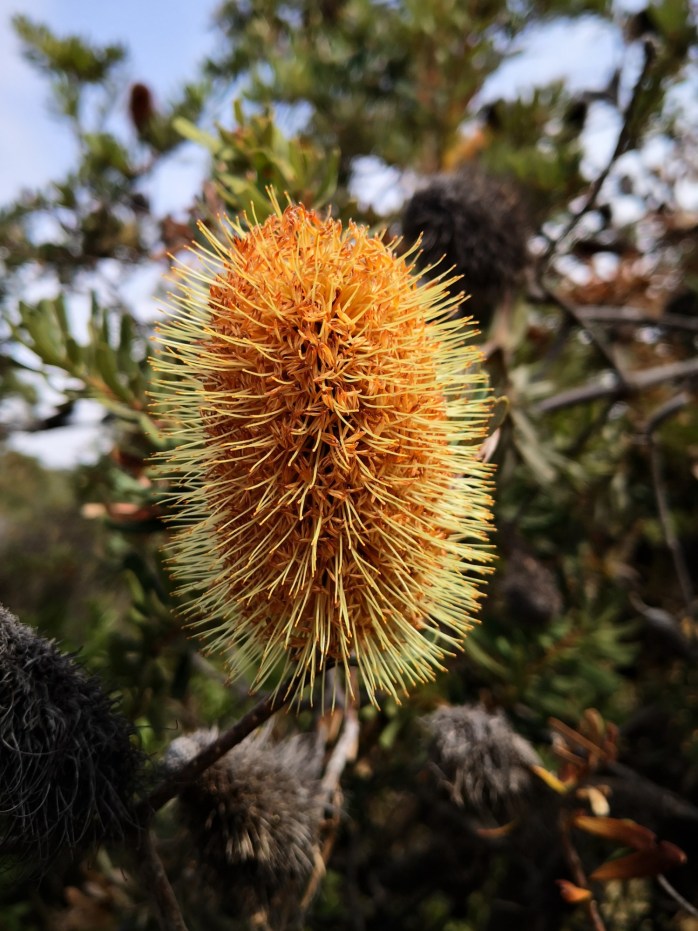
Flowers

Flowers are best harvested just as they have bloomed and before they have started to wither in the Sun. Winter flowers can be harvested any time early in the day, but you need better timing for Summer flowers. Watch your flowers, and once a few have started to bloom, harvest them and any buds that look ready to pop.
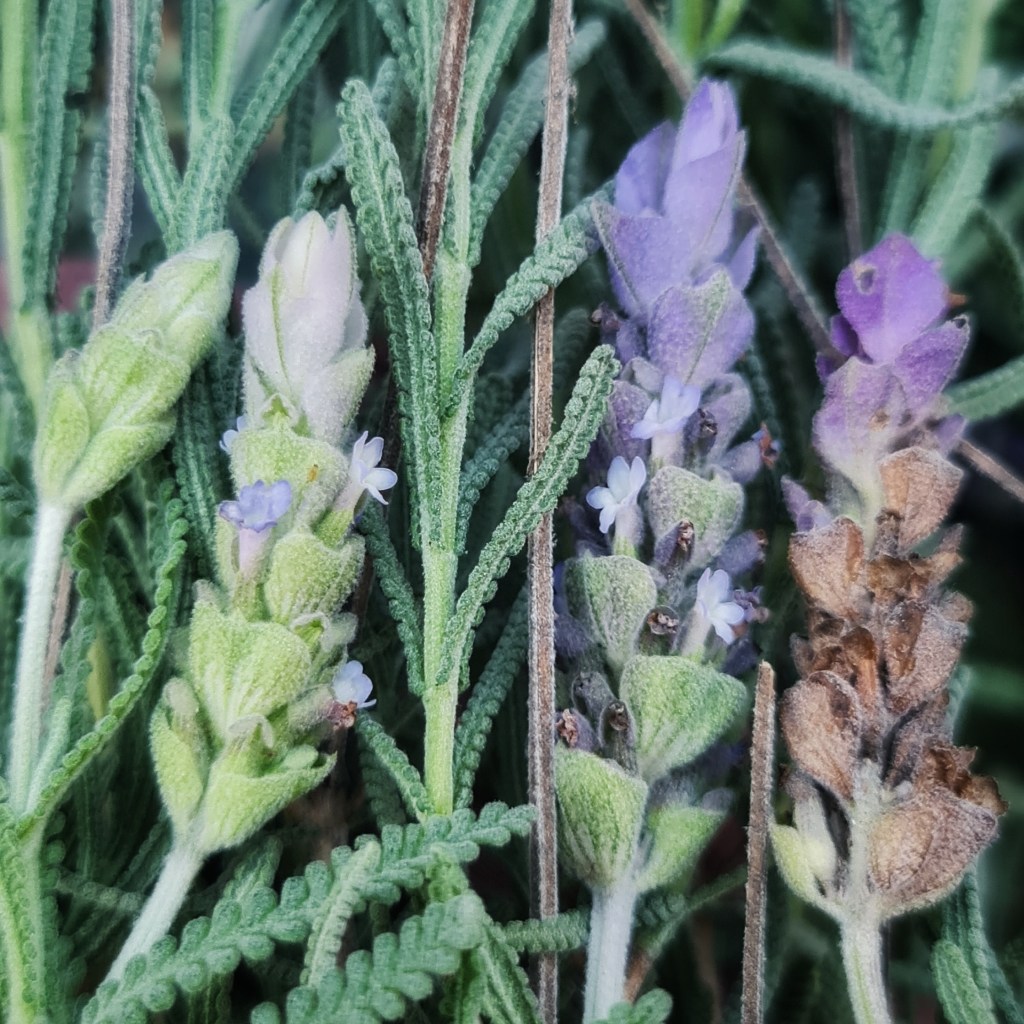
The picture below shows Lavender flowers in sequence from left to right. The far left is too young, and the far right is too old. The middle two are suitable for harvest.
If you’re harvesting small flowers that are in clusters, such as Elder flowers, cut the stem near the base of the cluster, then remove the flowers from their stems. Doing this can take more time because the flowers will draw moisture from the stalks and stay fresher a little longer while you harvest others and prepare to process them. Unopened flower buds may even open during this time

Berries

Berries are best harvested when ripe, but some, such as Elder, can be picked when most of the bunch is red and left for the greener berries to fully ripen over the next few days.
For berries like this, pinch off the stem at the base of the cluster and leave the berries on it. The energy and moisture from the stems and stalks will flow into the berries and prevent them from drying while the greener ones ripen fully.
Seeds
Harvest the whole seed head when seed cases start to split, then allow then to dry before popping out individual seeds or threshing.
For small, abundant seeds such as Amaranth or Purslane, nip off the base of the stem or branch on which the seeds are and hang it above some clean paper. The seeds will fall and can be easily collected. You can even harvest the whole plant and let it hang (this is how I harvest the tiny Purslane seeds that are so full of good stuff).
Bark, wood and cones
To harvest from woody plants, harvest either the inner or outer bark or wood from a woody plant any time of the day from the time the leaves start to show in Spring to leaf fall in Autumn or early Winter. I know, woody plants aren’t, technically, herbs!
Ensure that you don’t cut too deeply; the bark isn’t very thick compared to the rest of the plant. Make a small test cut on plants that you aren’t familiar with to see where the bark ends and the sapwood starts. We only need the outer layers.
Another thing to observe is that you don’t cut all of the way around the branch, stem or trunk. Water and plant nutrients flow just beneath the bark and must be given continuity to reach all parts of the plant. Take no more than a strip of the bark from one side of the branch or trunk and leave the other side connected. Taking bark from right around is called ‘ringbarking’ and will, most likely, kill the plant.

Resins and sap
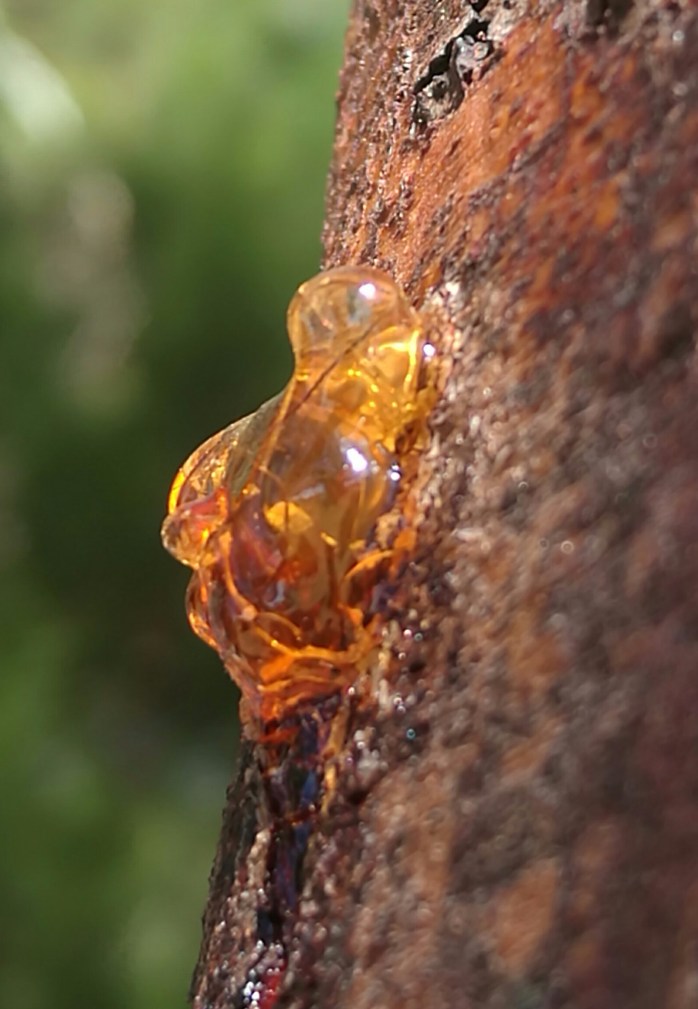
The average kitchen herbalist won’t have much call to harvest resins and saps. I only get a little sap from Acacia trees from time to time to make an interesting chewing gum substitute when I’m foraging or bushwalking. Similarly, I occasionally get a little resin from Xanthorrea stems to play around with (it makes a great wood glue for small projects).
The only other resin I picked up is the product of the tree ailment gumosis, which is pretty sweet as most of the content of gums and resins are sugars.
When wildcrafting, look for existing signs of resin or make small incisions through the bark. The sap flows just below the bark, so you only have to make shallow cuts.
Spring and early summer, when the sap is flowing strongest, are the best times for saps and resins, as the tree is pumping to get energy for all that new growth.
The wound will heal independently if you’ve only made a small incision. The purpose of the resin is to seal the wound and prevent infection.
Roots, tubers, corms, bulbs and rhizomes
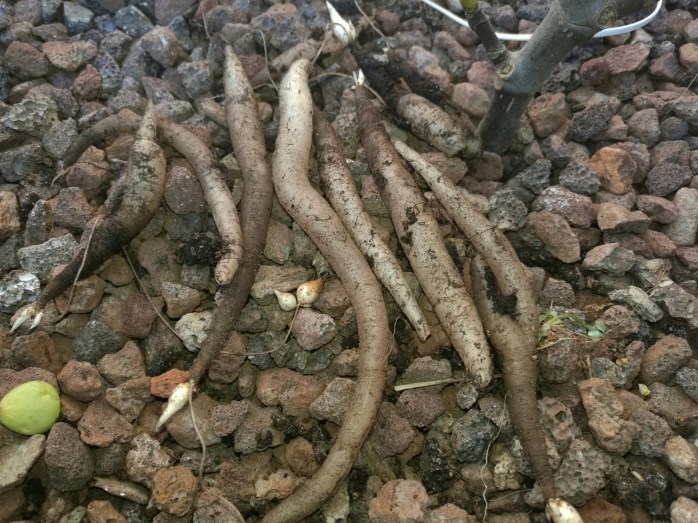
These all need a little work to dig up and clean. Before you start, take the time to understand the anatomy of your chosen herb and how it grows below ground. That’ll help you make as little disturbance to the soil as possible (unless you’re digging up a whole bed).
Find the top of the root, rhizome or bulb, and follow it down to its tip, then gently lift it out of the soil. Brush it off immediately and lay it aside before starting the next one.
For plants with large rhizomes, such as Ginger, there is a harvesting technique called ‘Bandicooting’ (after the animal of the same name. With this technique, you find the edge of the rhizomes, dig gently until you find one, and break off just what you need, reburying the rest. I like to let the wound air dry a little before reburying to help prevent infection or rot.
When digging many roots and rhizomes, you can allow any wounds you have made to dry and replant anything left from your harvesting. Keep the crown of any plant that you harvest and replant that – it may regrow.
Fungi
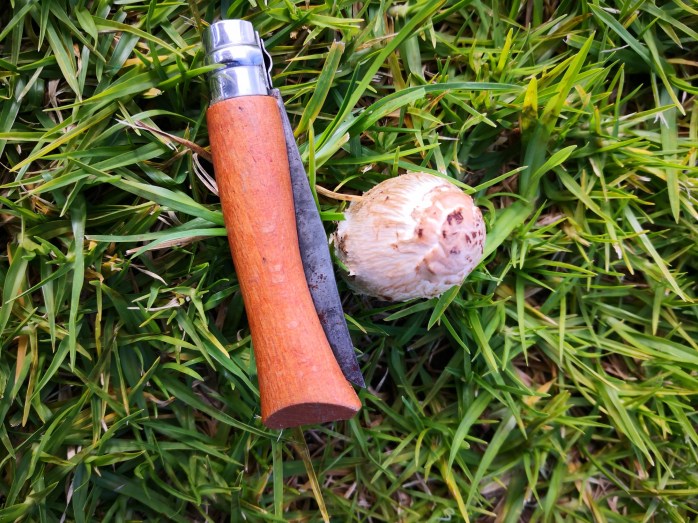
Harvesting Fungi is pretty straightforward.
I’ve found it best to harvest Fungi with a basket, rather than a bucket. Baskets breath and don’t seem to trap as much debris as buckets and keep the harvest fresher.
Cut the specimen at the base near its substrate (soil or wood) and remove the top. Try not to disturb the mycelia beneath the surface.
Brush dirt and debris from your fungus immediately, it is difficult to remove from the gills or pores later. Place in your container, gills or pores down in order to exclude dirt.
Don’t wash your fungi at this stage; leave that until just before you cook them. Fungi are extremely hygroscopic and will absorb extra moisture and turn mushy (pun intended).
If you can’t use your herbs immediately…
Sometimes, we get caught up with other things and can’t use our freshly harvested herbs immediately. That’s not a big problem, just leave them in a place where they are out of the sunlight and there is plenty of fresh air. Depending on how delicate your herbs are, they should be good for a day, longer for roots, rhizomes and bark.
You can always refrigerate in breathable containers for a longer period, once again depending on the toughness of your herb.
Other herb pages on Ligaya Garden
We cover a lot of ground on many herb related topics here on our website. There are whole pages devoted to different topics as well as frequent posts. Some of the links are –