Autocorrect and I had a great time writing this. We kept getting mixed up with succus (a plant juice), succuss (to hit, and a homeopathic technique for preparing remedies), success, which I am sure used to be spelled ‘succsess’. Anyway, back to the matter at hand…
Succi (the plural of succus) are plant juices. In trendy terms, they would be called ‘cold pressed plant juices’ but I’m too old for all that. The technical term is ‘expressed’ plant juices. They are a very simple but potent way of accessing the beneficial constituents of plants because you get them all. You don’t need to worry about alcohol and water ratios, don’t need to wait a month for them to macerate. Just press and go!
A succus is a remedy that can be used by anyone of any age and because it doesn’t contain alcohol, it is gentle on the stomach, suitable for children and the elderly and those who don’t imbibe alcohol for any purpose. You can add alcohol to preserve your remedy but that’s not necessary if you are going to take it shortly or keep it refrigerated where it will store for a couple of weeks.
How to make a successful succus –
Preparing succi is an easy process. Literally all you have to do is to get the juice out of the herb and use it straight away or store it for later.
Step 1: Choosing the right herb.

You want to prepare a succus from a moist, soft herb. Think Chickweed, Cleavers, Nettles, Dandelion or young Plantain. If the leaves are soft and juicy, that’s the right herb for a succus.
Step 2: Reduce the size

This is an optional step but one that I like to perform. Cutting the herb into small pieces makes it easier to crush in the next step. it really does help.
Step 3: Pulverise it.

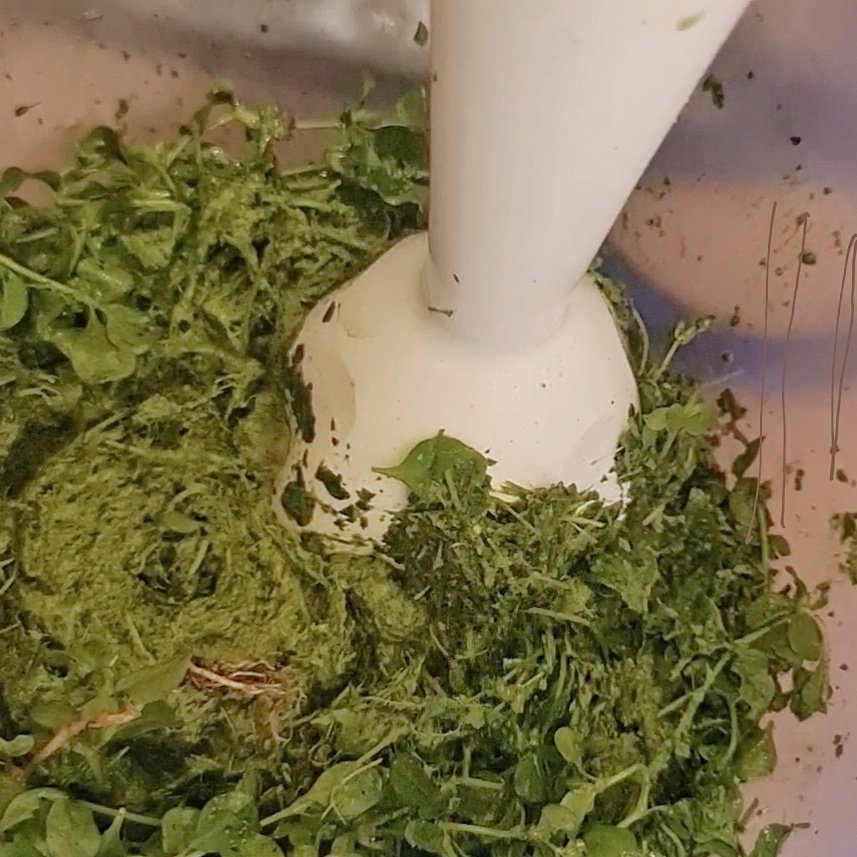
For this step, you can use a mortar and pestle to crush the herb. A stick blender or regular bender does the trick nicely. Reduce your herb to a mush, the mushier the better!
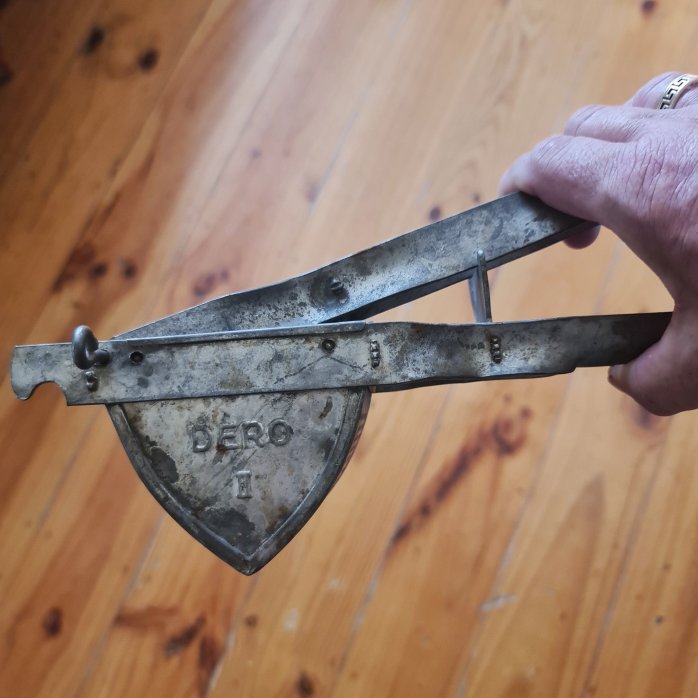
Step 4: Press out the juice.
You need to sque-e-e-e-ze the juice out of your plant mush.How you do this will depend on the equipment that you have. You can use a cheesecloth that you wrap around the herb and wring out the juice. I have several presses of different sizes but my favourite for the small amounts used when making a succus is an old fashioned potato ricer. Potato ricers are just the right size for the job but when you are buying one, look for a solid, old fashioned one. The new ones are weak and the handles will bend with little effort. You want the concentrated goodness of the plant, so don’t add any water to your succus.


Step 5: Add alcohol

This is another optional step but if you are planning on storing your succus for a while, you will need to add alcohol to stop it from going off.
Technically, you need the alcohol, juice mix to be at least 20% alcohol in order to preserve the juice but because most succi are used soon after making them, I usually just add about 10% to just slow down the process.
Step 6: Let it settle

There’s a lot of plant material in the mix of freshly expressed juice and alcohol and the best way to remove it is to let it settle for a couple of days. This step makes the filtration process faster.
Step 7: Strain and filter

When everything’s settled, pour the good juice from the top into a filter and let it filter. Then change your filter and filter the sediment (called ‘marc’) that is in the bottom of your container. Doing it this way allows you to filter the clean stuff quickly and use it while the sediment is filtering (which takes time). If you put the whole lot into your filter, it will clog up quickly and take longer to process.
Step 8: Bottle and store

Like all of the other herbal remedies that you produce in your kitchen, your succus will be best stored in a glass bottle, in a cool place away from direct light. You can store it in your fridge too.
Using your succus
A succus can be taken directly, a teaspoonful at a time, several times a day. If you make it without alcohol, you can probably take a little more but like everything else, gently is the go. Most of the herbs that you will use for making a succus from are pleasant tasting (that’s up for debate!) and can be taken directly.
You can water down your succus if you find the taste to be too strong but I don’t recommend mixing it with other juices because one of the things about taking a succus is to taste the herb. Taste is very important in herbalism and I never recommend masking it unless absolutely necessary.