
I’ve been reading about ‘Bokashi soil makers’ of late, so thought I’d investigate a little.
I suppose, thechnically, they’re not ‘soil makers’. Soil takes thousands of years to make and populate. It’s a natural process that we can only emulate. However, we gardeners have gotten very good at improving what is there and it seems that this process is something along those lines.
Essentially, all the Bokashi soil making process is is using Bokashi compost and inncouclation from local soil to improve potting mix or existing poor soil. Rather than burying the Bokaashi compost in the ground, you mix it in a container with whatver you want it to improve, add a little local soil and wait.
The Bokashi breaks down, combines with the potting mix or soil in the container and provides a hotbed for microbes to breed while adding organic material to the mix.
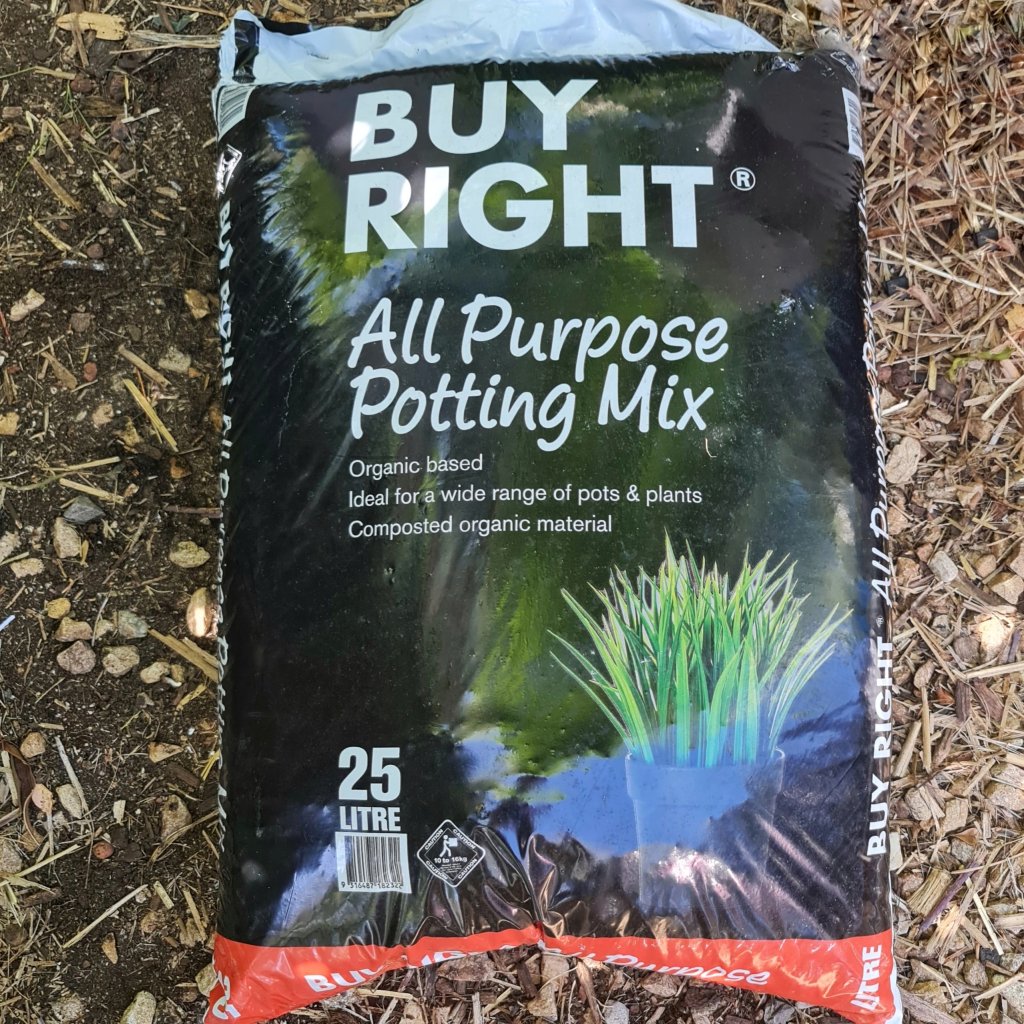
This system seems to be excellent for improving poor soil but best of all, seems to be a way to ‘refurbish’ used potting mix rather than consigning it to the garden. It can be quite pricey, afterall. I’m going to try and improve the cheapest potting mix I can find with this method.
How it’s done.
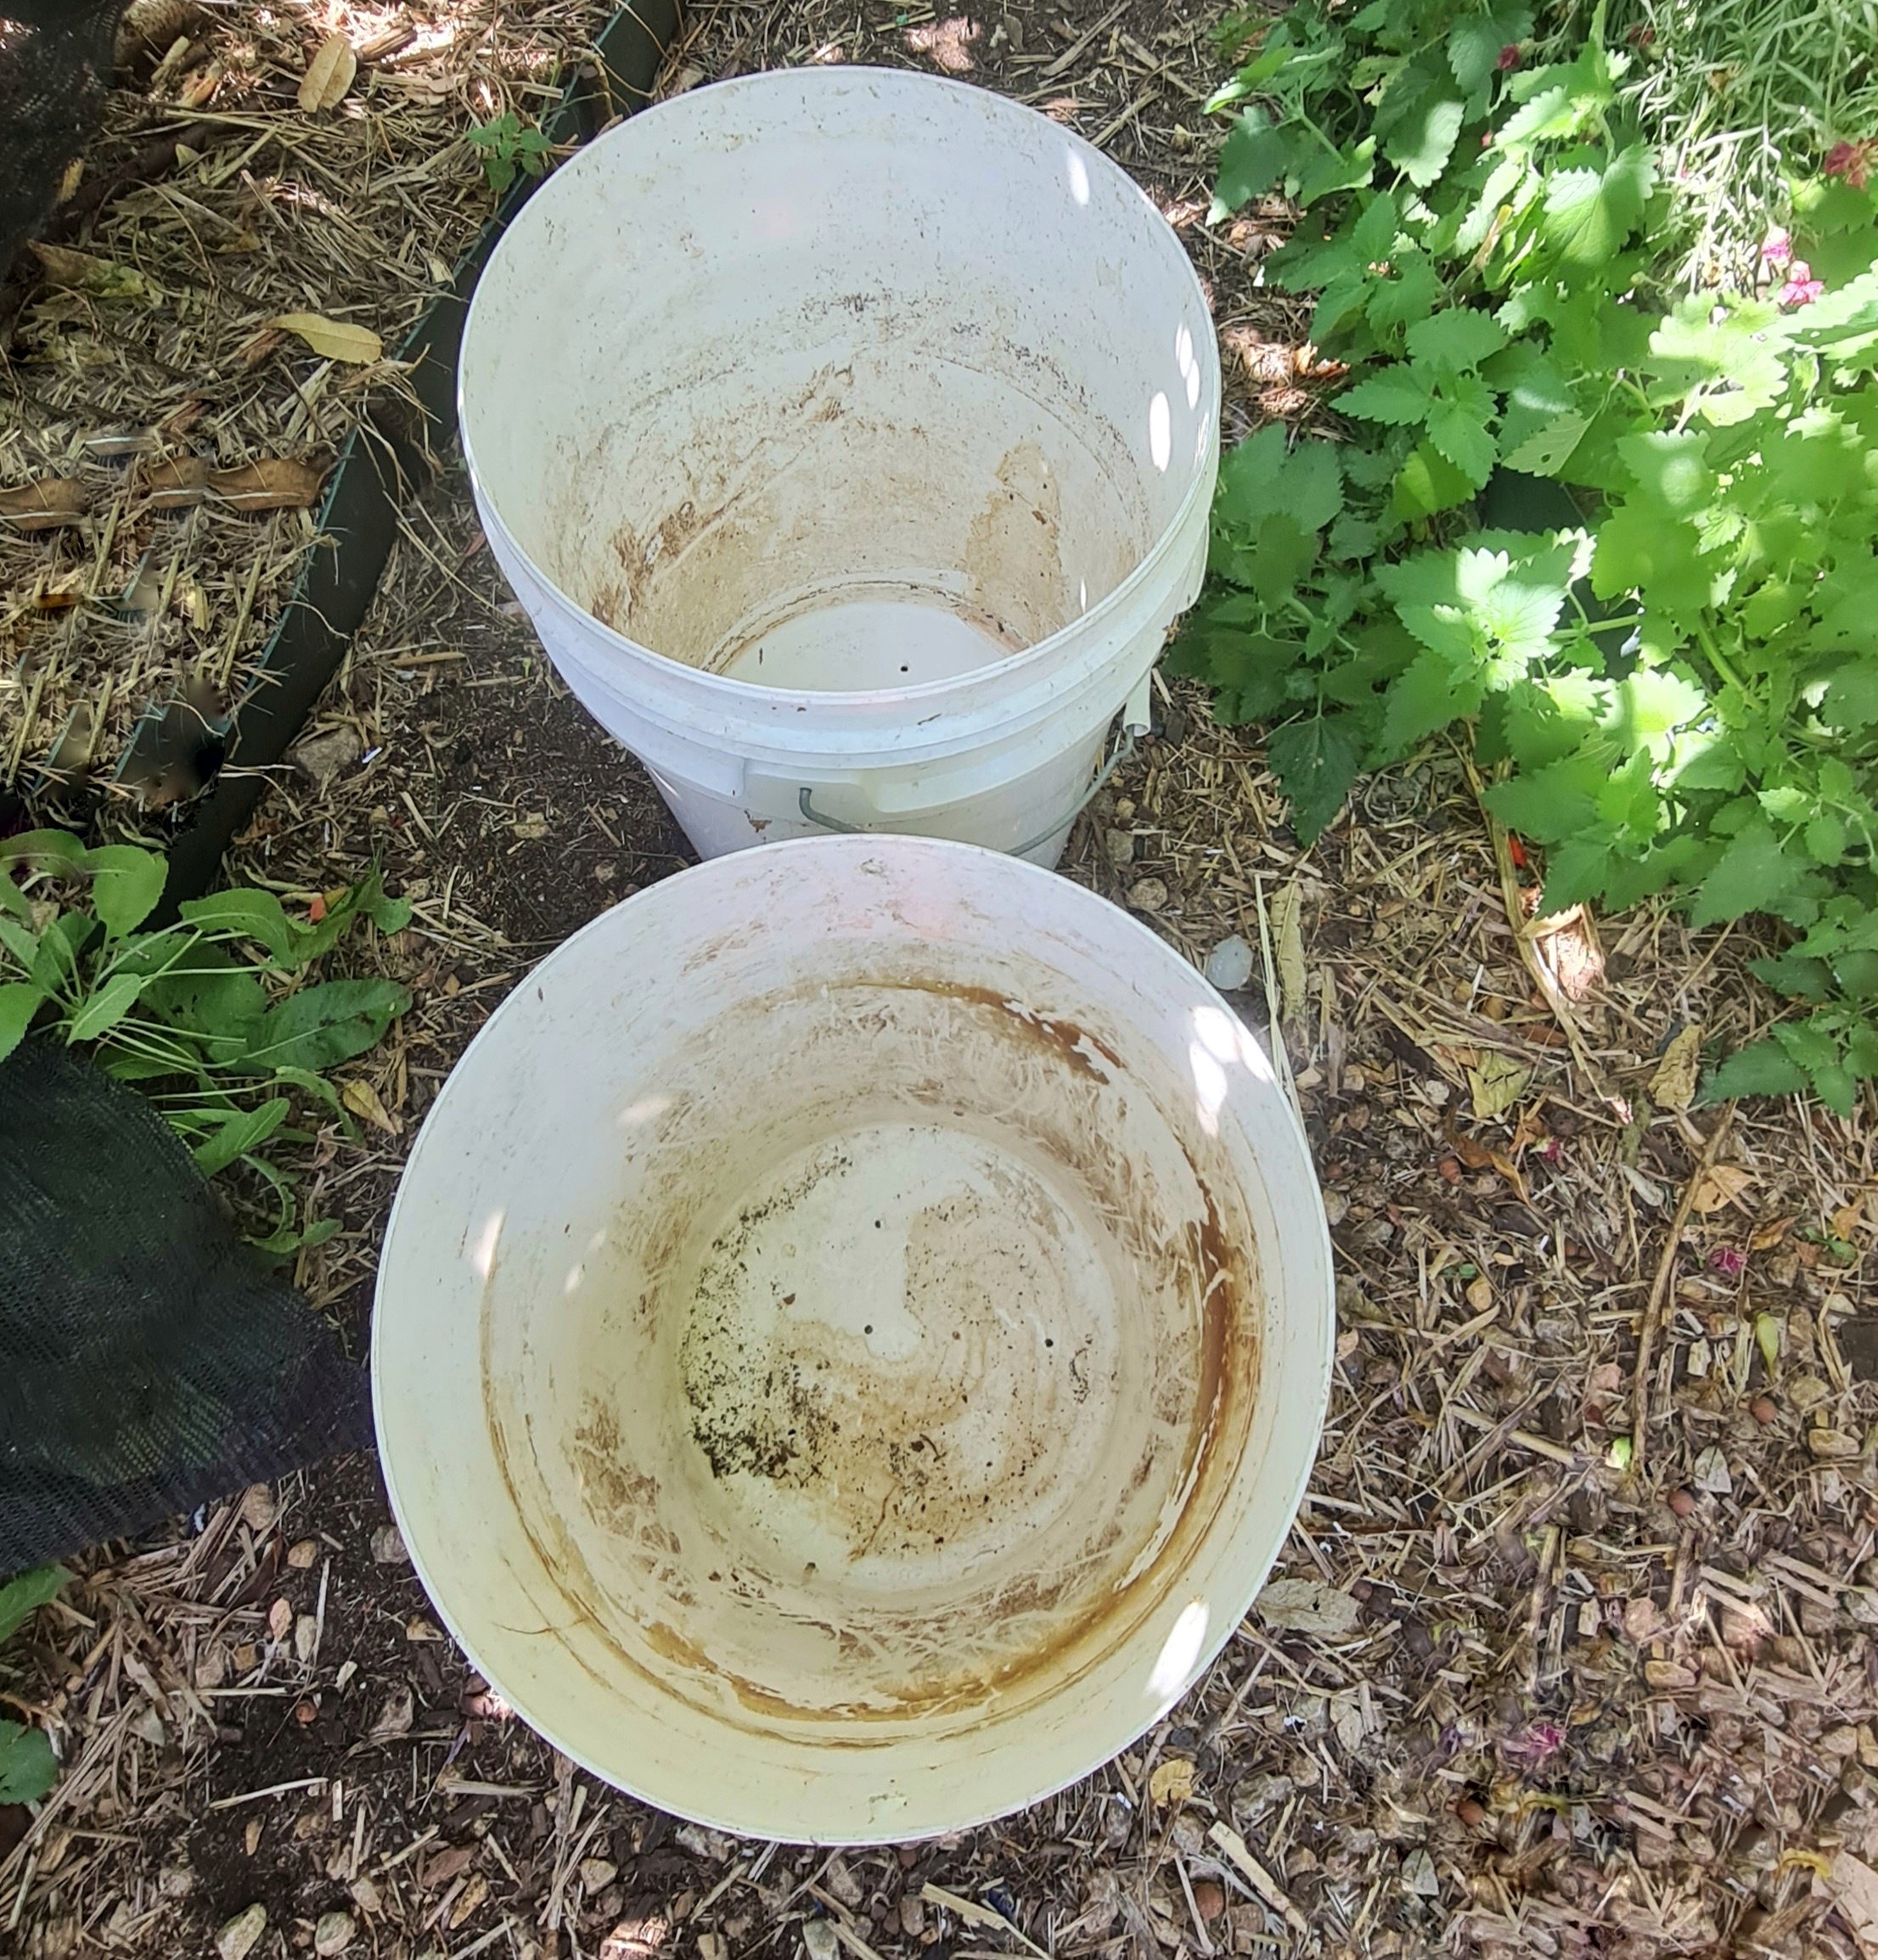
There are two methods that can be used. Both utilise a large, lidded, container that has some drainage holes in the base. Unlike the Bokashi process itself, this is an aerobic process, so the containers don’t have to be airtight, just varmint proof.
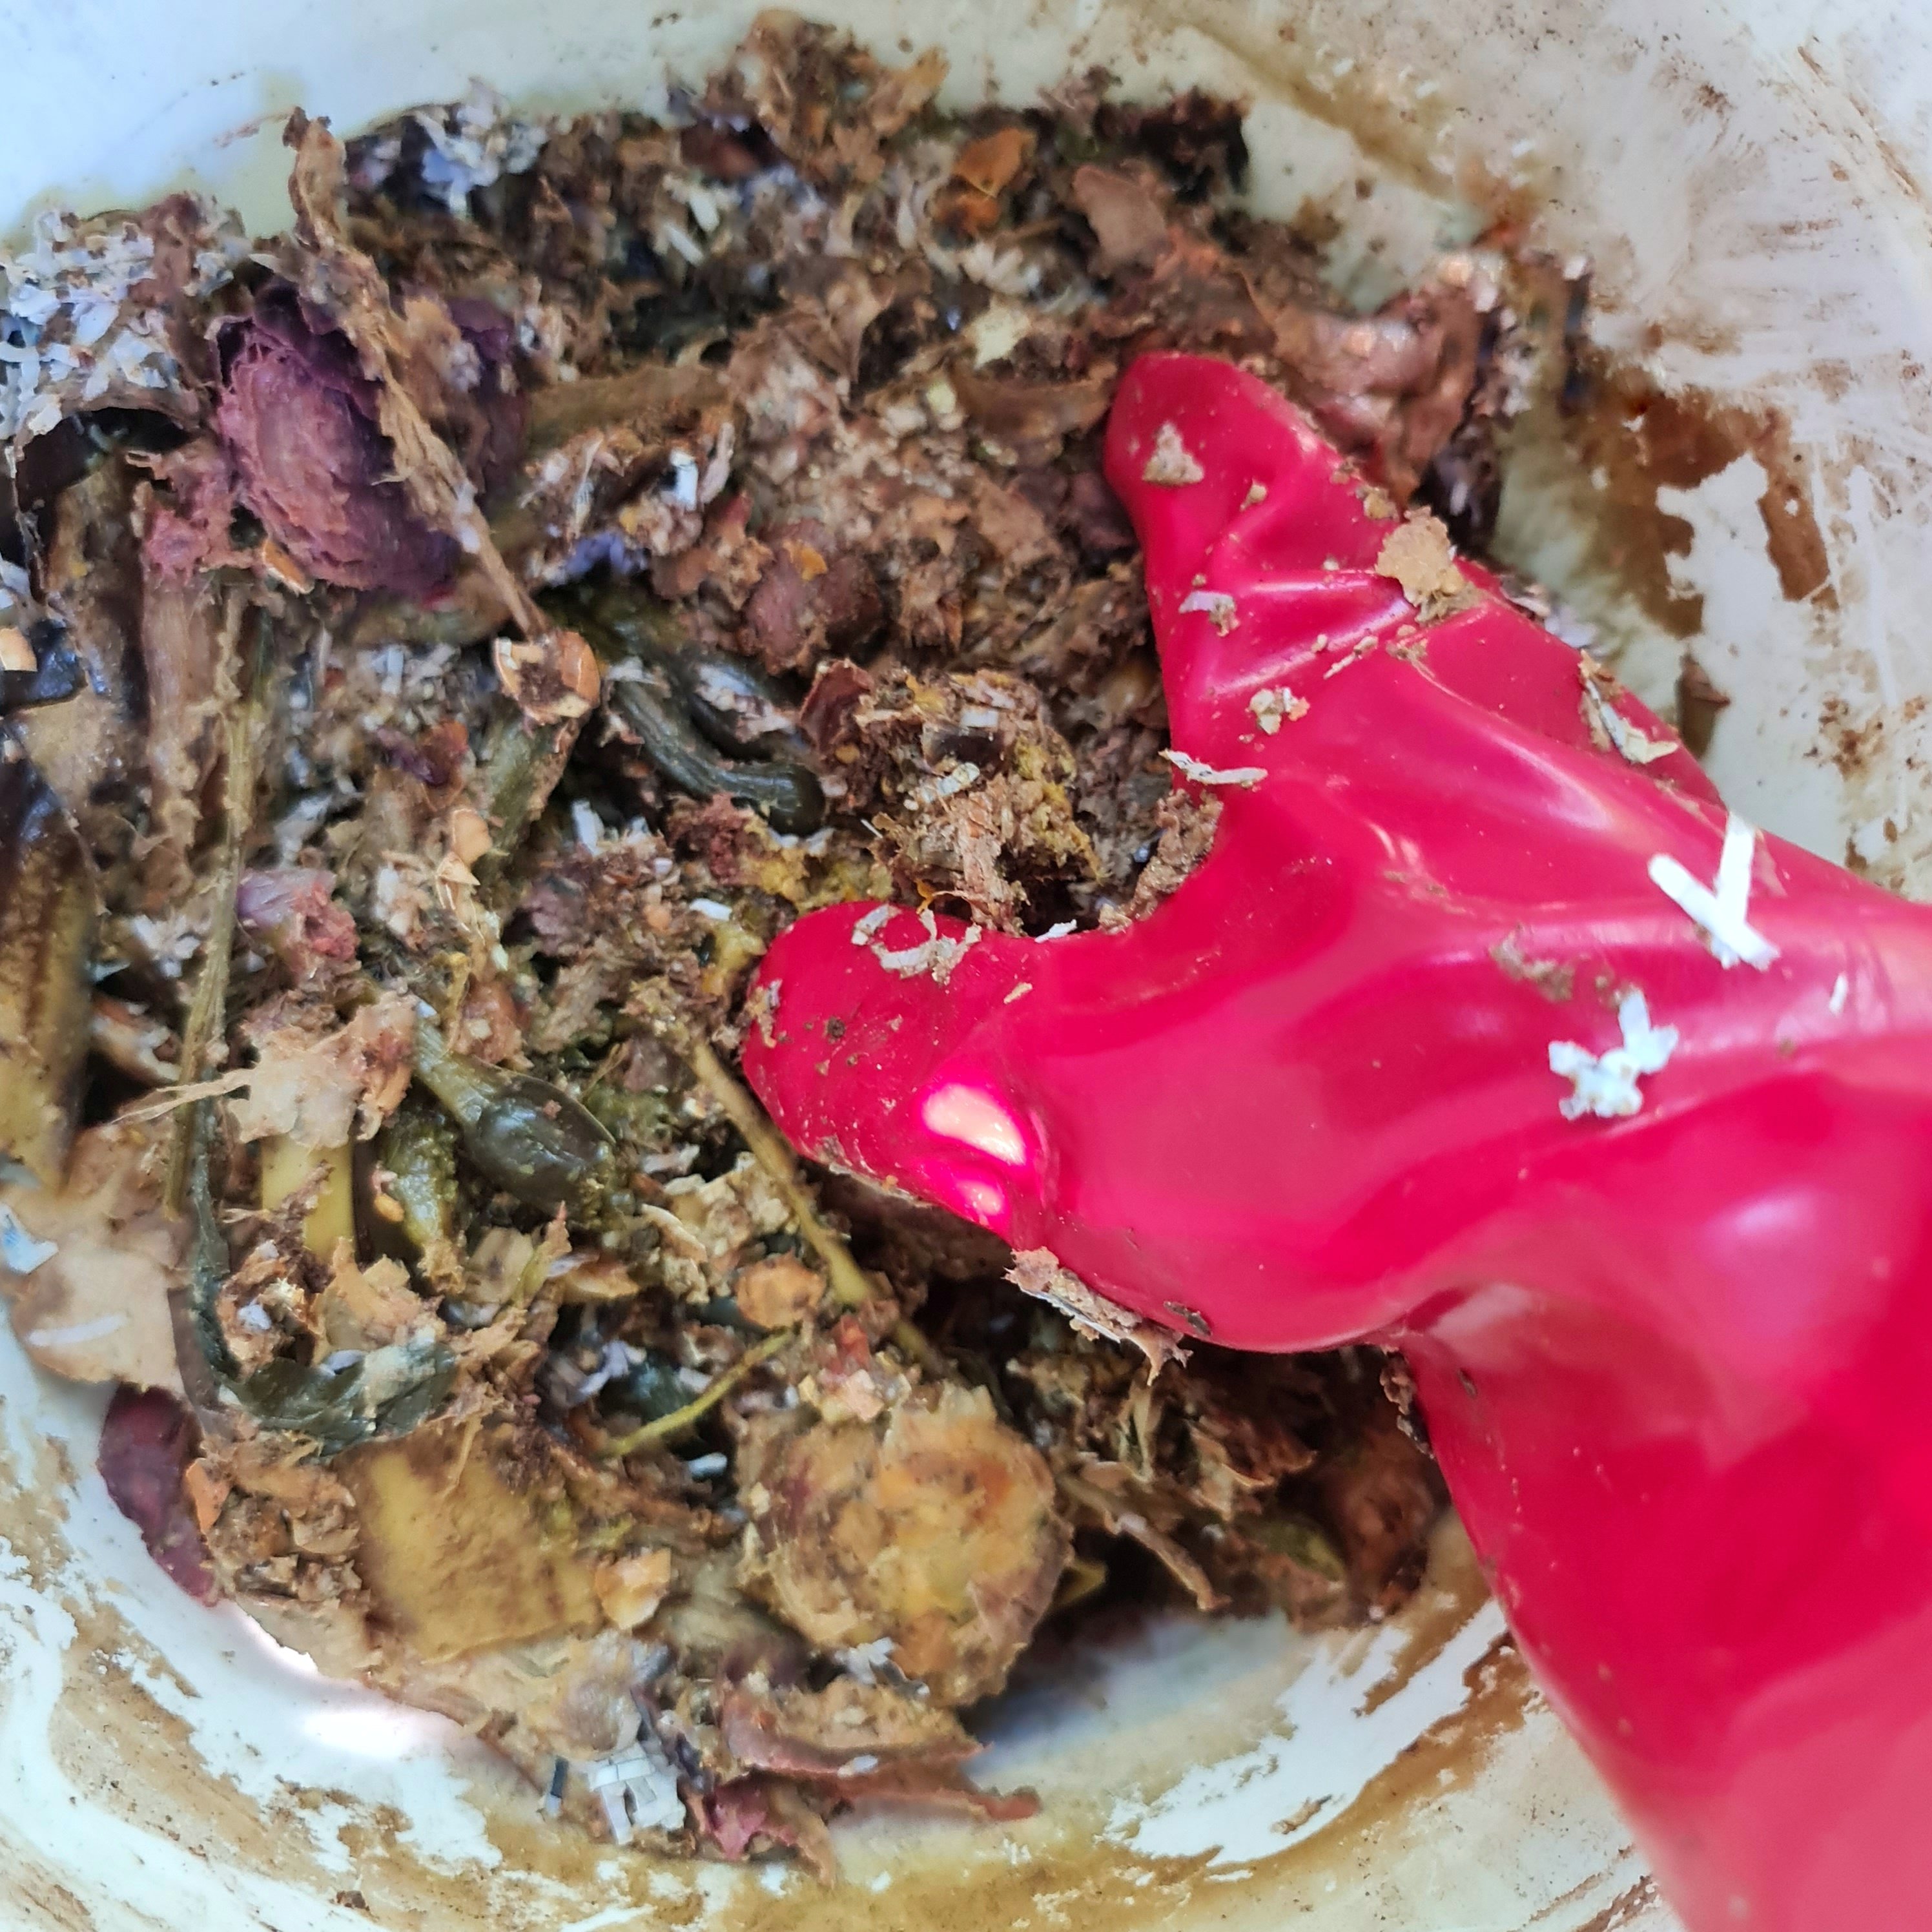
In both methods, you add a little good, local, soil to the container, some potting mix (if that’s what you’te improving) and some finished Bokashi compost. About 25% of each seems to be the go. Top the contaier with soil and so as not to leave the Bokashi scraps exposed.
The difference between the two methods comes from whether you mix the materials or leave them in layers. Mixing apparently reduces the amount of time the process takes but it doesn’t seem to be essential if you’re prepared to wait. I usually forget that I’ve started this sort of thing, so hope the second method works!
Once you have your materials layered or mixed in your container, close the lid and place it somewhere cool and out of the full Sun. I added a little water to my containers before closing the lids because I thought my soil was a bit dry.
For this experiment, I’ve made tow containers – one mixed and the other unmixed. For consistency, I’ve used the same potting mix in each, (the cheapest I could get), used the Bokashi pre-compost from the same bucket and taken the soil from the same place in the garden.
Now we wait a month to see what happens! I’m curious as to weather just soaking the soil in Bokashi leachate works too but that’s for next time.


The results –
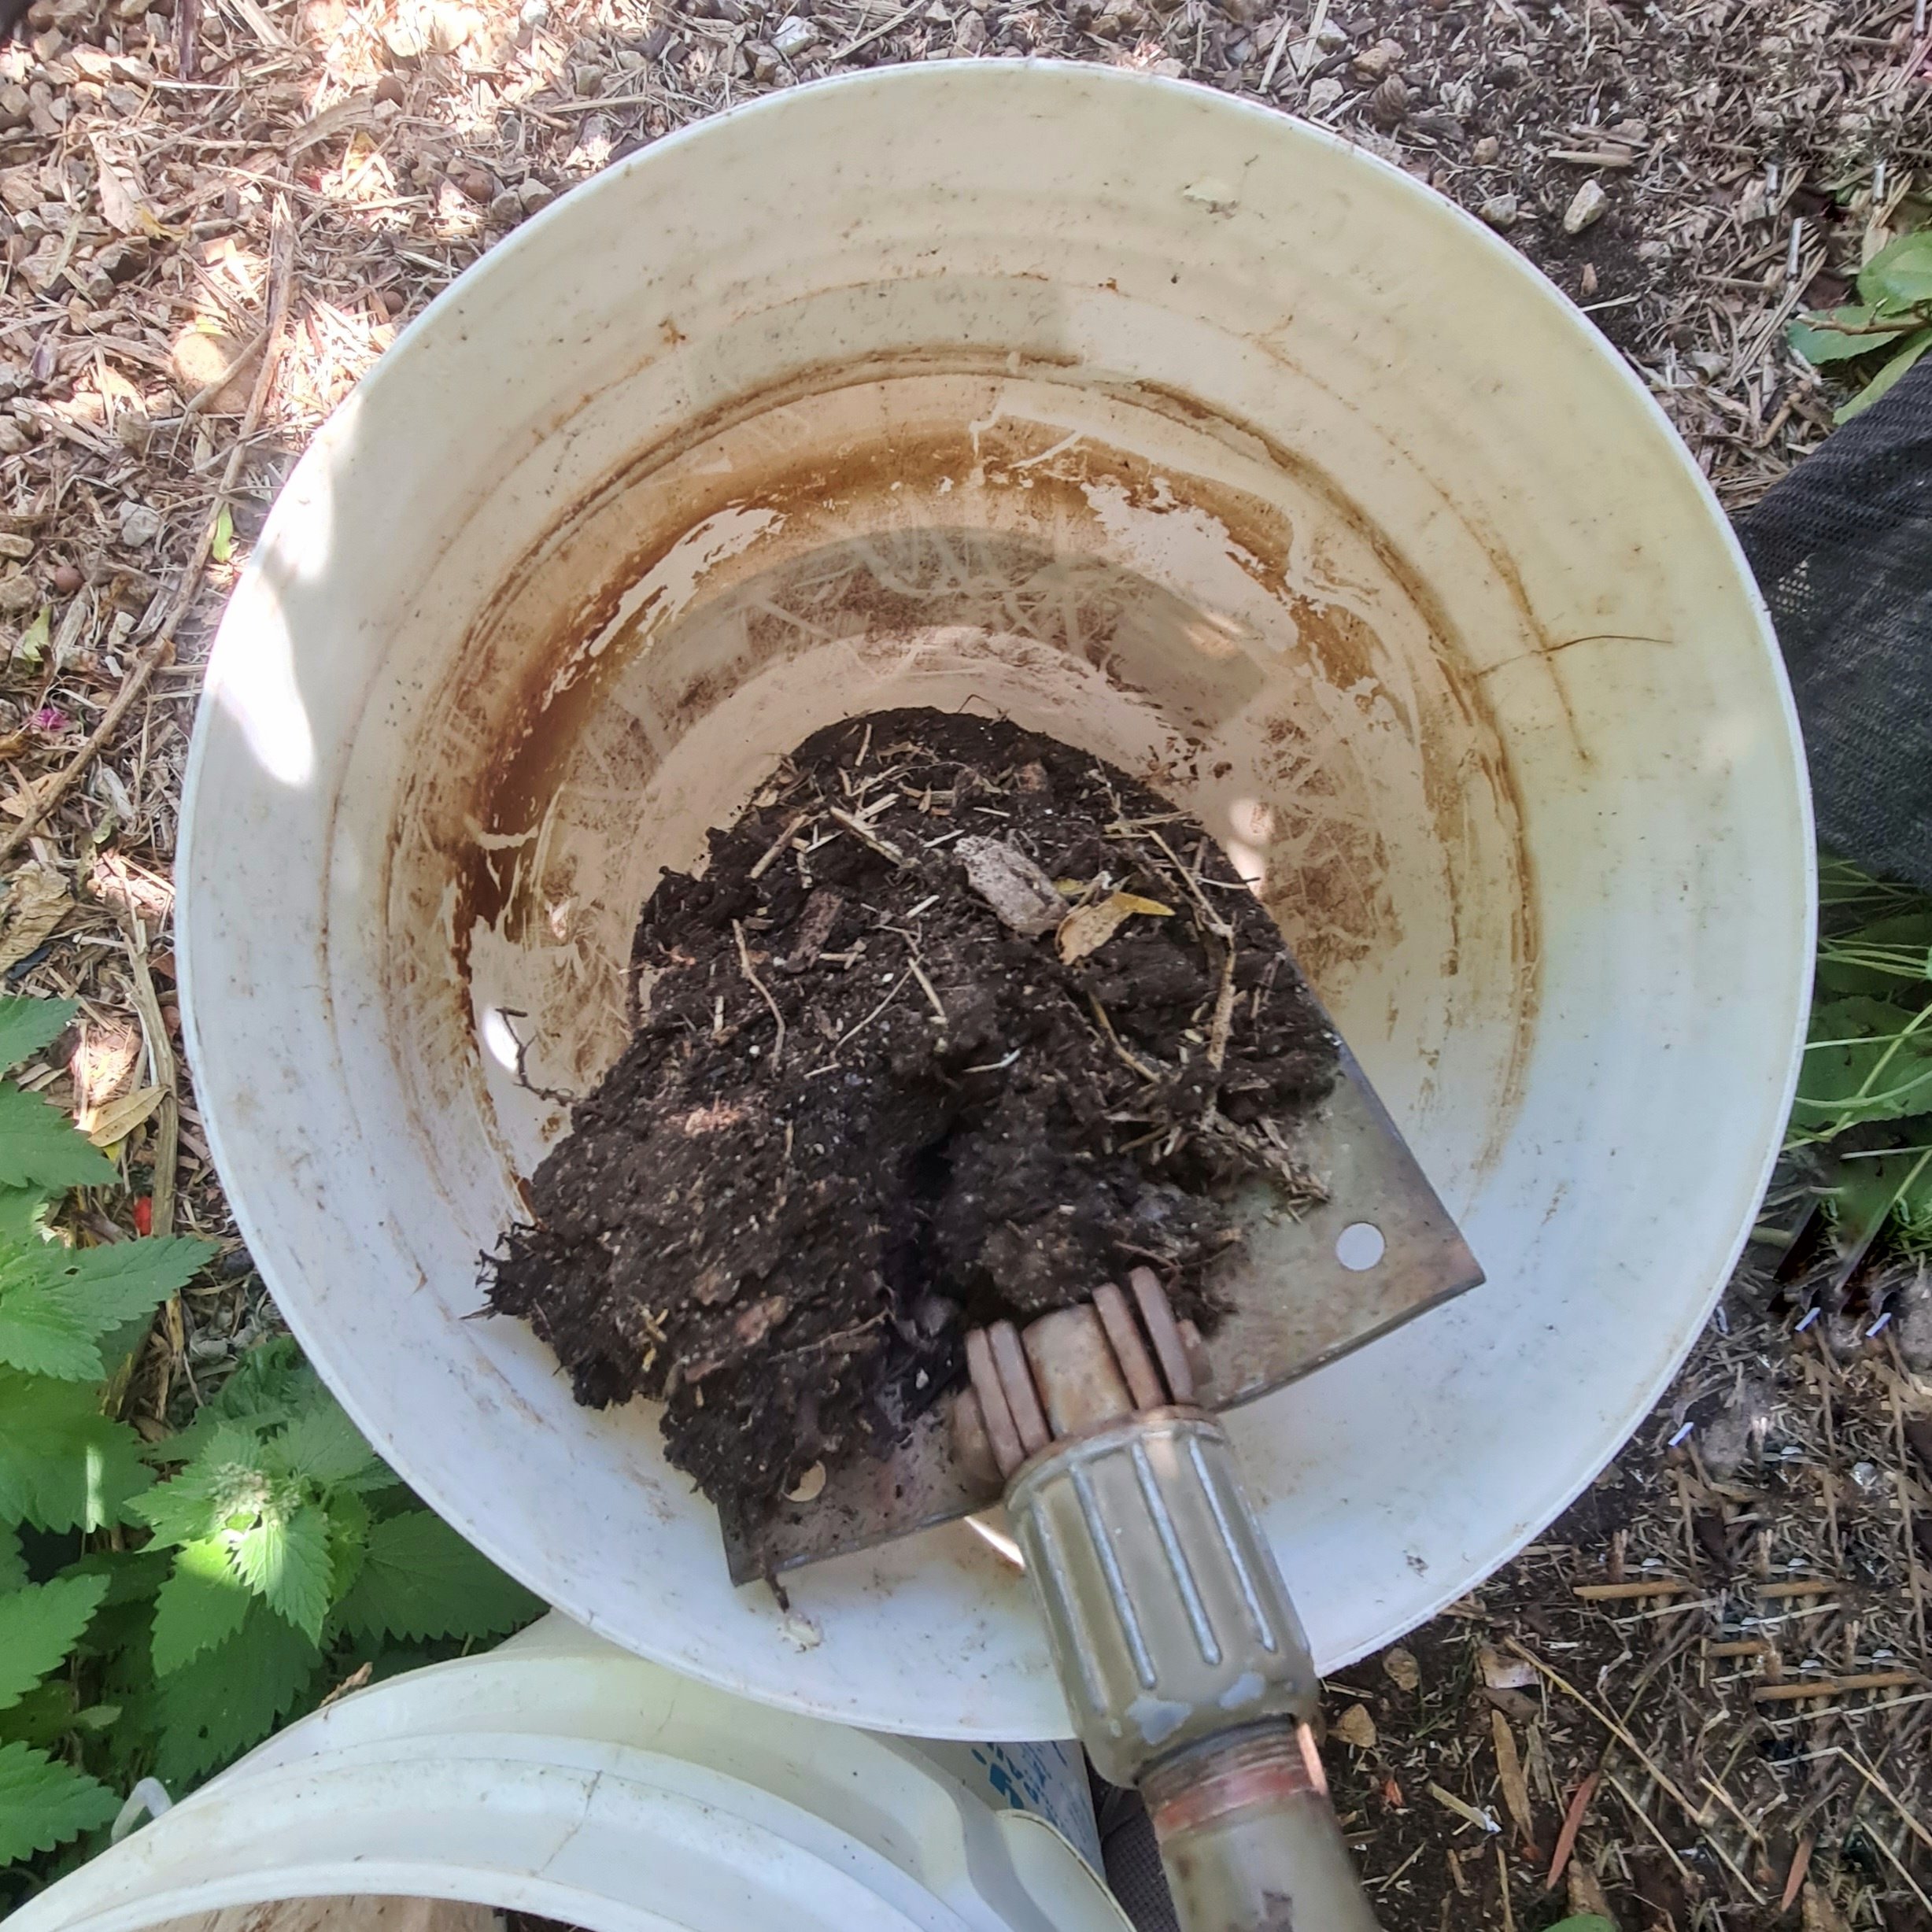
After the month, I checked the progress of the soil. The Bokashi had, indeed mostly broken down and the soil and potting mix had been mixed by worms and insects. There were one or two worms in the buckets but as it was such a dry time of the year, I didn’t worry about not seeing more of them.

I’m happy that the experiment worked. Next time, I’ll keep the moisture up a little more and maybe add some larger, or more, holes to the bottom of the bucket to allow more critter access.


4 responses to “Bokashi soil maker”
[…] I posted about an experiment in using finished Bokashi compost to boost cheap potting mix. It’s been a couple of weeks longer than I originally planned before checking it but, you […]
LikeLike
Sounds a good use of bokashi.
LikeLike
If it works, it’ll be the best way to use it.
LikeLike
Yes, I can see that 😊
LikeLike